Sign in with Microsoft
Sign in or create an account.
Hello,
Select a different account.
You have multiple accounts
Choose the account you want to sign in with.
在 Publisher 中新增及列印裁切線

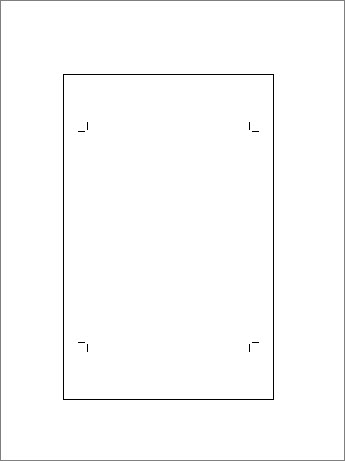
若要在出版物上列印裁切線,您必須使用印表機的進一頁輸出設定。 裁切線未如預期地位在功能區上。 您必須列印的紙張大小必須大於您為出版物設定的頁面大小。 一般需要列印至影像輸出,以定義各種紙張大小。 裁切線會顯示在出版物的預覽列印窗格中。 您也可以使用桌面印表機列印裁切線。 您只需要在一張紙上列印大於頁面修剪後想要的最終尺寸。

裁切線

  1. 按一下 [檔案] > [列印]。

  2. [設定> 下,按一下紙張大小旁邊的箭號,並選擇大於最終產品的紙張大小。

  3. 印表機下,按一下印表機旁邊的箭鍵,然後按一下 [ 進一步輸出設定

    印表機設定

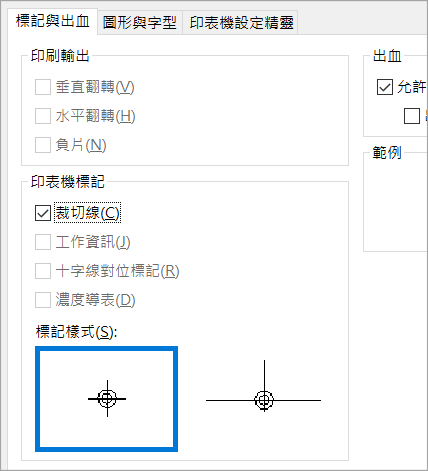
  4. 在 [標記及出血資料表上, under Printer ' marks, selectthe Crop marks box, and click OK.

    選取標記和出血選項卡上的裁剪標記核取方塊

  5. 請確定裁切線在您想要的地方,然後按一下 [列印

    Publisher 中 [列印] 選項的螢幕擷取畫面。

如果您想要的話,您可以移除裁切線。

Need more help?

Want more options?

探索訂閱權益、瀏覽訓練課程、瞭解如何保護您的裝置等等。

社群可協助您詢問並回答問題、提供意見反應,以及聆聽來自具有豐富知識的專家意見。

Was this information helpful?

How satisfied are you with the translation quality?
What affected your experience?
By pressing submit, your feedback will be used to improve Microsoft products and services. Your IT admin will be able to collect this data. Privacy Statement.

Thank you for your feedback!

×