
Show the Developer tab
If the developer tab isn't already visible, see Show the Developer tab.
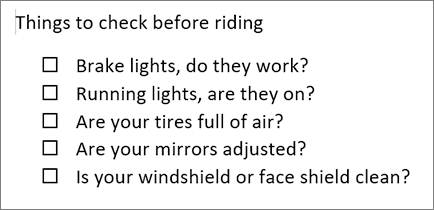
Make your list
-
Type the list.
-
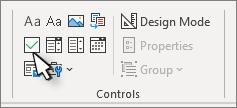
Go to Developer and select the Check Box Content Control at the beginning of the first line.
-
To change the default X to something else, see Change checked boxes from an X to a checkmark.
-
Copy and paste the check box control at the beginning of each line.
-
Select a checkbox to put an X (or other character) in the check box.
Add hanging indentation
If some list items are more than one line long, use hanging indents to align them.
-
Select the list. Bullets or numbers won’t look selected.
-
Go to Home and select the Paragraph dialog box launcher

-
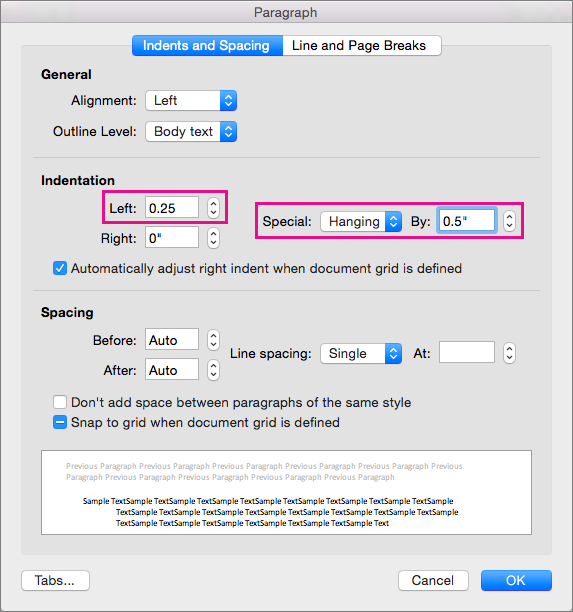
Under Indentation, in the Left box, type 0.25.
-
Under Special, choose Hanging.
-
For By, Word sets a default value of 0.5 inches. Change this if you want your additional lines indented differently.
-
Select OK when finished.
Lock the text and controls to prevent changes
-
Select the list and checkboxes.
-
Go to Developer >Group > Group.
To unlock the list, select the list and choose Group > Ungroup.
Create a print only list
-
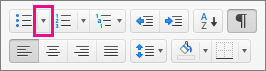
Go to Home and select the down arrow next to the Bullets button.

-
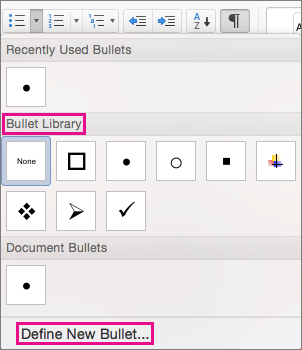
In the drop down menu, select Define New Bullet.
-
Select Symbol and find a box character. If you don't initially see one, change Font to Wingdings or Segoe UI Symbol.
-
Select OK twice, and create your list.
Make a checklist you can check off in Word
To create a list that you can check off in Word, add content controls for checkboxes to your document.
Show the Developer tab
For more info if the developer tab isn't already visible in Word, see Show the Developer tab.
Make your list
-
Create your list.
-
Place you cursor at the start of the first line.
-
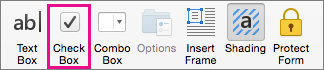
Go to the Developer tab, and then click Check Box.
-
If you want a space after the check box, press Tab or Spacebar.
Use a Tab character if you want to format the list item with hanging indentation, like Word applies to bulleted lists.
-
Select and copy (⌘ + C) the check box and any tabs or spaces.
-
Place the cursor at the start of the each list item, and paste (⌘ + V ) the copied check box and characters.
-
Paste the checkbox at the start of each line in your list.
Add hanging indentation
If some of the list items are longer than one line, use hanging indentation to align them.
-
Select the list.
-
Go to Format and select Paragraph.
-
Under Indentation, type 0.25 in the Left box.
-
In the Special list, choose Hanging.
For By, Word sets a default value of 0.5 inches. Change this if you want your additional lines indented differently.
Make a print only check list
You can replace the bullets or numbers in a list with another symbol, such as a box can be checked on a printed version of your document.
-
Select the entire list.
-
Select Home and select the arrow next to Bullets.
-
Select Define New Bullet.
-
Select Bullet, and choose a symbol from the table of symbols.
For more choices, in the Font box choose a symbol font, such as Wingdings.
-
Select a symbol to use, such as an open box (


-
Select OK, and then select OK again.
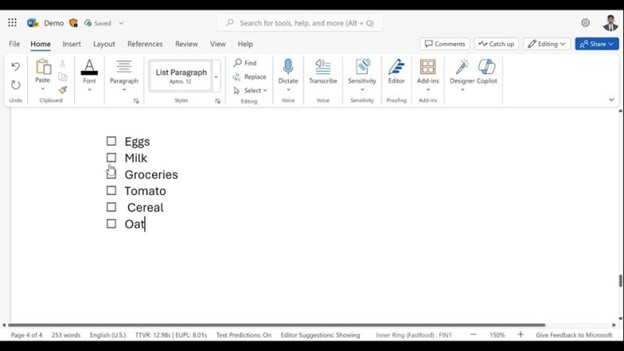
Add an interactive checklist
Checklist is a feature that allows you to insert an interactive list in Word for Web. You can check and uncheck the checklist and keep track of the tasks that you are performing.
Insert a checklist
Method 1: From the ribbon
To insert a checklist from the ribbon:
-
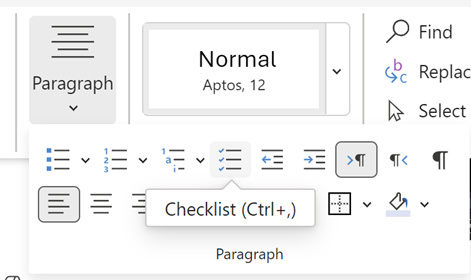
Go to the Home tab.
-
Navigate to the Paragraph group.
-
Click Checklist.
Method 2: Using shortcut
Alternatively, to insert the checklist, press (Ctrl + ,) shortcut keys.
Toggling a checklist
Method 1: Using a mouse
Select the empty or ticked checkbox on the left of the text in a checklist.
Method 2: Using shortcut
Alternatively, press Ctrl + Alt + Enter on the checklist item to check or uncheck it.


