
Rotate a line by dragging one of the endpoints to create the angle you want. To specify an exact degree of rotation, use the Size and Position window.
Note: You can use the following procedures to rotate a connector between shapes. However, doing so might break its connections with the shapes, change its length, or convert it to a right-angle connector.
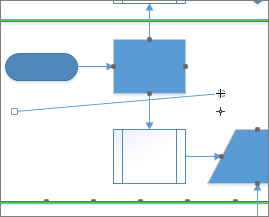
To rotate a line, select the Pointer Tool on the Home tab in the Tools group, and then click the line and then drag one of the end points.
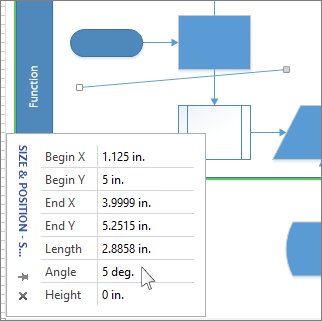
To rotate a line by an exact number of degrees, use the Size & Position window.
-
On the View tab, in the Show group, click Task Panes > Size & Position.
-
Click the line you want to rotate. The line’s information appears in the Size & Position window.
-
In the Size & Position window, in the Angle box, enter the number of degrees that you want to rotate the line. The finishing endpoint of the line moves to create the line’s angle.
Tip: A horizontal line going from left to right is considered 0 degrees, and a vertical line going upward is considered 90 degrees. Make the Angle number larger to rotate the line (move the finishing endpoint) counterclockwise around the starting point, and make it smaller to rotate the line clockwise.


