
Note: This article has done its job, and will be retiring soon. To prevent "Page not found" woes, we're removing links we know about. If you've created links to this page, please remove them, and together we'll keep the web connected.
Anyone with a standard DVD or disc drive can watch and enjoy a PowerPoint presentation or photo album that you create.
-
You need a DVD burner and burning software to complete the steps listed below.
-
Windows DVD Maker comes with Windows 7. However, if you're using a newer version of Windows, you need to get third-party DVD authoring software separately. See the link in step 2 below.
-
First, convert your slide show to a video in PowerPoint. To do that, see Turn your presentation into a video.
-
Next, open Windows DVD Maker or another third-party DVD authoring app.
-
Click Choose Photos and Videos.
-
Click Add items.
-
Browse your file system to locate and select your newly created slide show video file, and click Add.
-
Select the appropriate DVD burner and provide a DVD title.
-
Insert a blank writable DVD into the DVD drive you selected, and click Next.
-
Click Preview.
-
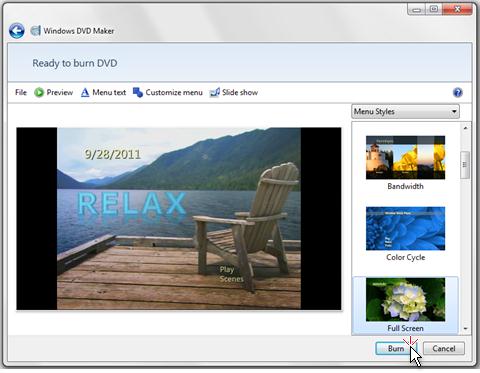
To start the DVD burning process, click Burn.
Save a presentation to a CD instead
You can also save your presentation to a CD. To do that, see Save your presentation to a CD.
You need both a DVD or disc burner and Windows DVD Maker (or other 3rd-party DVD burning software) to complete the steps below.
-
Save your slide show as a video (as described in Turn your presentation into a video), and select the Internet & DVD option when choosing the video quality.
-
Open Windows DVD Maker.
(Windows DVD Maker is included in Windows Vista Home Premium, Windows Vista Ultimate and in Windows 7 Home Premium, Windows 7 Professional, Windows 7 Enterprise, and Windows 7 Ultimate editions.)
-
Click Add items.
-
Browse your file system to locate and select your newly created slide show video (.wmv) file.
-
Click Add.
-
Select the appropriate DVD burner and provide a DVD title.
-
Insert a blank writable DVD into the DVD drive you selected and click Next.
-
Click Preview, and then click Burn to start the DVD burning process.


