
You can add text directly to shapes in Visio.
You can also put text directly on a page by using a text box—a shape you can add to your drawing that lets you place text anywhere.
Add text to a shape
-
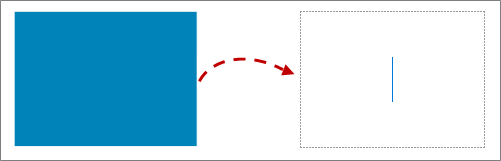
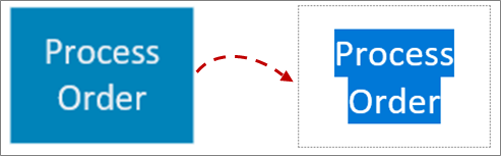
Select the shape.
-
Type the text. When a shape is selected and you start typing, Visio adds the text to the selected shape.
-
To format the text, you can do either of the following:
-
On the Home tab, in the Font group, set the font characteristics.
-
On the Home tab, in the Paragraph group, set the alignment and other characteristics.
-
-
Click a blank area on the page or press ESC to finish.
Add text to the page
You can also add text directly to the page, independent of any shape or object in the drawing.
-
On the Home tab, in the Tools group, click Text

-
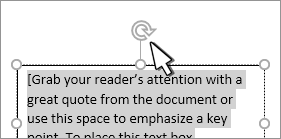
Click anywhere on the page to create a text box, or click and drag to make the text box the size that you want.
-
Type your text.
-
To format the text, you can do either of the following:
-
On the Home tab, in the Font group, set the font characteristics.
-
On the Home tab, in the Paragraph group, set the alignment and other characteristics.
-
-
Click a blank area on the page or press ESC to finish.
Edit text
-
Double-click the text that you want to edit.
-
Edit the text.
-
Click a blank area on the page or press ESC to finish.
Notes:
-
If you are not already zoomed in to the shape, Visio zooms in while you type. When you finish typing, click a blank area on the page or press ESC. Visio zooms back out.
-
To stop Visio from zooming in on your text:
-
Click the File tab, and then click Options.
-
Click the Advanced tab.
-
Under Editing options, in the Automatically zoom text when editing under box, enter 0 (zero) for the point size.
-
Move or rotate text
On a shape
-
On the Home tab, in the Tools group, click the Text Block tool

-
Click the shape to select its text block.
Note: If the text is in a group, click to select the group, and then click to select the text in the shape.
-
Drag the text to move the text block.
-
On the Home tab, in the Tools group, click the Pointer Tool

After you switch back to the Pointer Tool
On the page
-
On the Home tab, in the Tools group, click the Pointer Tool
-
Click the text and drag to move it, or drag the rotation handle to rotate the text. When the pointer is over a rotation handle, it changes to an arrow that forms a circle

Add text to a shape and edit it
-
Open the diagram for editing.
-
Do one of the following:
-
To add text, select a shape and begin typing.
-
To edit text, double-click the shape that you want to edit.
Visio switches to text editing and may zoom in on the shape.
-
-
To stop adding text, click outside the shape or press Esc.
Visio restores the original view if it automatically zoomed when you began typing.
Add text to the page
You can also add text directly to the page, independent of any other shape or object in the drawing.
-
On the Insert tab, select Text Box

-
Click anywhere on the page to create a text box, or click and drag to draw the text box the size that you want.
-
Type your text.
-
Select the text to format it: On the Home tab, you can set the text characteristics (font name, size, color, style) and alignment.
-
To finish, click a blank area on the page, or press Esc.
Rotate text in 90-degree increments
You can easily rotate text a quarter turn:
-
Select the box that contains the text you want to rotate.
-
On the Shape tab of the Ribbon, click Rotate Text

Rotate text to any angle
-
Select the box that contains the text you want to rotate.
-
Select the rotation handle above the box.
-
Begin moving the mouse pointer in a circular direction. Release the mouse button when the text is rotated to the position you want.


