
Create a project
Start a new project
-
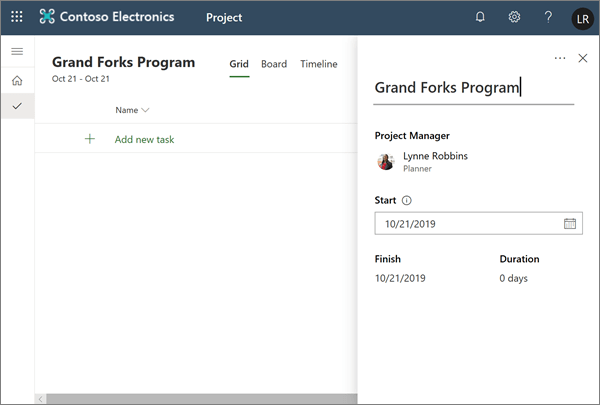
In Project Home, select New blank project.
-
Select Untitled project and give your project a name.
-
By default, you are the Project Manager and today is the project Start date, but you can change these as needed.
-
Add tasks and summary tasks
-
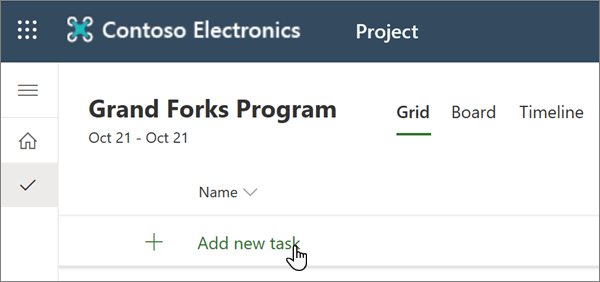
Select Add new task and type a task name. Then press Enter.
-
Type another task name and press Enter again until you have a full list of tasks.
-
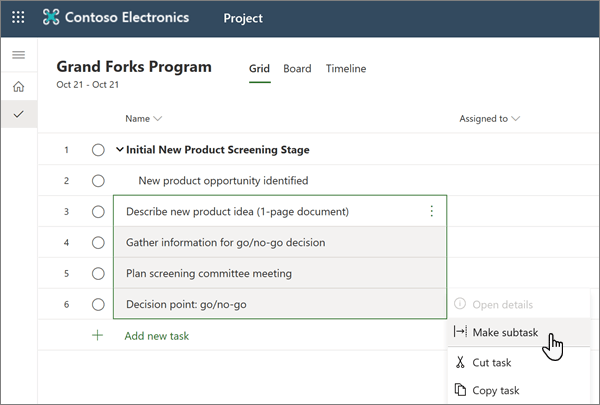
To indent tasks under summary tasks, select the three vertical dots by the task name and choose Make subtask. Tips:
-
To select more than one task, select a task, press and hold Ctrl, and then select another task.
-
You can also choose Promote subtask to move tasks out from under summary tasks.
-
Assign tasks
To assign tasks, your project needs to be associated with an Office 365 Group. If you’re the project owner, you can:
-
Add your project to a group by choosing Group members at the top of your project.
-
Add or remove people from the project’s group.
To assign a task:
-
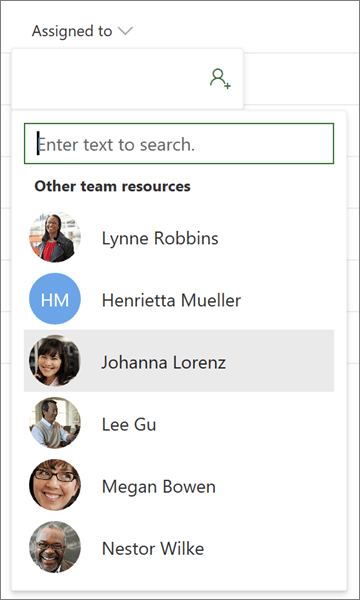
In the Assigned to column for a task, select the person icon.
-
Choose a team member from the list or enter text to search for one.
For more information on assigning tasks, see Share a project.
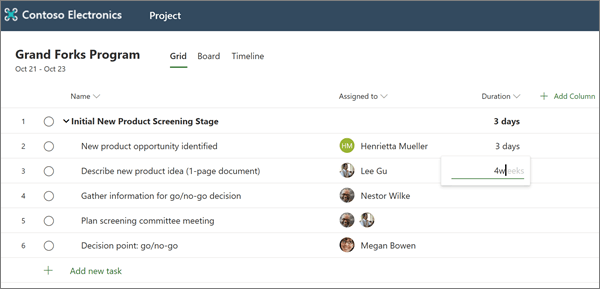
Add duration and columns
It's often easiest to begin constructing your project with duration.
-
In the Duration column for a task, type the number of days you think it will take to accomplish.
If you want to use a different unit of time, enter a number plus the word hours, weeks, or months.
If you want your task to appear as a diamond-shaped milestone

-
Press Enter to go to the next task's Duration field and continue entering durations.
Note: You can't enter duration for summary tasks.
You can continue to add more details to your project by adding columns.
-
Beside the Duration column header, choose Add Column.


Perlu bantuan lainnya?
Ingin opsi lainnya?
Explore subscription benefits, browse training courses, learn how to secure your device, and more.


Communities help you ask and answer questions, give feedback, and hear from experts with rich knowledge.


