
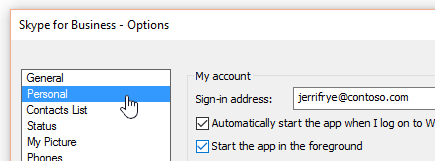
The Personal options window in Skype for Business is where you can change your sign-in settings to speed up the sign-in process, specify presence and calendar meeting information to display to others in Skype for Business, and tell Skype for Business how you want it to interact with other Office programs.
Here's how to access the Personal options window:
-
In the Skype for Business main window, click the Options button


-
On the Options page, select Personal.
Note: If you've selected Show Menu Bar, you can open the options menu from the Skype for Business main window by clicking Tools > Options and then selecting Personal.
Set your sign-in options
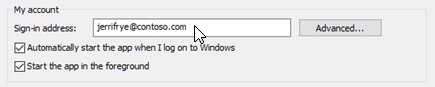
To change your sign-in address
-
Under My account, in the Sign-in address box, type the name of your user account.
Note: If your organization uses Microsoft 365, we recommend that you do not change the Advanced setting, because the current selection, Automatic configuration, is required for Microsoft 365.
To automatically sign in and start Skype for Business
-
Under My account, select the Automatically start the app when I log on to Windows check box.
Note: If you want the Skype for Business main window to open in front of other open windows when it starts, select the Start the app in the foreground check box. If this option isn’t selected, the Skype for Business icon appears in the Windows notification area (system tray) when Skype for Business starts.
Stop Skype for Business from automatically starting
-
Under My account, clear the Automatically start the app when I log on to Windows check box.
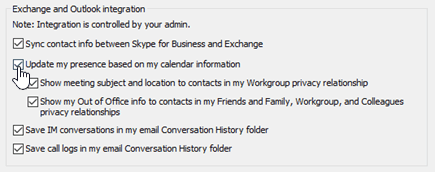
Set your Exchange and Outlook integration options
To make your presence automatically show when you are in a meeting
-
Under Exchange and Outlook integration, select the Update my presence based on my calendar information check box. To specify who can see this information, use the following settings:
-
To show this information to contacts in your Workgroup, select the Show meeting subject and location to contacts in my Workgroup privacy relationship check box.
-
To show your Outlook Out of Office information to contacts, select the Show my Out of Office information to contacts in my Friends and Family, Workgroup, and Colleagues privacy relationships check box. Clear the check box to hide your Out of Office information from all your contacts.
-
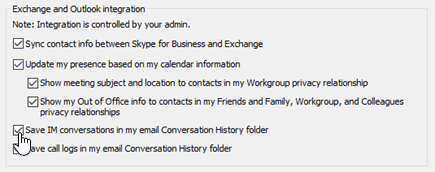
To save your conversation history or phone call history in Outlook
-
Under Exchange and Outlook integration, select the Save IM conversations in my email Conversation History folder check box or the Save call logs in my email Conversation History folder check box. Clearing these check boxes means that your instant message history and phone call history are not kept.
Set your Location options
Use the options under Location to specify whether Skype for Business will share your current location on your contact card and with other Office programs.
-
Under Location, select the Share my location information with other programs I use check box.
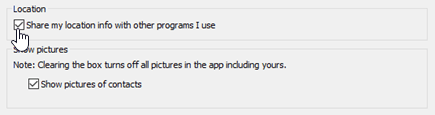
Note: If you choose this setting, all contacts (other than external contacts) can see your location.
Set your Show picture options
Use the options under Show pictures to specify whether you want to see other peoples’ pictures.
-
Under Show pictures, select or clear the Show pictures of contacts check box. (The default is to show pictures. Pictures take more screen real estate, so if seeing more contacts in the list is more important to you, you may want to clear this option. )
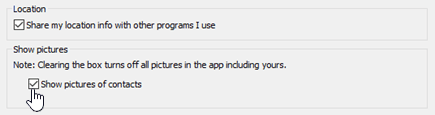
Note: Clearing this box also means others won’t see pictures of you in Skype for Business and you won’t see pictures of senders and receivers in IMs and group conversations.


