
Note: This article has done its job, and will be retiring soon. To prevent "Page not found" woes, we're removing links we know about. If you've created links to this page, please remove them, and together we'll keep the web connected.
The trick to printing an envelope is knowing which way to feed the envelope into your printer. Word helps with that by getting information from your printer and showing you the right feed option.
-
Open a document in Word.
-
Click Mailings, and then click Envelopes.
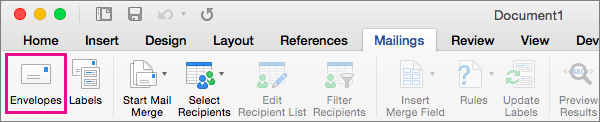
Word displays the Envelope dialog box.

-
In Delivery address, type the destination address.
-
In Return address, verify the address or enter a different address.
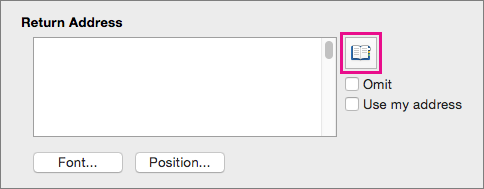
If Use my address is selected, Word automatically fills in the address associated with your contact information. To enter a different address, clear the Use my address check box and type a replacement address, or click Insert Address to locate a replacement in your contacts.
-
To select the size and orientation of the envelope from a configuration supplied by your printer, click Page Setup.

-
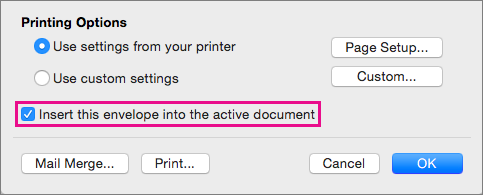
If you want to add the envelope as a page in the currently open document, select Insert this envelope into the active document.
-
When the delivery and return addresses are correct, click OK.
Word opens a new window with the addresses laid out for printing on an envelope.
-
Make any additional changes that you want to the envelope, and then on the File menu, click Print.
Change the size, font, or layout
-
To make changes to the envelope size, the fonts of the addresses, or the layout of the addresses, click the Mailings tab, and then click Envelopes.
-
To change the font or font size of the delivery address or return address, click Font under the address that you want to change.
Word opens the Font dialog box.

-
Select or enter new settings for the font of the address that you are changing, and then click OK.
-
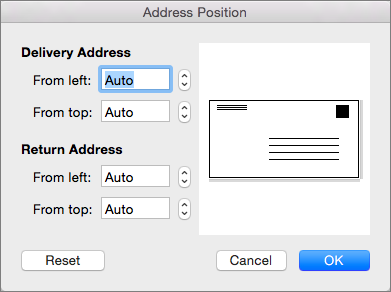
To change the position of the addresses on the envelope, under Delivery Address or Return Address, click Position to open the Address Position dialog box.
-
Change any or all distances shown in Address Position, and then click OK.
-
To change the envelope size to another configuration provided by your printer, click Page Setup.
-
To define a new envelope size and layout, click Custom.
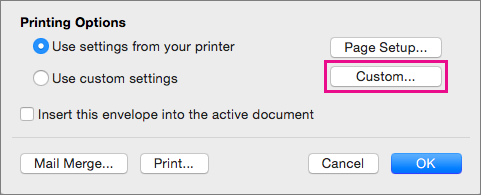
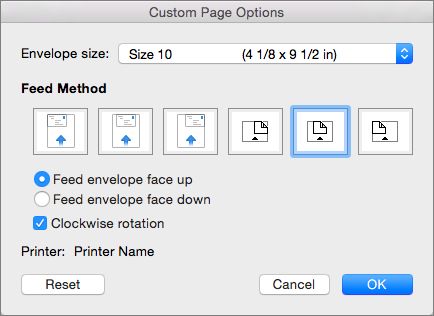
Word displays the Custom Page Options dialog box.
-
To set a custom size for an envelope, select Custom size in the Envelope size list.
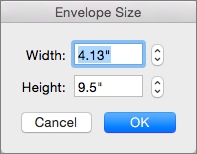
Even if Custom size is already selected, selecting it again causes Word to display the Envelope Size dialog box.
-
Click OK to accept these dimensions for your envelope.
-
Click OK again to return to the Envelope dialog box, where you can choose to make more changes or print your envelope.
Save your envelope settings and use them again
To save all of the envelope settings that you created for future use, select Insert this envelope into the active document in the Envelope dialog box.
When Word adds the envelope to the current document, it displays the envelope as page 1. To save your document with the inserted envelope, click File, and then click Save As. Navigate to a folder, verify or change the file name, and click Save.
When you print another envelope, it’s just a few steps.
-
Open the document you saved.
-
Click Mailings > Envelopes.
Word opens the Envelope dialog box, displaying the addresses, if any, and envelope settings that are saved in the file.
-
Make any changes that you want to addresses, layout, or envelope size.
-
Click File > Print.
Make sure that your envelope appears in the preview area.
Tip: To print multiple envelopes with the same address, type the number of envelopes you want to print in the Copies box.
-
Under Pages, select Current Page, and then click Print.
Print envelopes for a mass mailing
If you want to print a batch of envelopes with different addresses, see one of the following topics:
Print a single envelope
-
On the View menu, click Print Layout.
Note: You cannot print an envelope in notebook layout view or publishing layout view.
-
On the Tools menu, click Envelopes.
-
In the Delivery address box, type or edit the mailing address.
-
Make sure that the Return address box contains the return address that you want to use.
Note: By default, Word uses the address from your personal settings. To type a different return address, clear the Use my address check box.
-
Insert an envelope into your printer.
-
In the Envelope dialog box, click Print.
-
On the Printer pop-up menu, select the printer that you want, and then click Print.
Set up a return address for all envelopes
By default, when you print a single envelope, Word uses the return address in your personal settings unless you type a different address. To routinely use a different address, you can specify a different one in your personal settings.
-
On the Word menu, click Preferences.
-
Under Personal Settings, click User Information

-
Type the information that you want to appear in the return address.
The address automatically appears the next time you create and print an envelope.


