
Creating a message in Outlook on the web is as easy as selecting New, composing your message, and then selecting Send. Respond to an email message you receive by selecting Reply or Reply All, or forward it to others by selecting Forward.
Note: If you can't send email from your Microsoft 365 account, see My messages won't send.
Note: If the instructions don't match what you see, you might be using an older version of Outlook on the web. Try the Instructions for classic Outlook on the web.
-
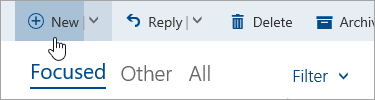
At the top of the page, select +New message.
-
On the To line, enter the name or email address of the person who will receive the message.
Note: When composing a new email message, some customers won’t see their list of contacts if they click the To or Cc buttons. This is a known issue. To see names to select, start typing on the To or Cc line. Your relevant contacts will appear.
-
On the Add a subject line, enter a brief description of what your message is about.
-
To attach a file to your message, select Attach.
For more information about attaching files to your message, see Attach files in Outlook on the web.
-
Type your message and then select Send.
We are rolling out a Send later feature, which will enable you to defer sending an email and choose the date and time your email message is sent.
-
Compose your email as normal
-
Select Send

-
Choose the date and time when you want to schedule the message to be sent
-
Select Send.
Notes:
-
The message will remain in your Drafts or Sent Items folder until it is due to be sent. You can edit or delete it at any time until it's due to be sent. After editing, you must select Send > Send later again.
-
You do not need to be online when the message is scheduled to be sent.
Note: You can forward only one message at a time.
-
In your message list, choose the message that you want to forward.
-
At the top right corner of the message pane, select

-
Type your message and then select Send.
-
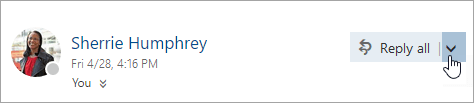
In your message list, choose the message that you want to reply to.
-
At the top right corner of the message pane, select


-
Type your response and then select Send.
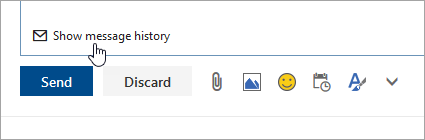
Note: By default, the original email and its history will not be displayed when you're replying to a message. To show the original email or change the email subject, select

-
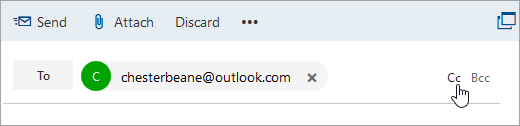
To add recipients to the Cc or Bcc lines, select Cc or Bcc on the right side of the To line.
Note: The names of people on the Bcc line are hidden from other recipients of the message.

-
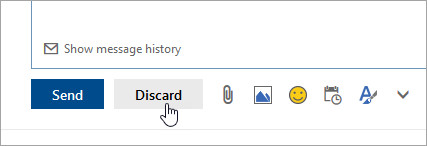
To discard a draft of a message, select Discard at the bottom of the message pane.

Instructions for classic Outlook on the web
-
At the top of the page, select New to create a new message.
-
On the To line, enter the name or email address of the person who will receive the message. The list of suggested contacts will update as your type.
-
On the Add a subject line, type a brief description of what your email is about.
-
To attach a file to your message, select Attach.
For more information about attaching files to your message, see Attach files in Outlook on the web.
-
Type your message and then select Send.
Note: You can forward only one message at a time.
-
In your message list, choose the message that you want to forward.
-
At the top right corner of the message pane, select

-
Type your message and then select Send.
Automatic forwarding
To set up auto forwarding, select 
-
In your message list, choose the message that you want to reply to.
-
At the top right corner of the message pane, select
-
Type your response, and then select Send.
Notes:
-
The original email and its history will not be displayed by default when a message is in the Reply mode. To show the email, select Show message history in the editor.
-
You can change the default button from Reply all to Reply. To do that, choose any message, select
-
-
To add recipients to the Cc or Bcc lines, select Cc or Bcc on the right side of the To line.
Note: The names of people on the Bcc line are hidden from other recipients of the message.
-
To discard a draft of a message, select Discard at the bottom of the message pane.
-
Reply and Reply all
When you reply to a message, you'll see RE: added to the subject line. The original message is added below the new message.Note: Attachments to the original message aren't included when replying.
-
Forward
When you forward a message, the prefix FW: is added to the subject line to alert the recipient they're receiving a forwarded message. The original message is included in the forwarded message, along with any attachments to the original message. You can edit the text of a forwarded message or add and remove any attachments before you send.


