
Using pages is a great way to share ideas using images, Excel, Word and PowerPoint documents, video, and more. You can create and publish pages quickly and easily, and they look great on any device.
When you create a page, you can add and customize web parts, and then publish your page with just a few steps.
Notes:
-
Some functionality is introduced gradually to organizations that have opted in to the Targeted Release program. This means that you may not yet have this feature or it may look different than what is described in the help articles.
-
You must be a site owner or SharePoint administrator to add pages. If you are a site owner but you are unable to add a page, your administrator may have turned off the ability to do so.
-
This article applies to modern pages in SharePoint in Microsoft 365, SharePoint Server Subscription Edition, or SharePoint Server 2019. If you are using classic pages, or you are using an earlier version of SharePoint, check out Create and edit classic SharePoint pages.
-
Creation of modern pages is supported in the Site Pages library only. Additionally, you cannot change the URL of a page.

What would you like to do?
Add and publish a page
-
Go to the site where you want to add a page.
-
Go to the home page of the site.
-
Select + New, and then select Page.
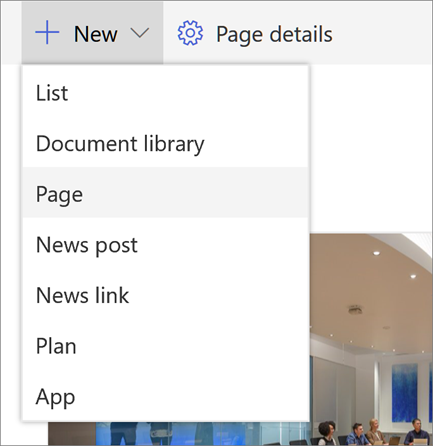
Alternately, you can go to an existing page, select + New, and select Page. Or, you can choose Copy of this page to create a new page that has the same web parts and content as the existing page.
-
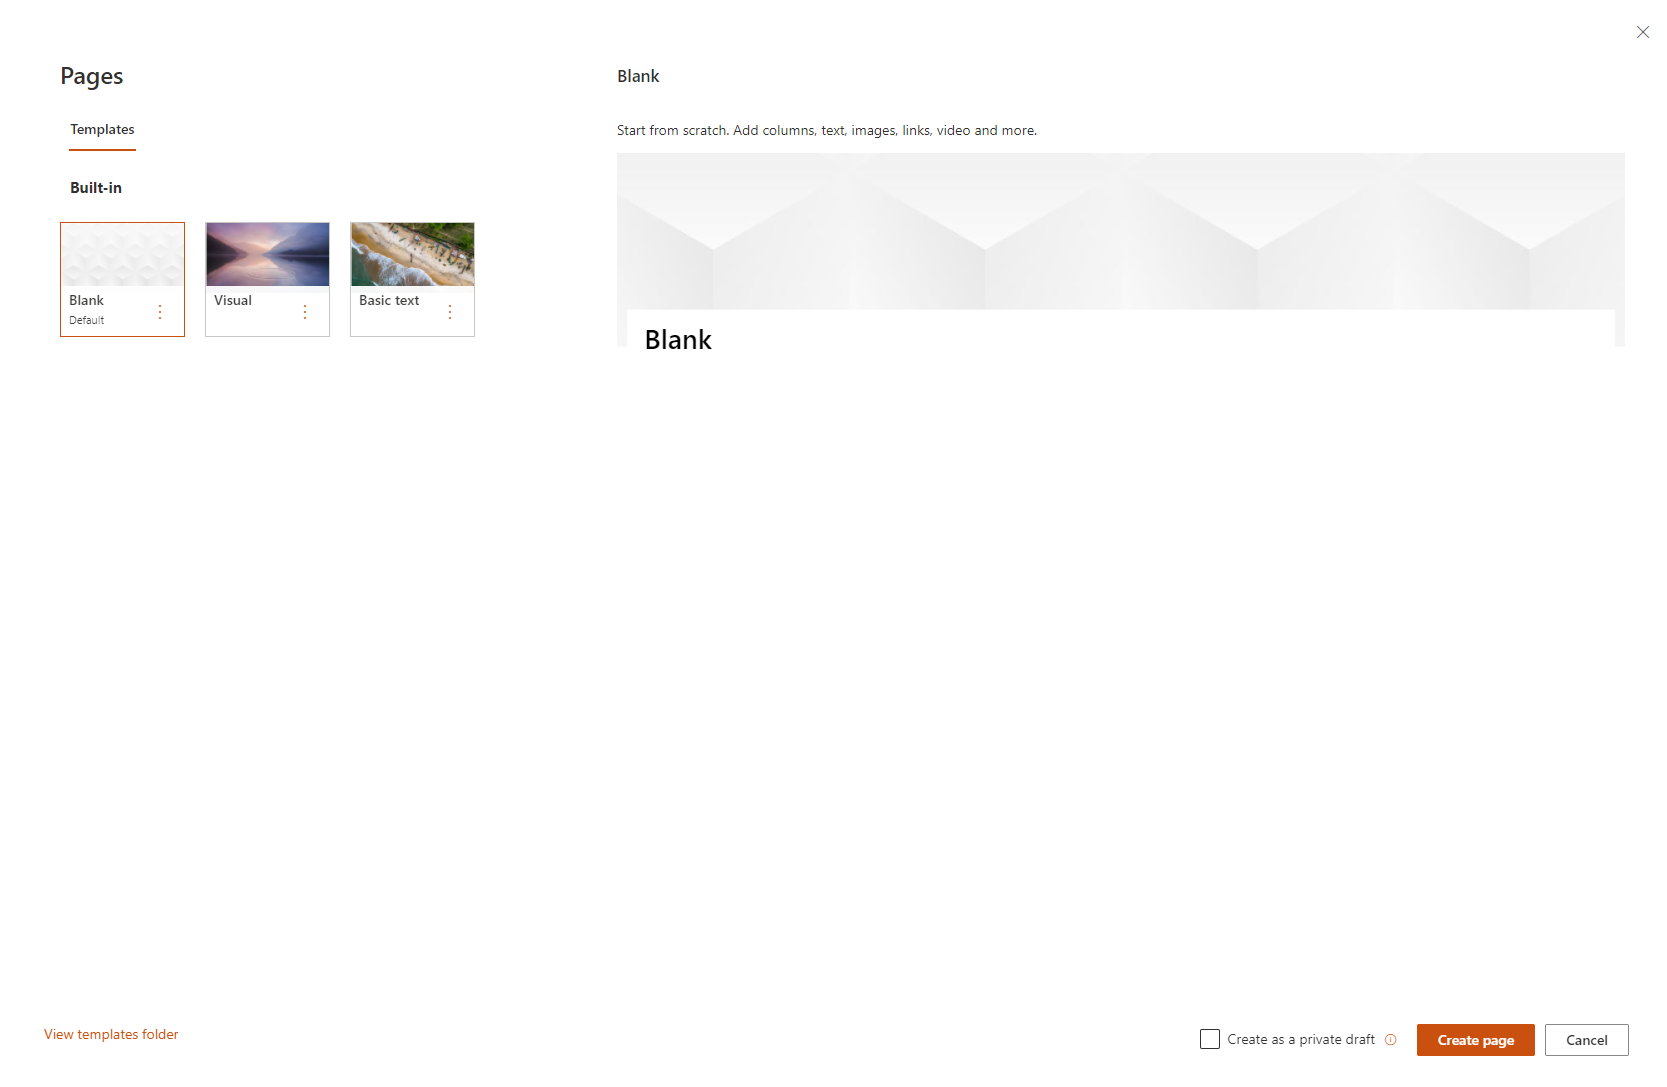
Choose a page template to start with. For this example, we'll use the Blank template. Then select Create page.
Note: To make a private draft, select Create as a private draft. Private drafts are only visible to you and the people you share it with.
-
Add a page name in top area where it reads Add a name. A page name is required to save the page. Check out the Customize the title area.
Add web parts
Web parts are the building blocks of your page. For more information on the different types of web parts and how to use them, check out Using web parts on pages.
-
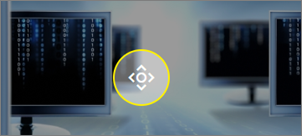
Hover your mouse below the title area and there will be a line with a circled +, like this:

Select + to add content like text, documents, video and more. To learn more about how to find and use web parts, check out Using web parts.
-
You can also add sections and columns to a page. To learn more, check out Add sections or columns on a page.
-
When you're done editing, you can select Save as draft to save your changes and close edit mode. Your audience won't be able to view or read the page until you publish it. Only people with edit permissions on your site will have access.
-
When you are ready for your audience to view and read the page, select Publish.
For more information on publishing and the lifecycle of a page, check out Management and lifecycle of a SharePoint modern page.
Customize the title area
You can customize the title area with an image, a choice of four layouts, text above the title, the ability to change the displayed author, and you can show or hide the published date.
-
Add an image
To add an image, select Add image

Note: If you want to replace an image, select Change image in the left toolbar.
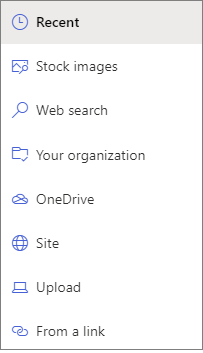
Choose a recent image or get an image from stock images provided by Microsoft, from a web search, your site, your computer, or a link. If your organization has specified a set of approved images, you'll be able to choose from that set under Your organization.
Notes:
-
Web search uses Bing images that utilize the Creative Common license. You are responsible for reviewing licensing for an image before you insert it on your page.
-
Images look best when they are landscape or 16:9 or greater in aspect ratio, and when they are at least 1 MB in size. For more information on image sizing, check out Image sizing and scaling in SharePoint modern pages.
-
If you're a SharePoint Admin and want to learn how to create an asset library for Your organization, check out Create an organization assets library.
-
If you're a SharePoint admin, we recommend enabling a Content Delivery Network (CDN) to improve performance for getting images. Learn more about CDNs.
-
-
Additionally, you can set a focal point to get the most important part of your picture in the frame. Select Set focal point

-
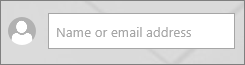
Add or change displayed page author
In the title area, add a name, partial name, or email name in the author box. The name will be searched against your organization's profiles, and you will be presented with suggested people. Choose the one you want, and you're done! If you do not enter a name, an author byline will not show.
-
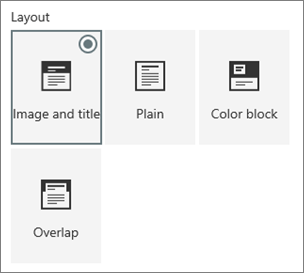
Choose a layout
Select the Edit web part button

-
Set alignment
If the toolbox isn't already showing, select the Edit web part button
-
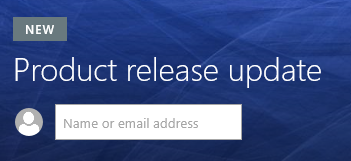
Add text above the title
You can add text in a colored block above your title to qualify the title or call attention to something on the page, as in the example below where NEW is the text above the title. In newspaper jargon, this is called a kicker. The color of the block the text is in is based on your site theme.
To add the text above your title, select the Edit web part button
-
Show or hide published date
Select the title area, select the Edit web part button
-
Change the page name
To modify the page name, go into Edit mode, select the title web part, and make your changes.
Help others find your page
The first time you publish your page, you'll be prompted to help others find your page. If you want to do this later, you can select Promote at the top of the page after the page is published.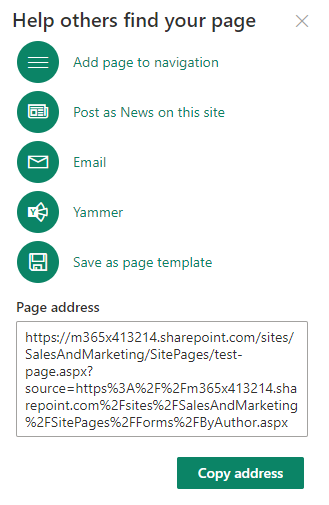
You can use one or more of the following options:
-
Add page to navigation: Adds a link to your page, using the page title, to the left-side navigation.
-
Post as News on this site: Adds a News post to the Home page of your site. For more information on News, check out Keep your team updated with News on your team site.
-
Email: Allows you to send an email with a preview of the page and an optional message to your selected recipients.
-
Yammer: Allows you to send the page through your organization's Yammer channels.
-
Save page as template: Save the page so you can use it as a template to make similar pages more easily.
-
Copy address: The page address is shown so you can copy it and send to others.
Edit your page and manage spellcheck and grammar with Editor
To make changes to your page, do this:
-
Select Edit at the top right.
When you select Edit, the page is checked out to you. As long as the page is open for editing, or checked out, no one else can edit it. The page is "locked" until changes are saved or discarded, or until the page is published. An exception is that if the page has no activity for 5 minutes, the editing session will time out and the page will be "unlocked."
-
Make your changes. For help on page layout and using web parts, check out Add sections and columns on a page and Using web parts on SharePoint pages.
-
When you're done making changes, choose Save as draft to save your changes and close edit mode.
-
If you're ready for users to view and read your changes, select Republish. For more information on publishing and the lifecycle of a page, check out Management and lifecycle of a SharePoint modern page.
Tip: If you want your changes to go live immediately, you can select Republish without having to save a draft.
To check spelling and grammar with Editor within Text web parts on your page,
-
Select Edit at the top right.
-
Select Page details at the top of a page that has already been published.
-
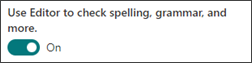
In the page details pane, adjust the toggle under Use Editor to check spelling, grammar, and more to On or Off.
Learn more about managing Page details.
Notes:
-
Specific permissions are required to edit and rename pages. If you can't rename a page, contact your site administrator to make sure you have Delete Items permission. If you can't edit a page, make sure you have Browse User Information permission.
-
If you are used to working with customized pages and site definitions, you should know that this type of page has no association with a site definition; therefore, it cannot be reset to a site definition.
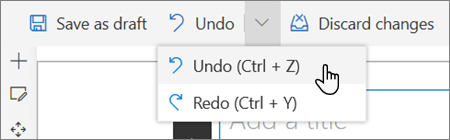
While making changes to your site, such as adding or modifying web parts, you can undo or redo the changes. Select Undo, and from the dropdown, select Undo or Redo as needed. (You can also use the keyboard shortcuts of Ctrl+Z or Ctrl+Y, respectively.)
You can also discard all changes you've made to the current draft of the page by selecting Discard changes.
Notes:
-
Specific permissions are required to edit and rename pages. If you can't rename a page, contact your site administrator to make sure you have Delete Items permission. If you can't edit a page, make sure you have Browse User Information permission.
-
If you are used to working with customized pages and site definitions, you should know that this type of page has no association with a site definition; therefore, it cannot be reset to a site definition.
Use page anchors (bookmarks)
Page anchors (also known as bookmarks) are automatically added to Heading 1, Heading 2, and Heading 3 styles in Text web parts on your page. When a page is published, and you hover or tab over a heading in a Text web part, a link symbol 
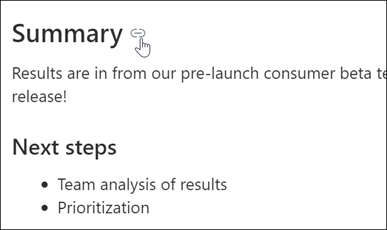
You can right-click a page anchor and select Copy link to copy the page anchor location for use outside of SharePoint pages. Once the page anchor is on the clipboard, you can paste it wherever you want to send it, like an email or a message.
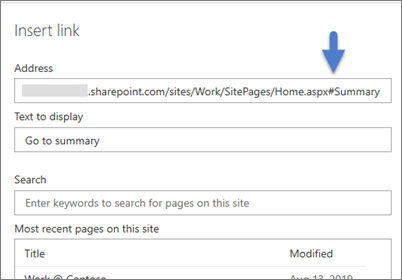
To link to a Heading 1 from somewhere else on your page, add a hyperlink to the text you want to link from, then paste the URL of Heading 1 link, as in this example:
Comments, likes, and views
People who view your page can leave comments and likes at the bottom of the page. You can also find out how many views your page has. Hover over Likes to view some of the people who liked your page. Select Likes and you can view a list of all of the people who liked your page.

When someone likes or comments on a page or a news post you created, or mentions you using @, you will be notified by email.
Note: Comments, likes, and views are not available on site home pages.
Save for later
People who view your page can find it more easily later by using the Save for later option at the bottom of the page. Once Save for later is selected, it becomes Saved for later, and the associated icon is filled in.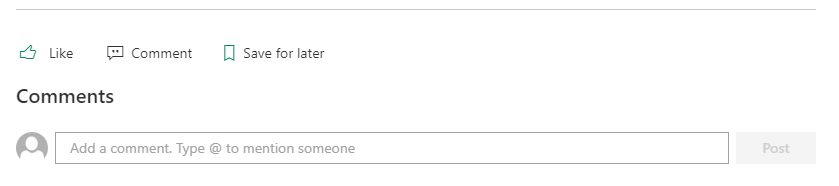
Note: Save for later is not supported for Guest users. They may be able to select Save for later, but the item won't be saved.
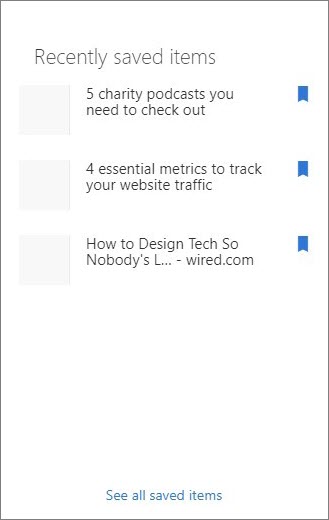
When Saved for later is selected, a list of Recently saved items is displayed. You can select See all saved items to view the entire list of saved items.
Use Immersive reader in pages
Use the immersive reader tool to help your audience focus on the content of your site. The immersive reader tool includes built in text to speech, and word-in-line highlighting. Immersive reader can be used to suit the individual needs of each site user making the site easier to engage with.
Site users can change the speed and voice of the reader, as well as various visual aspects of the text itself. Immersive reader also offers the ability to translate the content on the page to a wide variety of languages.

To use immersive reader:
-
Select the Immersive reader option in the task bar.
-
When the immersive reader page appears, adjust the Text preferences


-
After you have chosen your immersive reader experience preferences, select Play at the bottom of the screen.
Note: The immersive reader feature is not available on the home page.
Hide or show header and navigation (focus mode)
Eliminate visual distractions by using expand mode in SharePoint Site Pages. Expand mode helps you focus on the primary content by removing navigation bars on the page.
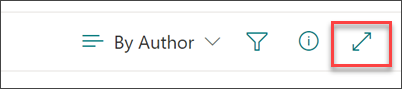
Activate focus mode by selecting the Hide header and navigation icon 
Focus mode can be deactivated by selecting the Show header and navigation icon 
Share your page
People can now share a SharePoint page or news post in OneDrive and SharePoint, just like Word, Excel, and PowerPoint files. The page editor or site owner can share just the page without having to share the entire site with specific users or an entire organization.
Note: This page sharing feature is available only for modern SharePoint site home pages, news posts, and pages. All site level and organization level file sharing settings will be respected with this sharing experience.
To share a page, select the Share button at the top of the page.
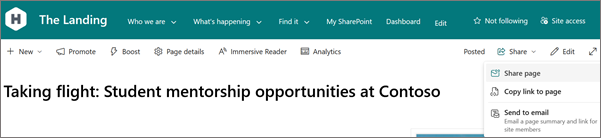
The Share page option from the drop-down opens the familiar Sharing dialog experience. You can send an email to your share recipients with a link to the page right from the page.
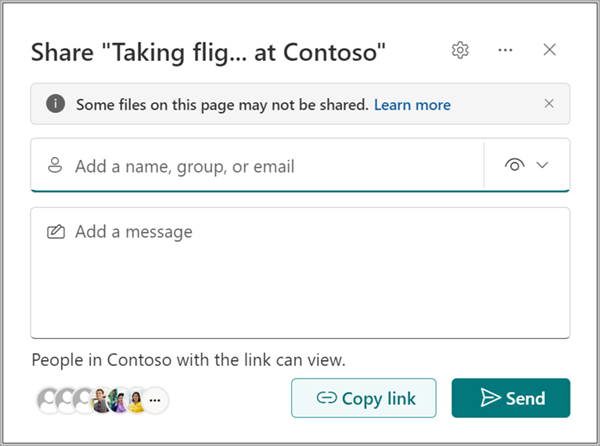
Note: The Share page command shares only the page itself and items such as images and files that were uploaded to the page directly. If you see a warning message banner in the sharing experience, it means the page you are trying to share has content such as embedded documents, videos, and SharePoint lists that are stored in a different OneDrive or SharePoint location. You will need to edit the page and verify that all such content used in the page has the right permission before the page is shared.
Selecting the Copy option lets you copy a sharing link to be pasted elsewhere, like a Teams chat or another document.
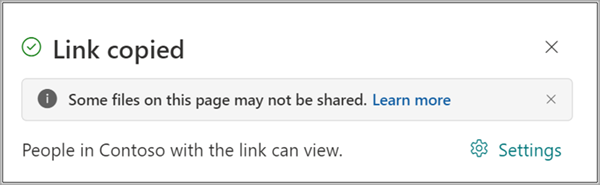
Use Share page and Copy link to page for inviting others to have access to the page for contributing content or for reading just this page from the site. This new feature shares a link that provides access to a recipient if they did not have access already.
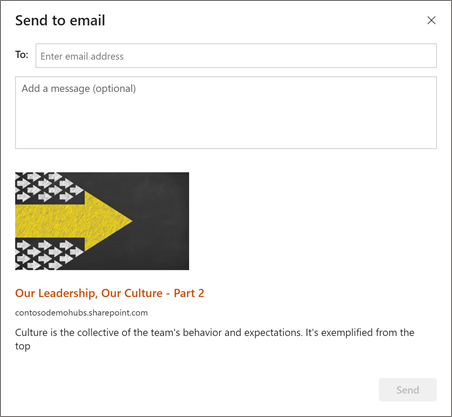
With the Send to email option, you can send an email that includes a link, thumbnail preview, description, and an optional message to one or more people. This allows informing any recipient, including distribution groups or lists about this page or news post. Note that this is not a sharing link and will only work for people who already have access to the site.
Where are pages stored?
Pages that you create, save, or publish are stored in the Pages library for your site. To get to the Pages library:
-
Go to the site where your page is.
-
On the top or left side navigation, select Pages.
Note: If Pages isn't listed on the left side of your SharePoint site, select Settings > Site Contents in the upper right. Then on the left, select Pages.
Your page may be in a folder within the Pages library designated by the site owner.
Delete your page
SharePoint site owners and administrators can easily delete modern pages from a SharePoint site. For more information on how to delete a page, check out Delete a page from a SharePoint site.
What would you like to do?
Add and publish a page
-
Go to the site where you want to add a page.
-
Go to the home page of the site.
-
Select + New, and then select Page.
Alternately, you can go to an existing page, select + New, and select Start from a blank page.
-
Add a page name in the title area. A page name is required to save the page. Check out the Customize the title area.
-
Add web parts
Hover your mouse below the title area and there will be a line with a circled +, like this:
-
Select + to add content like text, documents, video and more. To learn more about how to find and use web parts, check out Using web parts.
You can also add sections and columns to a page. To learn more, check out Add sections or columns on a page.
-
When you're done editing, you can select Save as draft to save your changes and close edit mode. Your audience won't have access to the page until you publish it. Only people with edit permissions on your site will have access.
-
When you are ready for your audience to view and read the page, select Publish.
For more information on publishing and the lifecycle of a page, check out Management and lifecycle of a SharePoint modern page.
Customize the title area
You can customize the title area with an image, a choice of four layouts, text above the title, the ability to change the displayed author, and you can show or hide the published date.
-
Add an image
To add an image, select Add image
Choose a recent image or get an image from your site, your computer, or a link.
Note: Images look best when they are landscape or 16:9 or greater in aspect ratio, and when they are at least 1 MB in size. For more information on image sizing, check out Image sizing and scaling in SharePoint modern pages.
To modify the title area later, just make sure your page is in edit mode, select the title area, and then use the toolbar on the left to change title text and other information, and use the image button to change the image. To change the name in the title area, just select the title area and type over the existing name.
Help others find your page
The first time you publish your page, you'll be prompted to help others find your page. If you want to do this later, you can select Promote at the top of the page after the page is published.
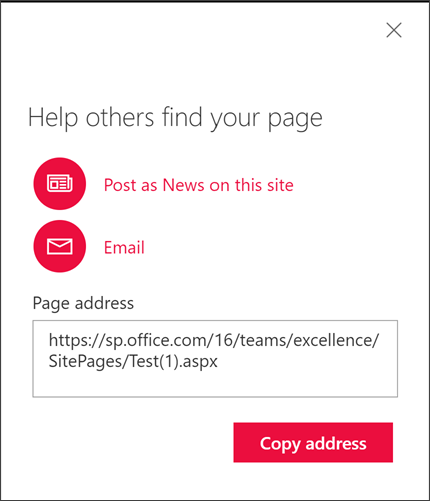
You can use one or more of the following options:
-
Post as News on this site: Adds a News post to the Home page of your site. For more information on News, check out Keep your team updated with News on your team site.
-
Email: Allows you to send an email to your selected recipients.
-
Copy address: The page address is shown so you can copy it and send to others.
Comments
People who view your page can leave comments at the bottom of the page.
Where are pages stored?
Pages that you create, save, or publish are stored in the Pages library for your site. To get to the Pages library:
-
Go to the site where your page is.
-
On the top or left side navigation, select Pages.
If Pages isn't on the left side, select Site Contents from Settings on the upper right, then on the left side of the Site Contents page, select Pages.
Your page may be in a folder within the Pages library designated by the site owner.
Delete your page
SharePoint site owners and administrators can easily delete modern pages from a SharePoint site. For more information on how to delete a page, check out Delete a page from a SharePoint site.
Using web parts
Web parts are the building blocks of your page. You can add web parts to your page by selecting the + sign on the page. For more information on the different types of web parts and how to use them, check out Using web parts on pages.
What would you like to do?
Add and publish a page
-
Go to the site where you want to add a page.
-
Go to the home page of the site.
-
Select + New, and then select Page.
Alternately, you can go to an existing page, select + New, and select Start from a blank page.
-
Add a page name in the title area. A page name is required to save the page. Check out Customize the title area.
-
Add web parts
Hover your mouse below the title area and there will be a circled +, like this:
-
select + to add content like text, documents, video and more. To learn more about how to find and use web parts, check out Using web parts.
You can also add sections and columns to a page. To learn more, check out Add sections or columns on a page.
-
When you're done editing, you can select Save as draft to save your changes and close edit mode. Your audience won't have access to the page until you publish it. Only people with edit permissions on your site will be able to access it.
-
When you are ready for your audience to view and read the page, select Publish.
For more information on publishing and the lifecycle of a page, check out Management and lifecycle of a SharePoint modern page.
Customize the title area
You can customize the title area with an image, a choice of four layouts, text above the title, the ability to change the displayed author, and you can show or hide the published date.
-
Add an image
To add an image, select Add image
Choose a recent image or get an image from your site, your computer, or a link.
Note: Images look best when they are landscape or 16:9 or greater in aspect ratio, and when they are at least 1 MB in size. For more information on image sizing, check out Image sizing and scaling in SharePoint modern pages.
To modify the title area later, just make sure your page is in edit mode, select the title area, and then use the toolbar on the left to change title text and other information, and use the image button to change the image. To change the name in the title area, just select the title area and type over the existing name.
Help others find your page
The first time you publish your page, you'll be prompted to help others find your page. If you want to do this later, you can select Promote at the top of the page after the page is published.
You can use one or more of the following options:
-
Post as News on this site: Adds a News post to the Home page of your site. For more information on News, check out Keep your team updated with News on your team site.
-
Email: Allows you to send an email to your selected recipients.
-
Copy address: The page address is shown so you can copy it and send to others.
Edit your page
To make changes to your page, do this:
-
Select Edit at the top right.
When you select Edit, the page is checked out to you. As long as the page is open for editing, or checked out, no one else can edit it. The page is "locked" until changes are saved or discarded, or until the page is published. An exception is that if the page has no activity for 5 minutes, the editing session will time out and the page will be "unlocked."
-
Make your changes. For help on page layout and using web parts, check out Add sections and columns on a page and Using web parts on SharePoint pages.
-
When you're done making changes, choose Save as draft to save your changes and close edit mode.
-
If you're ready for users to view and read your changes, select Publish. For more information on publishing and the lifecycle of a page, check out Management and lifecycle of a SharePoint modern page.
Notes:
-
Specific permissions are required to edit and rename pages. If you can't rename a page, contact your site administrator to make sure you have Delete Items permission. If you can't edit a page, make sure you have Browse User Information permission.
-
If you are used to working with customized pages and site definitions, you should know that this type of page has no association with a site definition; therefore, it cannot be reset to a site definition.
Comments
People who view your page can leave comments at the bottom of the page.
Where are pages stored?
Pages that you create, save, or publish are stored in the Pages library for your site. To get to the Pages library:
-
Go to the site where your page is.
-
On the top or left side navigation, select Pages.
If Pages isn't on the left side, select Site Contents from Settings on the upper right, then on the left side of the Site Contents page, select Pages.
Your page may be in a folder within the Pages library designated by the site owner.
Delete your page
SharePoint site owners and administrators can easily delete modern pages from a SharePoint site in the Page details pane.
-
Ensure the page is in edit mode by selecting Edit at the top right of the page.
-
On the command bar, select Page details.
-
Select Delete page.
-
Confirm or cancel your deletion in the confirmation box that appears by selecting Delete or Cancel.

Learn more about Deleting a page from a SharePoint site.


