
With PowerPoint for the web, you create presentations right in your internet browser. Let’s walk through the steps for creating a basic presentation:
Pick a theme
PowerPoint comes with “themes,” sets of professionally designed colors and layouts. Just pick a theme, and all your slides will follow that look.
-
On the Design tab, pick a theme.
-
Every theme has variations, so you can pick a different color scheme.


Pick a layout for your slides
Each slide layout has placeholders for text, pictures, charts, shapes, and more. Pick the layout that works best with the content you plan to present.
-
On the Home tab, click Layout.
-
Pick a layout, and click Change layout.

Add text
To add text to your slide, click inside a text placeholder and start typing.
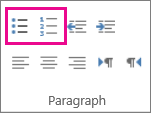
For text bullets, place your cursor in the line of text, and on the Home tab, pick a bullet style.
Add a picture
-
On the Insert tab, click Picture.
-
In the Choose File to Upload box, find a picture, and click Open.

Add transitions between slides
For smooth, animated shifts between slides, add transitions.
-
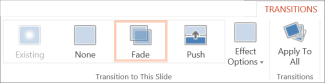
On the Transitions tab, pick a transition.
-
To apply the transition to all the slides in your presentation, click Apply To All.
Present your slide show
You can run your PowerPoint for the web presentation with an Internet connection and a web browser.
To start your slide show, on the View tab, select Play From Beginning.

To manage your slide show, go to the controls in the bottom-left corner 
|
Select |
To |
 |
Go to the previous slide |
 |
Go to the next slide |
 |
View all slides |
 |
Turn subtitles on or off |
 |
End the slide show |
To go to any slide in the presentation, right-click the slide, and click Go to Slide.

Enter the slide number in the Slide box.

Share your presentation online
-
Click the Share tab.
-
Under Share, click Get a link.
-
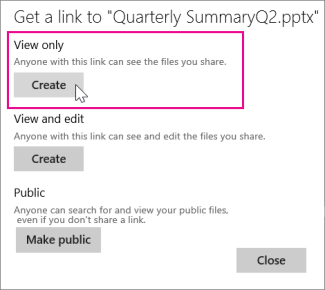
To share a view-only copy of your presentation, under View only, click Create.
-
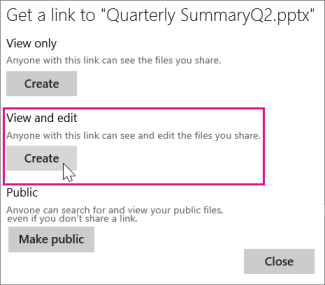
To let others view and edit a copy of your presentation, under View and Edit, click Create.
-
-
To shorten the link you share with others, click Shorten.

-
Copy the link, and click Close.

-
Paste the URL into an email, chat session, or social networking site.
Print your slides
You can print your slides and use them as handouts, or you can add your speaker notes to them and use them as a visual aid when you present.
Important: A PDF viewer is required for printing in PowerPoint for the web. If you don't already have one, you may be able to download one from the Web.
-
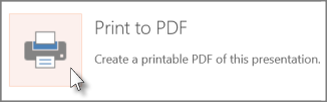
On the File tab, > Print, > Print to PDF.
-
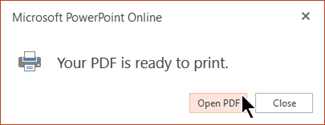
To see the presentation when it’s been converted to PDF, click Click here to view the PDF of your document.
-
In the Print box that appears, under Page Sizing & Handling, click Fit, and under Orientation, click Landscape. Set any other print layout options you want.
Note: If you need help picking print options, click the Help link in the upper right corner of the Print box.
-
Click Print.
Tip: The PDF file opens in a new browser window. You can close it when you are finished printing.


