
If a group owner leaves your company the group could find itself without an owner. The content in the group is unaffected by this - the content belongs to the group and isn't tied to the owner's account. But not having a group owner means there's nobody with permissions to manage the group. Fortunately this problem is easily resolved by any administrator in your organization.
Assign a new owner using the web portal
-
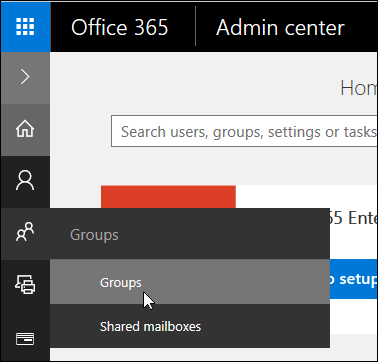
Sign in to the Microsoft 365 portal with an account that has administrator privileges. Choose Groups from the navigation pane at the left, and then Groups from the fly-out that appears.
-
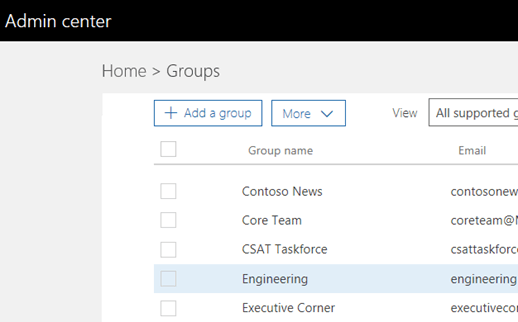
Find the group that you need to assign a new owner to and click on it.
-
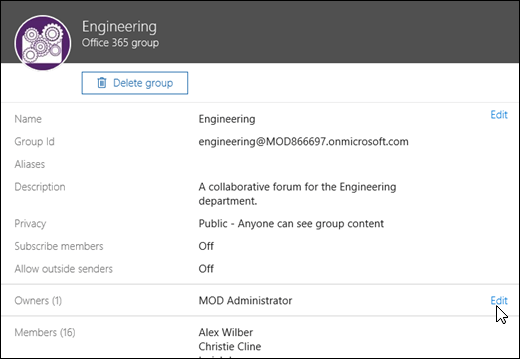
In the Owners section, choose Edit.
-
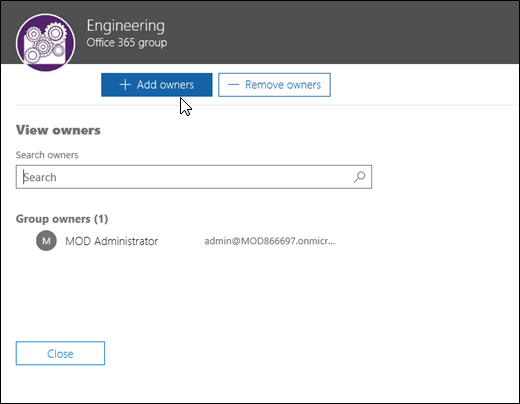
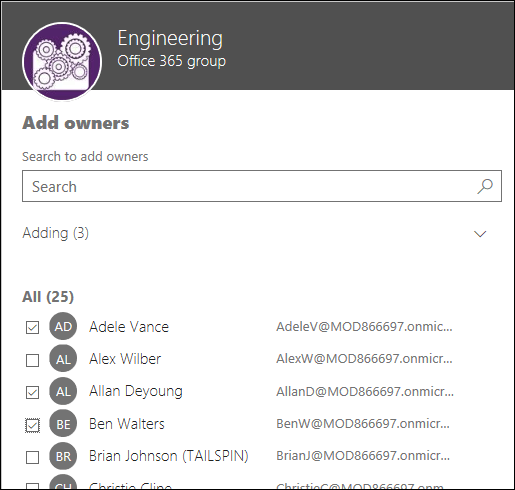
In the View Owners dialog box, choose Add Owners.
-
Add the new owner, or owners, of the group. An individual group can have as many as 100 owners. It's a best practice that a group should have at least two owners so that the departure of one doesn't leave the group without an owner.
-
When you're done, click the Close button on the View Owners dialog box, and then the Close button on the group admin pane.
Assign a new owner using PowerShell
If you'd prefer to assign a new owner via PowerShell, perhaps because the person who left owned a number of groups and you'd like to replace them on all of those groups with a single script, you can do that. The Add-UnifiedGroupLinks cmdlet lets you add members and owners to an existing Office 365 group.
PowerShell also makes it easy to identify groups that currently have no owners. To do that use this script:
$Groups = Get-UnifiedGroup | Where-Object {([array](Get-UnifiedGroupLinks -Identity $_.Id -LinkType Owners)).Count -eq 0} `
        | Select Id, DisplayName, ManagedBy, WhenCreated
ForEach ($G in $Groups) {
    Write-Host "Warning! The following group has no owner:" $G.DisplayName
}
For more information on using PowerShell to administer groups see Manage Microsoft 365 Groups with PowerShell.
Assign a new owner using the Microsoft 365 Admin mobile app
If you have an iOS or Android device, you can download and install the free Microsoft 365 Admin mobile app from your app store. Once it's installed, sign in using an account that has administrator permissions. On the home screen select Groups, pick the group you need to add a new owner to and then select Edit owners.
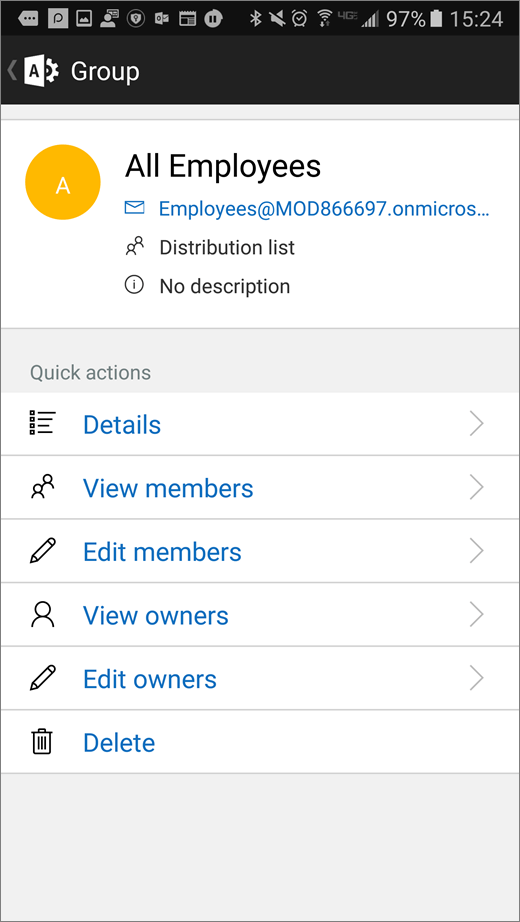
Select Add owners from the dialog that appears. A user list will appear and you can select the users that you would like to assign owner status to.


