
Web parts are containers that hold different types of content in the space. Different web parts are available for 360°, 3D, and 2D content.
Check out this video to learn how to add web parts to a space, and read the steps below for more details.

In this article
Add a web part
|
1. If you're not already in edit mode, at the top right of your space, select Edit. On the canvas, select the circled + icon. |
|
|
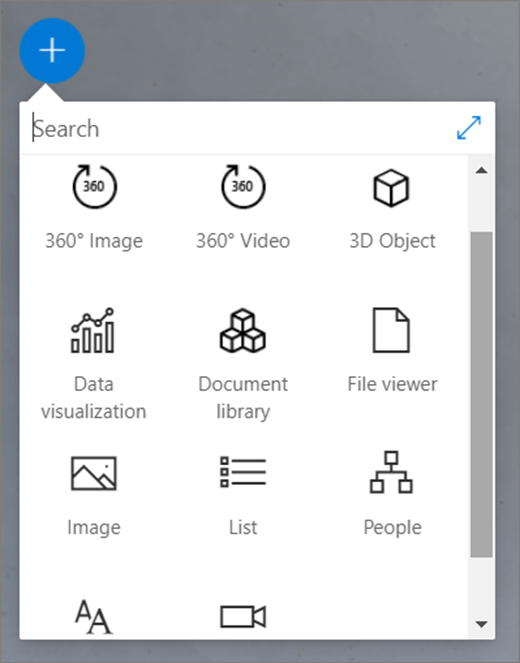
2. Select the type of web part you'd like to add. |
|
|
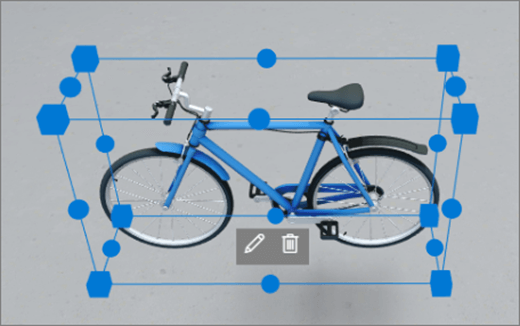
3. Click to place it anywhere on the structure (floor). In the pane that opens, select the file you'd like to use, and then select Open. This adds the web part to the space. |
|
|
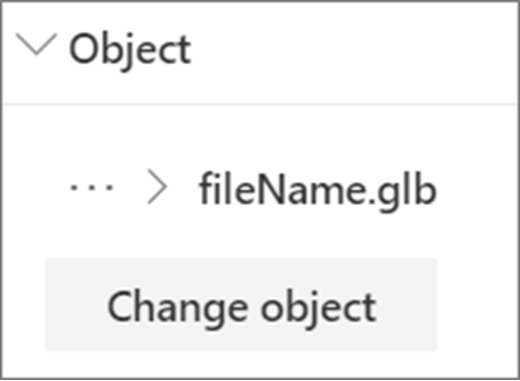
4. If you want to change the file you added, in the space, select the web part, and then select the pencil icon. This opens the property pane. |
|
|
5. To change the file, select Change object (type of content). |
|
Note: When adding content to your space, store it in the site which has appropriate permissions for your audience. This ensures that when you share it, viewers will have permissions to view the content.
Duplicate a web part
There are two ways to duplicate a web part.
|
Using the keyboard command:
Using the menu:
|
|
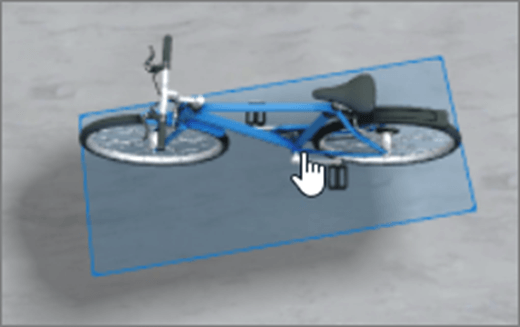
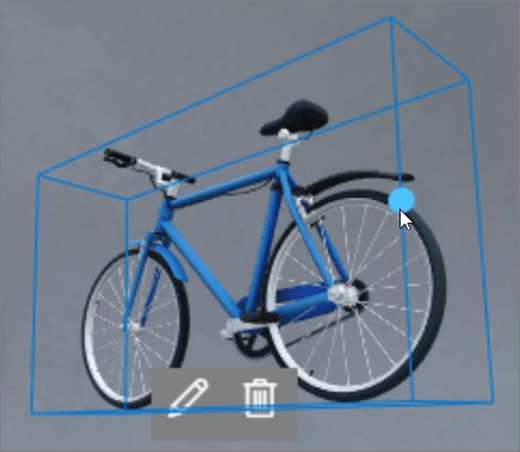
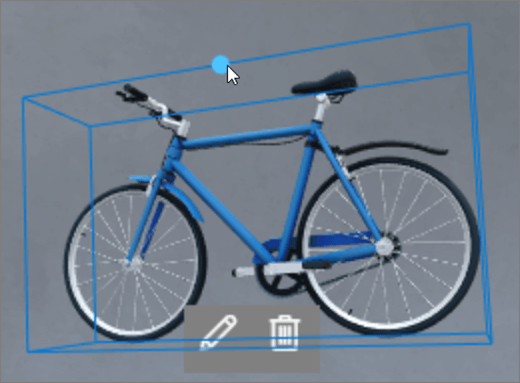
Set the size of a web part
There are two ways you can set the size of a web part while editing.
|
Using the bounding box:
Using the transform bar:
|
|

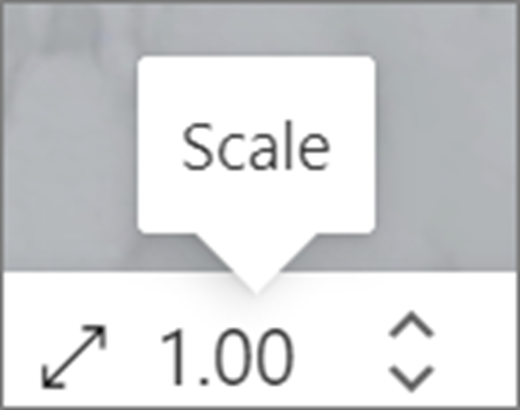
Tip: 1.00 = 1 meter.
Set the angle of a web part
There are two ways you can set the angle of a web part while editing.
|
Using the bounding box:
Using the transform bar:
|
|

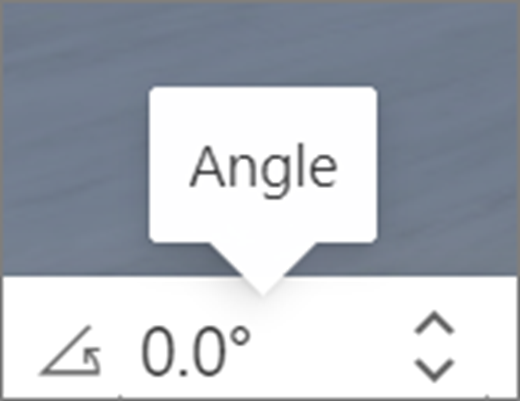
Tip: 0° is straight in front of the camera.
Set the distance of a web part
There are two ways you can set the distance of a web part from the user (or camera) while editing.
|
Using the bounding box:
Using the transform bar:
|
|
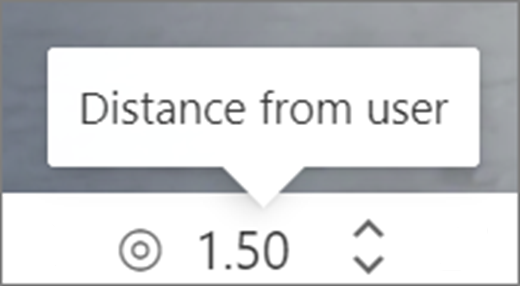
Tip: 1.00 = 1 meter. About 1.5 meters is a comfortable viewing distance.
Set the height of a web part
There are two ways you can set the height of a web part while editing.
|
Using the bounding box:
Using the transform bar:
|
|

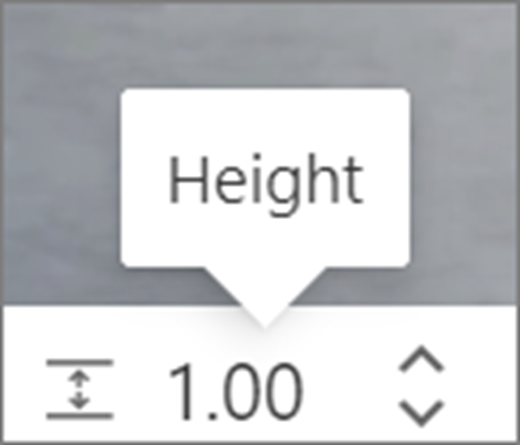
Tip: 1.00 = 1 meter.
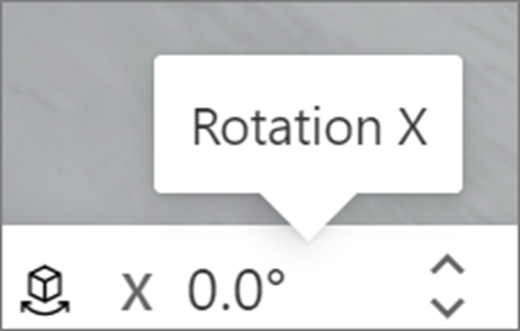
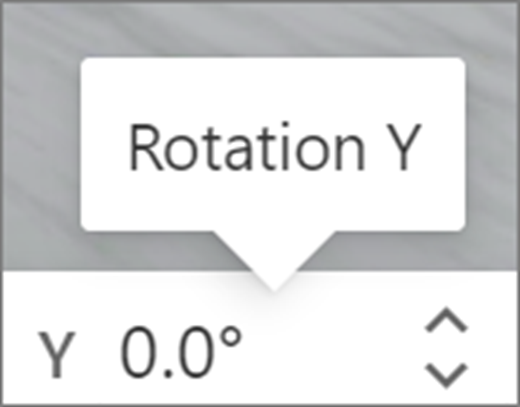
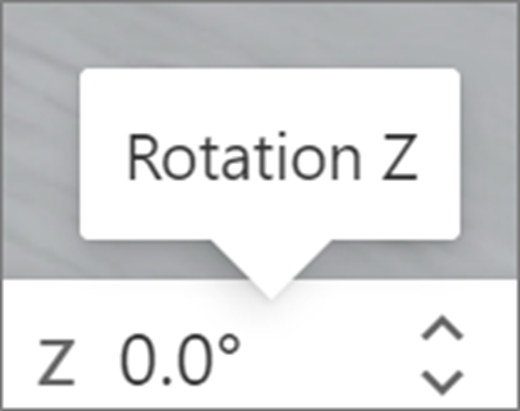
Set the rotation of a web part
There are two ways you can set the rotation of a web part while editing.
|
Using the bounding box:
Using the transform bar:
|
|
Learn about the web parts you can use in a space
More information
Remove a web part from a SharePoint space


