
As projects come and go, so too will your group members. Undoubtedly, you'll need to add and remove members over the life of the group; you might even need to add or remove group owners.
Any member of a group can invite others to the group, but only the group owner can remove them. The group owner is usually the person who created the group but others can be assigned this role as well. It's recommended that groups should have at least two owners, in case one of them is unavailable.
Select the tab that corresponds with your version of outlook for instructions on adding and removing members, including guest members.
Note: Many of the features in the new Outlook for Windows work the same or similarly as Outlook on the web. If you’re interested in trying the new experience, check out Getting started with the new Outlook for Windows.
Add members to your group
-
Open Outlook for Windows.
-
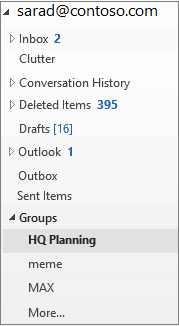
Under Groups in the left folder pane, select your group.
-
On the Groups ribbon, select Add Members.
-
In the Add Members box, search for people within your organization either by their full name or email address, and then select the names to add.
-
Click OK.
Note: You can't edit group membership using the Address Book. If you try to add or remove members using the Address Book you may see an error.
Add guests to a group
When you add guests, also known as external users, to a group, you're granting them access to all information within the group. This includes emails, calendar, project notes, project files, and project plans. Guests don't see a Groups node in their navigation pane in Outlook but do receive group emails and links to files through their inbox.
The groups header indicates when guest users are included in the group, as shown in this example.
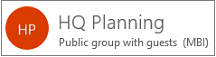
When you invite a guest to join a group, they will be notified by email that they've been added. They'll begin to receive group conversations and calendar events in their inbox. But guest members do have limitations as to what they can see and do in a group. For example, guests can't:
-
Be group owners
-
View the global address list
-
View all information on group member contact cards
-
View membership of the group
The group owner can revoke guest access at any time.
To add guests to a group
-
Open Outlook for Windows.
-
Under Groups in the left folder pane, select your group.
-
On the Groups ribbon, select Add Members.
-
In the Add Members box, enter the email address of the guest and press Enter.
-
Select OK.
Remove a member from a group
Only group owners can remove members.
-
Under Groups in the left folder pane, select your group.
-
On the ribbon, select Edit Group.
-
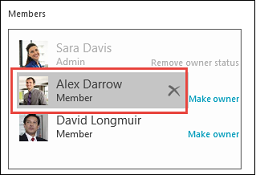
In the Edit Group box, point to the name of the member you want to remove, and click the X.
Note: This feature is available to Office Insider participants with Microsoft 365 subscription. If you are a Microsoft 365 subscriber, make sure you have the latest version of Office.
Add members to your group
-
Open Outlook for Mac
-
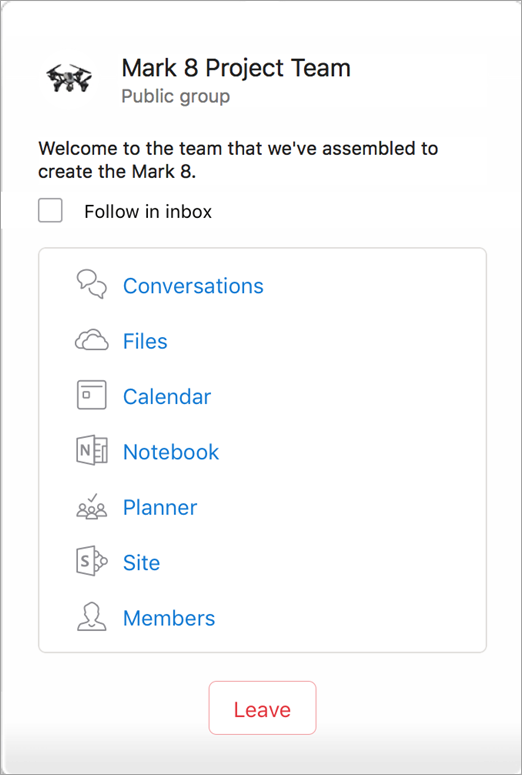
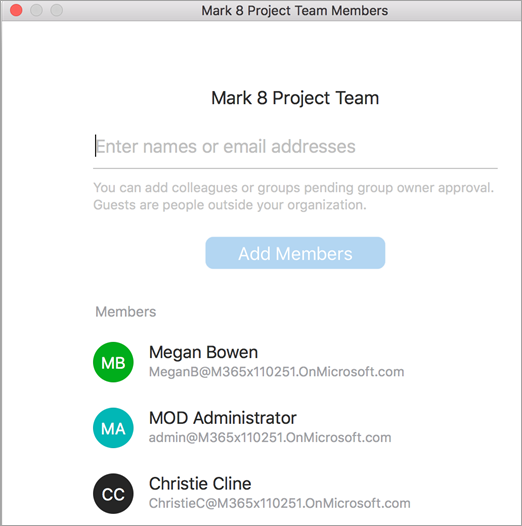
Open group card of the group to which you’ll add members.
-
Choose Members.
-
Type one or more names or email addresses, or select members from the list. You can add guests who are people outside your school or your organization to the group.
-
Choose Add Members.
Remove a member from a group
-
Open Outlook for Mac
-
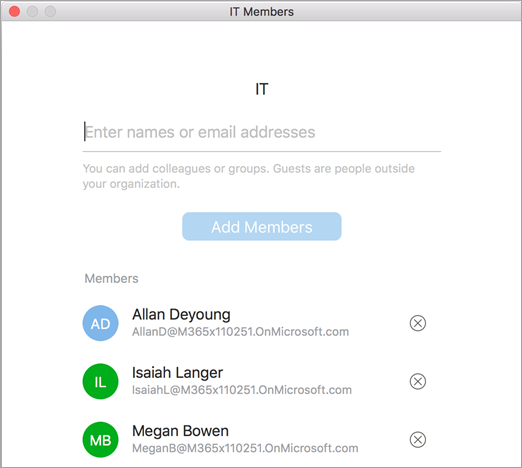
Open group card of the group from which you’ll remove members. Only group owners can remove members.
-
Choose Members.
-
Click X next to the name of the person you want to remove from the group.
-
Choose Remove.
Add members to your group
-
Open the Outlook Mobile app.
-
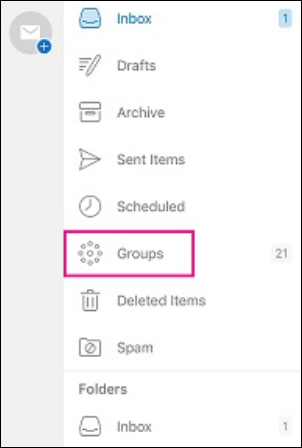
Select Groups from the folder pane.
-
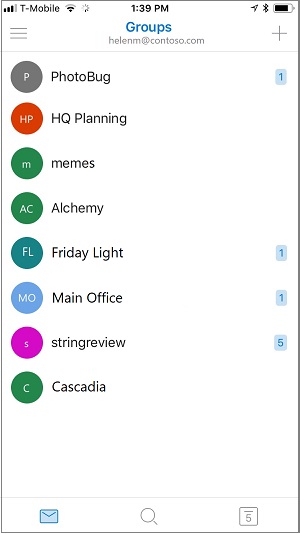
Tap the name of the group to which you'll add members.
-
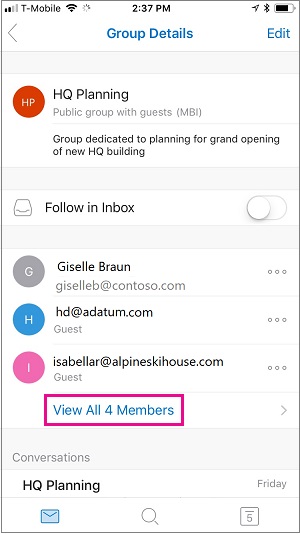
Tap the group name to go to the Group Details page.

-
Below the list of members, tap the View All link.
-
On the Members page, tap Add.
-
Type one or more names or email addresses, or select members from the list. Members from outside your school or organization will have "Guest" beneath their names.
-
Tap

Remove a member from a group
Only group owners can remove members.
-
Open the Outlook Mobile app.
-
Select Groups from the folder pane.
-
Tap the name of the group to which you'll remove members.
-
Tap the group name to go to the Group Details page.
-
On the Group Details page, tap . . . next to the name of the person you want to remove from the group.
-
Tap Remove From Group.
See Also
Join or leave an Outlook group in Outlook.com or Outlook on the web


