
Add the 360° Video web part
-
If you're not already in edit mode, at the top right of your space, select Edit.
-
On the canvas, select the circled + icon.
-
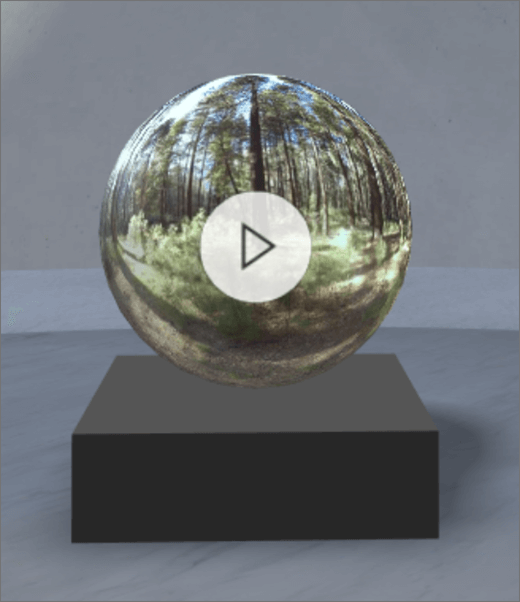
Select 360° Video.
-
Place it anywhere on the platter (floor).
-
In the file picker, select the 360° video file you'd like to use, and then select Open.
Note: For guidance on 360° video best practices (such as recommendations for file format, video codec, bitrate, and so on) see Best practices for 360° videos in SharePoint spaces.
-
Select the web part, and then select the pencil icon. This opens the property panel.
-
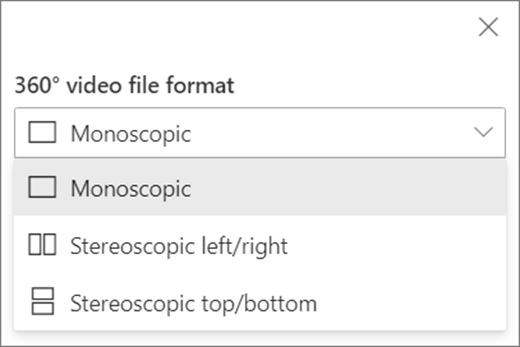
To change the video format, select Video not displaying correctly?.
If the camera you used to capture the 360° video was a single lens camera which was placed on a rig or ring formation to make a circle, select Monoscopic. If the camera you used to capture the 360° video was two cameras for each field of view, select Stereoscopic.
-
To set the starting view, select your preference for Video rotation.

-
(Optional) Add captionsusing either transcript text or a VTT file.
-
(Optional) Select and enter Alternate text.
-
(Optional) If you want a podium to appear below the video, select Show podium. To set the distance between the video and the podium, use the Height from podium slider.
-
Select Save as draft or Publish.
Note: For guidance on sizing and placing web parts, see Add and use web parts in a SharePoint space.
Add actions
Actions make web parts interactive. You can select actions while editing your web part. After you save your space as a draft or publish it, they become interactive. Adding actions is optional.
-
While editing, select the 360° video web part, and then select the pencil icon. This opens the property panel. Scroll down to Actions.
-
Select Add action.
-
When you select the web part, the On trigger action occurs.
-
When you right-click (mouse) or press + hold (controller), More actions appears.
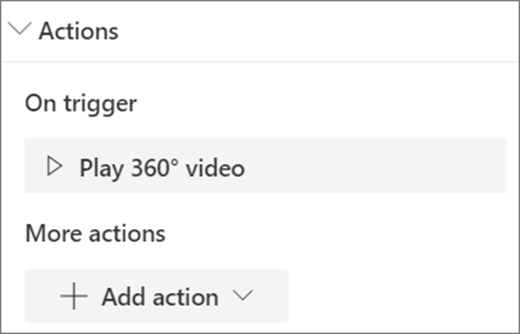
Note: Enter 360° video is the (locked) On trigger action for this web part. To configure More actions, select Add action, and then select ... (ellipsis). To re-order the actions, drag them into the order you want.
-
-
For More actions, select from the following:
-
Link to another space: Opens a linked SharePoint space.
-
Play audio: Plays an attached audio file.
-
Link to a page or item: Opens a linked URL (for example, a SharePoint page, a public website).
-
-
(Optional) Enter a Description.
-
To try out your actions, select Save as draft. When you're ready to make the page visible to your viewers, select Publish.


