
Create a flow for a list or library
Use Power Automate to set up workflows for lists and libraries in Microsoft Lists, SharePoint, and OneDrive for work or school. Power Automate helps you automate common tasks among SharePoint, other Microsoft 365 services, and third-party services.
Create a flow for a list or library
-
Navigate to a list or library in Microsoft Lists, SharePoint, or to your OneDrive for work or school.
Notes:
-
Power Automate appears under the Automate menu on the command bar in SharePoint libraries and OneDrive for work or school on the web. In lists, the Power Automate option appears on the Integrate menu. For SharePoint, the option to create a flow will only be available for site members who can add and edit items. The option is always available for OneDrive for work or school in the browser.
-
Power Automate can connect with SharePoint Server through an on-premises data gateway. Power Automate does not appear in SharePoint Server.
-
-
At the top of the list, select Integrate > Power Automate > Create a flow. (In a library or your OneDrive, select Automate > Power Automate > Create a flow.)
-
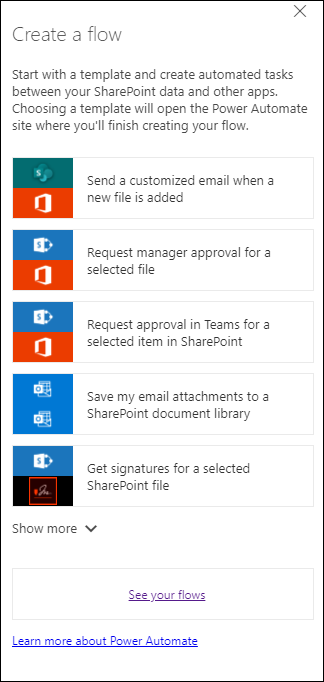
Select a flow template from the right-hand panel. Some commonly used flows appear. Get started with common scenarios, such as sending a customized email when a new item is added to the library. Use these templates as a starting point to create your own flows. Or, choose the custom action flow templates, found at the bottom of the list, to create a flow from scratch. After selecting a template, complete the remaining steps in the Power Automate site.
-
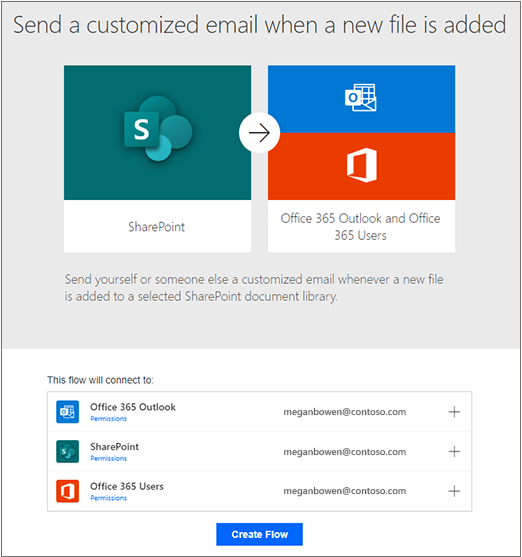
To connect to a list or library, follow the instructions on the Power Automate site. Credentials are verified for each service used in the flow. For Microsoft 365 services, such as SharePoint and Outlook, connections are created automatically. For third-party services, to sign in to each service, select the link provided.
-
The following steps happen in the Power Automate designer. The first action to appear, also known as a trigger, determines how the flow is started. Add additional actions after the first action. Each new action is dependent on the previous action.
One type of flow performs actions automatically when items are added or changed in a list or library. For example, the following flow template sends an email when an item is added to the list. A second type of flow can be started only after you select an item. To start this flow, select the Automate menu in the command bar in SharePoint or Lists. The type of trigger you previously selected determines if the flow is started automatically, or manually, from the command bar.
Add any necessary information, or change the default values provided for the template in the designer. To modify the default values, under Send Email,select Edit. The options for the Send Email action include changes to how the email appears to displaying additional fields from the SharePoint item.
-
Configure the flow, and then select Create Flow.
Note: To learn more about Power Automate, view the guided learning videos.
7. After the flow is created, select Done.
Note: See all of your flows and check status on the Power Automate website.
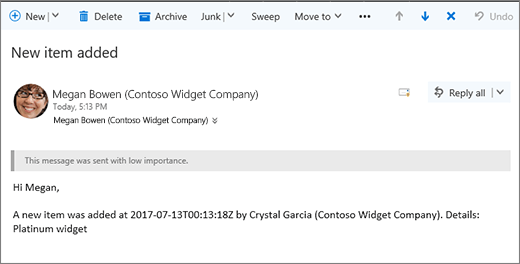
After creating this particular flow, add an email to the list or library to send an email like the following.
To learn how to edit a flow in a list, see Edit a flow for a list. To learn how to delete a flow in a list, see Delete a flow from a list.
Note: Power Automate is not available in the classic experience of SharePoint.
If the default behavior is set to the classic experience, Power Automate does not appear in the command bar of your list or library. If the new experience is available, to enable it for your list or library, navigate to List Settings, and then select Advanced Settings. For more info, see Switch the default experience for lists or document libraries from new or classic.
For more info about lists, see What is a list in Microsoft 365? For more info about Power Automate, see Get started with Power Automate.


Need more help?
Want more options?
Explore subscription benefits, browse training courses, learn how to secure your device, and more.


Communities help you ask and answer questions, give feedback, and hear from experts with rich knowledge.


