When you add a modern page to a site, you can add and customize web parts, which are the building blocks of your page.
This article describes the List web part, which allows you to display a list from your site on a page and customize it with your own title, view, and even size.
Types of lists you can use are custom lists, announcement lists, contact lists, and issue tracking lists.
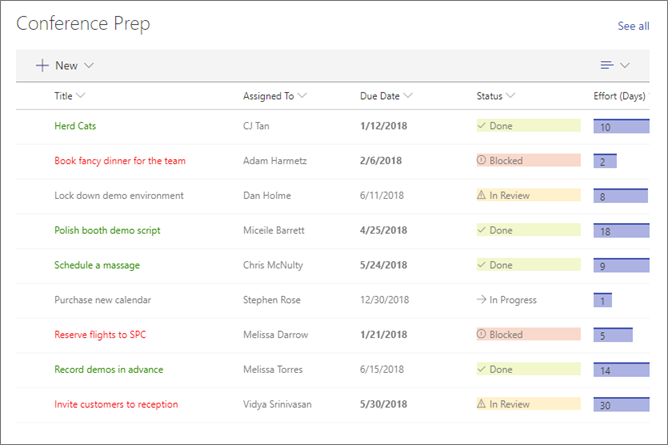
Users can view, filter, sort, and group the list, or go to the list page by clicking See all. Additionally, formatted columns, nested groups, and attention view can be displayed in the web part.
Note: Some functionality is introduced gradually to organizations that have opted in to the Targeted Release program. This means that you may not yet see this feature or it may look different than what is described in the help articles.
Add a list to a page
-
Make sure the list you want is available on the site where your page is. Here's how to create a list if you need to.
-
If you want a custom view of your list to appear on your page, create the view.
-
Go to the page where you want to add the list.
-
If your page is not already in edit mode, click Edit at the top right of the page.
Hover your mouse above or below an existing web part and you'll see a line with a circled +, like this:

-
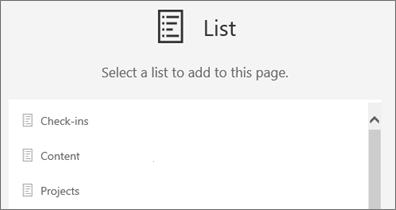
Click +, and then select List from the list of web parts.
-
Select the list you want to put on your page.
-
Click Edit web part

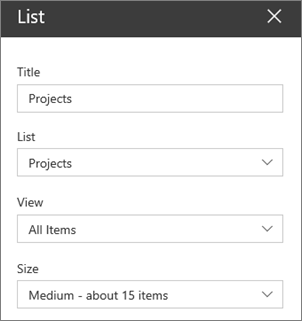
For SharePoint Server 2019, change the title by selecting and typing a new title, rather than using Edit web part.
Add new items
-
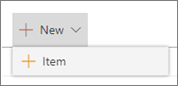
In SharePoint, you can add new items by clicking + New at the top of the list.
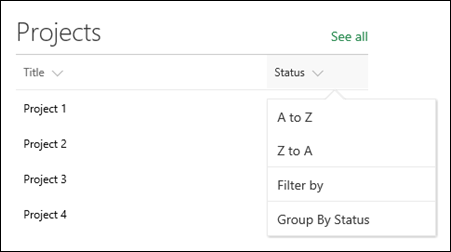
Sort, filter, and group the list in the web part
For SharePoint in Microsoft 365, you can add sort, filter, and group items in the web part.
-
Click the down arrow next to the title of the column you want to sort, filter, or group.
-
Select the action you want to take.