
Save PowerPoint presentations as PDF files
When you save presentation as a PDF file it freezes the formatting and layout. People can view the slides even if they don’t have PowerPoint, but they can’t make changes to it.
-
Select File > Export.
-
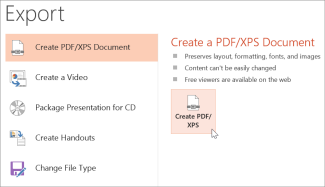
Click Create PDF/XPS Document, then click Create PDF/XPS.
-
In the Publish as PDF or XPS dialog box, choose a location to save the file to. If you want it to have a different name, enter it in the File name box.
-
Optionally, if you want to change what the final PDF file is like, do any of the following:
-
At Optimize for, select Standard for higher quality (for example, if you want to print it). Select Minimum size to make the file smaller (for example, if you want to send it as an e-mail attachment).
-
Click Options to set how the presentation will appear as a PDF. Here are some of the available options:
-
To save the current slide only as a PDF, under Range, select Current slide.
-
To save specific slides as PDF, in Slides(s), enter the slide number range in From and To boxes.
-
If you don't want to save slides, but instead only save comments, handouts, or Outline view, under Publish what, select an appropriate option. You can also specify the number of slides to appear in Slides per page dropdown box, and modify the order (Horizontal or Vertical).
-
You can choose to include frame slides, hidden slides, comments, ink, non-printing information such as Document properties or Document structure tags, in your PDF by selecting the appropriate options.
-
Click OK.
-
-
-
Click Publish.
There are two ways to make your PowerPoint for macOS presentation a PDF.
-
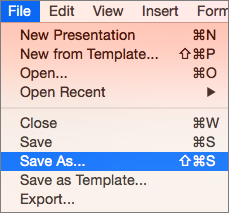
You can save your presentation as a PDF in File > Save As.
--OR--
-
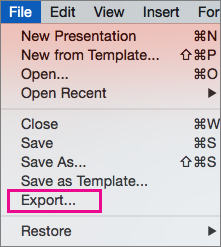
You can export your presentation as a PDF file by going to File > Export.
Both methods do the same thing, so you can choose whichever you're more familiar with when you want to create a PDF version of your presentation.
Method 1: Save your presentation as a PDF
-
Select File > Save As.
-
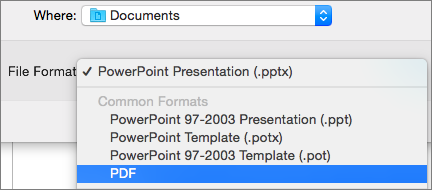
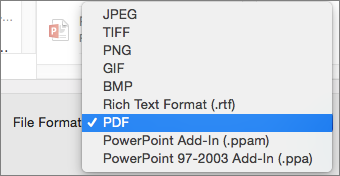
Choose the location where you'd like to save your PDF, and then in the File Format menu, choose PDF.
-
Method 2: Export your presentation as a PDF
-
Select File > Export.
-
In the File Format menu, choose PDF.
Note: If you’d like to have more options to customize PDF conversions of presentations in PowerPoint for macOS, let us know by providing us feedback. See How do I give feedback on Microsoft Office? for more information.
Set the print quality of the PDF
Features such as saving notes, saving slides as handouts, including hidden slides in the PDF, or setting the PDF to a smaller file size aren't available. However, you can set the print quality of a PDF to a higher or lower standard.
Tip: PowerPoint for macOS doesn't preserve hyperlinks in PDFs but if you save your presentation to OneDrive you can open it in PowerPoint for the web and download as PDF from there. PDF files generated from PowerPoint for the web preserve hyperlinks, are accessible, and also tend to have a smaller file size.
You can set the print quality of the PDF to High, Medium, or Low—depending on your need. By default, the print quality is set to High—which is the optimal choice for printing a PDF. Follow these instructions to set the print quality of the PDF:
-
Click the PowerPoint menu > Preferences.
-
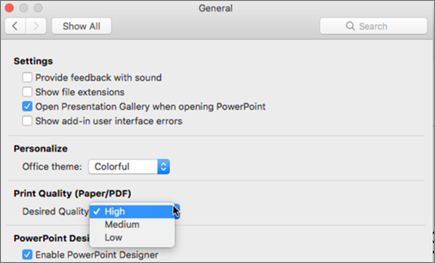
In the PowerPoint Preferences dialog box, click General.
-
Under Print Quality (Paper/PDF), set the Desired Quality to an option of your choice.
-
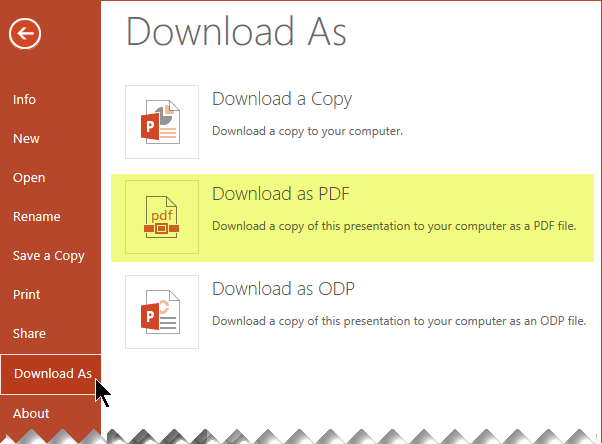
Click the File tab, click Download As, and then click Download as PDF. (The file is converted to PDF, and then a dialog box tells you that it is ready to download.
-
Click Download. A message bar appears to show you that the downloaded PDF file is ready to save to your computer. (The exact message varies depending on the web browser you're using.)
-
Click Save As, and then a dialog box appears that allows you to specify where to save the file on your computer.


Need more help?
Want more options?
Explore subscription benefits, browse training courses, learn how to secure your device, and more.


Communities help you ask and answer questions, give feedback, and hear from experts with rich knowledge.


