
To share your PowerPoint presentation with your friends or the community on a social network, you first need to make a connection between the social network and OneDrive. Set up a connection to each of your social networks and then you can post all you want. Here’s how:
-
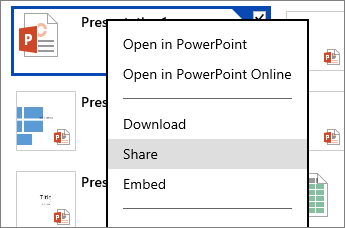
Sign in to OneDrive and open the file you want to post.
-
Click the Share tab.
-
Under Share, click Post to, click add services, and then pick a social network to connect to.
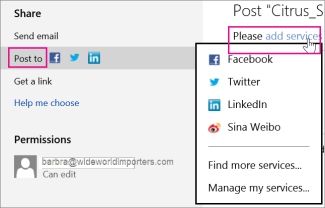
Note: If you don’t see the social network you want in the list, click Find more services and follow the online instructions to add it.
-
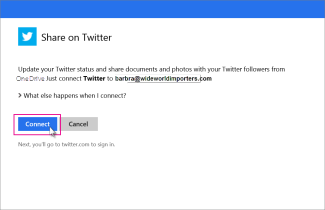
Click Connect.
-
Allow your OneDrive and social network accounts to connect with one another.
Note: Each social network requires that you authorize the connection. To change the connection permissions at any time, see Change or remove a connection to a social network below.
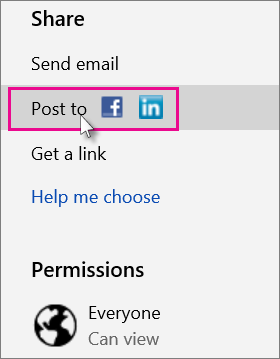
When you‘re ready to share your presentation
-
Under Share, click Post to.
-
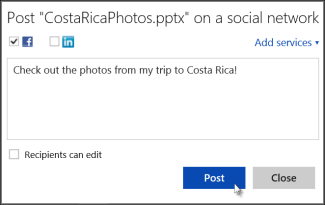
Check one or more boxes

-
Type a message about the presentation you’re posting.
-
Allow people (who sign in to OneDrive) to edit your posted presentation by checking Recipients can edit.
-
Click Post.
Change or remove a connection to a social network
If you have set up a connection between OneDrive and a social network such as Facebook, Twitter, LinkedIn, or others, you can remove that connection at any time.
-
Sign in to OneDrive, right-click the presentation file, and then click Sharing.
-
Click Post to.
-
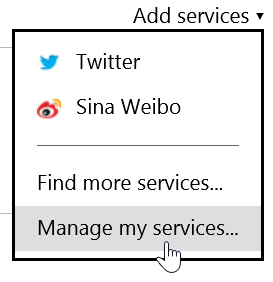
Click Add services, and then click Manage my services.
-
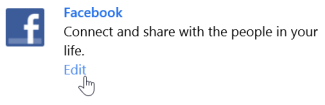
Click Edit below the social network you want to change, for example Facebook.
-
Click Remove this connection completely, and then click Remove.


