
If OneDrive in Microsoft 365 is set up and ready for you to use, you’ve probably received an email with sign-in credentials and other instructions from your administrator. This article describes how to move files you currently have in your SharePoint Server 2010 My Site library to this Microsoft 365 library. You can also move files from SharePoint Server 2013 and OneDrive for work or school to Office 365.
|
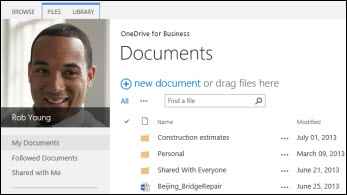
SharePoint 2010 My Site libraries |
SharePoint 2013 OneDrive for work or school library |
|---|---|
|
|
|

Complete the following tasks, in sequence:
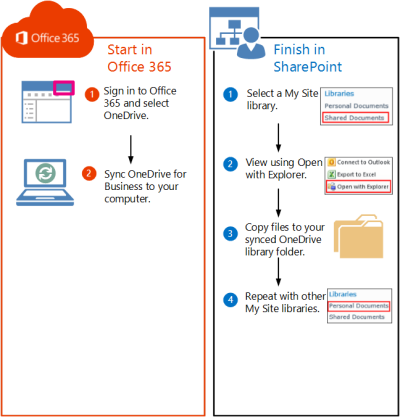
Although you’re not yet storing files in OneDrive on Microsoft 365, you can still create a sync connection on your computer. Later, you’ll copy files to the synced library folder on your computer, and these files will automatically upload to OneDrive on Microsoft 365.
-
Sign in to Microsoft 365 with your work or school account.
-
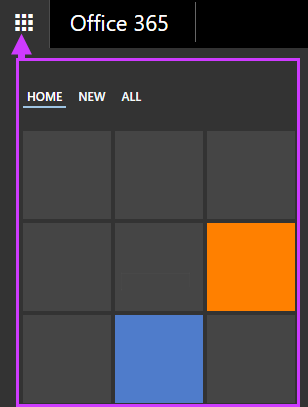
At the top of the page, select OneDrive. Or, select the app launcher

-
Select Sync.
-
Select Sync Now in the wizard.
-
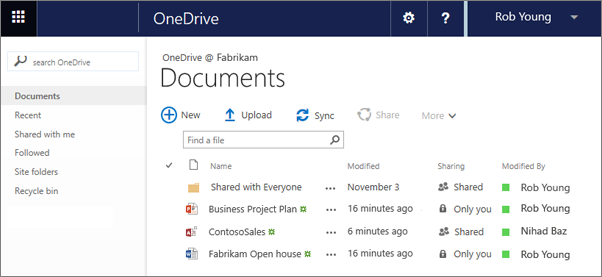
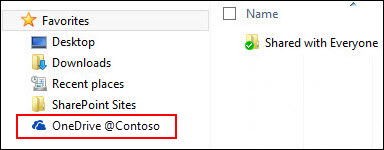
Select Show My Files to go to the synced library folder. The folder appears under your Windows favorites and is named “OneDrive @OrganizationName,” for example:
You won’t see any files in the synced library folder. So far you’ve only set up the sync connection between the folder and the Microsoft 365 library.
-
Go to the My Site document library that contains the files you want to move.
-
On the Library tab, in the Connect & Export group, select Open with Explorer.
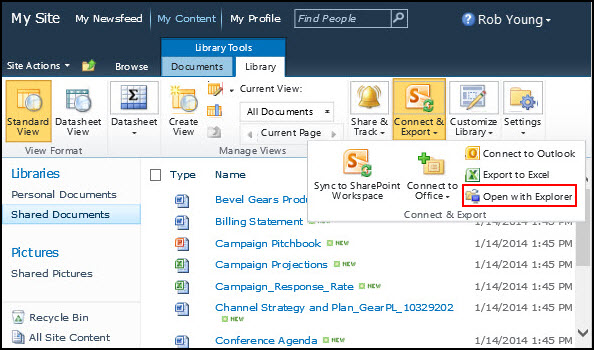
File Explorer opens and displays the selected SharePoint library folder.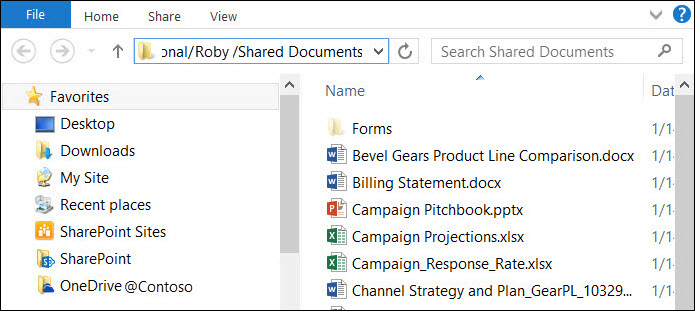
-
Drag and drop the files you want to move to Microsoft 365 to the synced OneDrive folder.
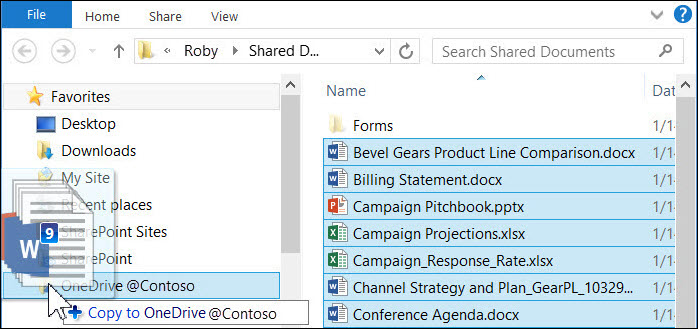
The files will automatically get uploaded to Microsoft 365. You can repeat these procedures to move files from other SharePoint 2010 libraries.Tip: You can quickly navigate to the library in a web browser. In the synced library folder, right-click any file, select OneDrive for work or school, and then select Go to browser.


