
Document IDs can help with document or record management. Enable the Document ID service for on a site to add a Document ID to each file on the site.
In this article
Overview
Document IDs help you manage your documents by providing an easy way to track items regardless of their location. For example, if a legal contract gets moved from a document library on one site to a document library on another site, the contract would be easy to locate based on its Document ID. Document ID’s are automatically assigned to uploaded documents and this ID will follow the item throughout its entire life cycle. Document IDs can also be assigned to Document Sets.
When the Document ID service is first enabled, new documents in the site collection will automatically be assigned new IDs. A timer job is scheduled to assign IDs to documents already in the site collection.
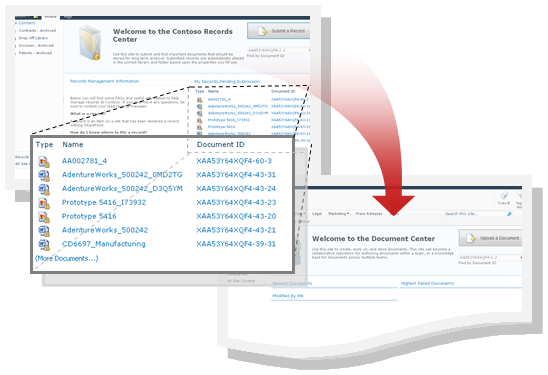
Also, when the service is enabled, a new column is automatically added to the Document and Document Set content types. The Document ID column displays the ID assigned to an item.
Before using the Document ID feature in your content management system, you must first enable it for each site collection your documents are located in.
Moving files with a Document ID
In SharePoint the Document ID will normally move with the file. However, when the destination site does not have the Document ID service enabled, the document will no longer have a Document ID.
For SharePoint Server the only way to retain a Document ID within sites is to use the Site Content and Structure administrative page in Site Settings while moving documents.
Copying files with a Document ID
When a copy of a file is made, a new Document ID is created for the copy. For example, a file downloaded from one site and uploaded to another is a copy. However, when the destination site does not have the Document ID service enabled, the copy will not have a Document ID.
Activate, enable, and configure Document IDs
To first use Document IDs to track documents or records you must following a two-step process:
Activate the Document ID site collection feature
Note: In order enable the Document ID feature you must be a site collection administrator.
-
Go to the top-level site collection.
-
Click Site Actions and then click Site Settings.
-
Under Site Collection Administration, click Site collection features.
-
Next to Document ID Service click Activate. An Active icon appears next to the item and the feature is activated for the current site collection.
Enable and configure the use of Document IDs in a site collection
When you enable the Document ID feature for any given site collection, all documents in the site collection will be automatically assigned a Document ID. Keep in mind that, depending on the number of documents that exist in your site collection, this process can take some time.
Note: In order enable and configure the Document ID feature you must be a site collection administrator.
-
Go to the top-level site collection.
-
Click Site Actions and then click Site Settings.
-
Under Site Collection Administration, click Document ID settings.
-
On the Document ID settings page, in the Assign Document IDs section, make sure there is a checkmark in the Assign Document IDs, check box.
Note: When you enable the assignment of Document IDs for the first within a site collection, a message appears: Configuration of the Document ID feature is scheduled to be completed by an automated process. This means that a timer job is responsible for completing the assignment of the Document IDs to all documents in the site collection. The time it takes for this process depends on the number of documents in your site collection.
-
To set a custom string of characters or numbers that are automatically appended to the beginning of each Document ID, enter the string under Begin IDs with…
-
Select the Reset all Document IDs… check box if you want to automatically add the prefix to all existing Document IDs in your site collection.
-
In the Document ID Lookup Search Scope sections, select the site(s) to use as the search scope for ID lookup.
-
Click OK.
Note: As mentioned above, when the Document ID service is enabled for any given site collection, a column is added to the Document and Document Set content types as the site collection level. The Document ID column is used to display the ID assigned to an item.


