
The My Picture options window in Skype for Business is where you can change your sign-in settings to speed up the sign-in process, specify presence and calendar meeting information to display to others in Skype for Business, and tell Skype for Business how you want it to interact with other Office programs.
Important: If the Edit or Remove Picture button on the My Picture options window is dimmed (not available), your organization has turned off the option that allows users to change their picture settings. See your technical support staff if you have questions about this policy.
Here's how to access the My Picture options window:
-
In the Skype for Business main window, click the Options button


-
On the Options page, select My Picture.
Note: If you've selected Show Menu Bar, you can open the options menu from the Skype for Business main window by clicking Tools > Options and then selecting My Picture.
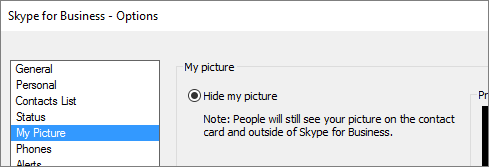
Hide my picture
Depending on how Skype for Business has been set up, you might be able to hide your picture from other Skype for Business users. Your contacts will see a blank outline of a person’s head instead of your picture.
-
To hide your picture from other Skype for Business users, click Hide my picture, and then click OK.
Notes: If you don't want your picture to be displayed in any Microsoft Office programs, including Skype for Business:
-
Click Options >My Picture >Edit or Remove Picture.
-
In the SharePoint window, click the X.
-
Click Save and then click OK.
Show my picture
If your organization has set up Skype for Business so it shows people’s pictures with their other contact information, your corporate directory picture is automatically displayed. If you’re satisfied with the picture, you don’t need to make any changes to the settings in this window.
Change my picture
If the Edit or Remove Picture button is dimmed, your organization has decided not to let users change their pictures. If you can change your picture, here’s how to do it.
Use a picture from your computer or an external drive
-
Click Edit or Remove Picture.
-
Either a Microsoft Exchange window or a Microsoft SharePoint window opens, depending on how your system has been set up.
If you’ve been taken to an Exchange window, do the following:
-
Click Edit > Edit photo > Browse.
-
In the Change Photo window, click Save. If a message is displayed that asks if you want to close the window, click Yes.
-
Navigate to where your replacement picture is stored (this can be on your computer or on an external or network drive). Your replacement picture can be any size or type, including HD (high-definition).
-
Double-click the file.
If you’ve been taken to SharePoint, do the following:
-
Click Browse, and then navigate to the replacement picture you want to upload.
-
Double-click the picture or file name, and then click Change.
-
Click Save.
-
Note: After you’ve changed your picture, it may take a little while before the new picture appears.
Use a picture from a public website
Note: For your contacts to see the photo, they too will need to have access to the site where the photo has been uploaded.
If your organization has enabled this option, you can use a photo from any public website, such as Yammer, OneDrive, Facebook, LinkedIn, etc., as your Skype for Business photo. If this option is available, the My Picture options window will include a button labeled Show a picture from a website:
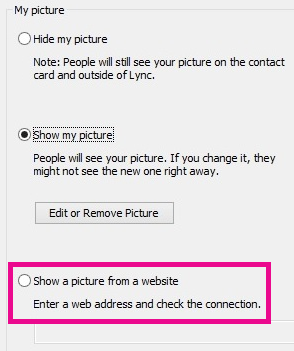
To use this option, select Show a picture from a website, enter the URL for the photo you want to use, and then click Connect to Picture.


