
To customize pages on a Microsot SharePoint site you can add or change Web Parts. Web Parts enable you to add diverse functionality to pages, such as displaying document libraries and charts on pages, without having to write code.
Note: If you're using SharePoint in Microsoft 365, see Using web parts on modern pages.
Add a Web Part to a page
To edit a page you must have at least the permissions obtained by being added to the default <Site Name> Members SharePoint group for the site.
-
Navigate to the page where the Web Part is that you want to edit. If the Page tab appears at the top, click Page and then click Edit. You can also click the Edit command in the top right of the page.
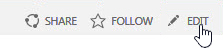
If neither the Page tab or the Edit command re there, click Settings

Note: If the Edit command is disabled, you may not have the permissions to edit the page. Contact your administrator.
-
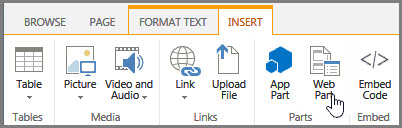
Click on the page where you want to add a Web Part, click the Insert tab, and then click Web Part.
-
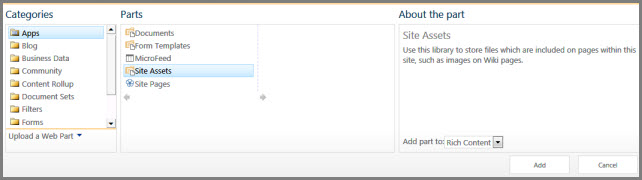
Under Categories, select a category, such as Apps, select the Web Part that you want to add to the page, such as Site Assets, and then click Add. When you select a Web Part, information about the web part is displayed in About the part.
-
When you have finished editing the page, on the Format Text tab, click Save.
You can configure a Web Part to be minimized by default on a page. You might do this if a page seems crowded. The readers of the page can restore the Web Part while they are reading the page. If they close and then reopen the page, the Web Part will be minimized again.
-
Navigate to the page where the Web Part is that you want to edit. If the Page tab appears at the top, click Page and then click Edit. You can also click the Edit command in the top right of the page.
If neither the Page tab or the Edit command re there, click Settings
-
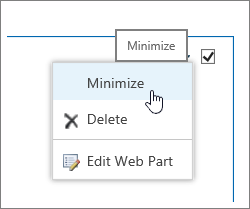
On the page, point to the Web Part, click the down arrow

-
When you have finished editing the page, on the Format Text tab, click Save.
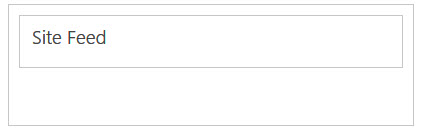
The following image is an example of a page where the Site Feed web part is minimized.
-
Navigate to the page where the Web Part is that you want to edit. If the Page tab appears at the top, click Page and then click Edit. You can also click the Edit command in the top right of the page.
If neither the Page tab or the Edit command re there, click Settings
-
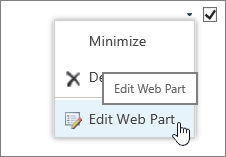
On the page, point to the Web Part, click the down arrow
-
On the right of the screen you'll see the Web Part edit bar. From here you can change views, appearance, layout, and many other properties. If you are editing a Web Part that was a ways down on a page, you might need to scroll up to see the Web Part edit bar.
Note: This procedure does not delete the Web Part from the site. It only deletes it from the page
-
From a page, look for and click the Edit command.
-
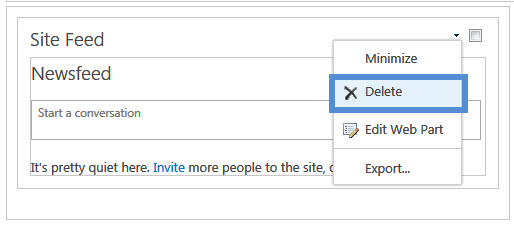
Point to the Web Part that you want to remove from the page, click the down arrow and then click Delete.
-
When you have finished editing the page, on the Format Text tab, click Save.
If you're a SharePoint developer and want to create your own Web Parts, check out these links.
-
Creating Web Parts for SharePoint - How to create Web Parts in Visual Studio.
-
WebPart class - Describes the SharePoint API and classes.


