
If you want to stamp your photographs with your name or another identifying mark, you can add a watermark to the image.
You can also remove a watermark or use a photo as a watermark.
No single button in Publisher lets you add watermarks to images. Instead, you’ll create a watermark, make it transparent, save the watermark, and add it to a photo.
After you set up the watermark for the first photograph, you can stamp other photographs using the last step below.
Step 1: Create a watermark
Important: Make sure to save a copy of the photo without a watermark. This photo watermark is permanent.
-
Click Home > Pictures in a new blank Publisher file.

-
Find the photo you want to add a watermark to, click the photo, and click Insert.
-
Click Insert > Draw Text Box.

-
Draw a text box on the photo where you want to insert a copyright or other mark, and type the watermark text in the text box.

Step 2: Format the watermark
-
Select the watermark text, right-click, and change the font size and color to suit your linking.

Note: For a more professional look, select the text and click Text Box Tools > Format > Text Outline > Outline Effects > Text Fill. Move the Transparency slider to change the look of the watermark.
-
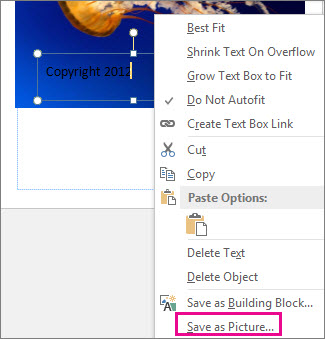
Right-click the watermark, click Save As Picture, and save the watermark with a name to a location you use often.
-
Click the text box, and position the box where you want it on the photo.
Step 3: Save the watermarked photo
-
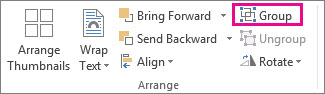
Press Ctrl+A to select the text box and the photo, and then click Picture Tools > Format >Group.
-
Right-click the photo, click Save as Picture, and save the watermarked photo with a new name.
Add the watermark to other photos
Important: Make sure to save a copy of the photo without a watermark. This photo watermark is permanent.
-
In Publisher, click Home > Pictures.
-
Choose a photograph you want to add a watermark to, click it, and click Insert.
-
Click Home >Pictures again to find the watermark you saved in Step 2, and click Insert.
-
Click the watermark image and position it where you want on the photo.
-
Press Ctrl+A to select the watermark and the photo, and click Picture Tools > Format > Group.
-
Right-click the photo, click Save as Picture, and save the watermarked photo with a new name.


