No single button lets you add a watermark to publication pages in Publisher, but you can use Master pages to add a watermark such as Draft or Confidential to the entire publication or to certain pages.
You can also create a watermark from a photo or picture or add a watermark to your photos.
Add a text watermark to an entire publication
-
Click Page Design > Master Pages > Edit Master Pages.

-
Click Insert > Draw Text Box.

-
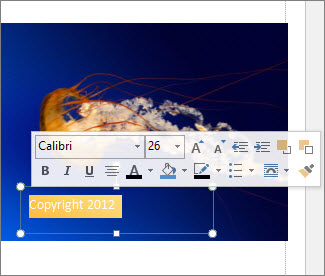
Draw a box on the page, and type text such as Draft or Confidential in the box.
-
Select the text and right-click to change the font and font size. Click the text box to move it around on the page or rotate the text box.
Tip: To get the look of a traditional watermark, select one of the Bevel options from Text Box Tools Format > Text Effects. Certain fonts show off bevels and other text effects better than others.
-
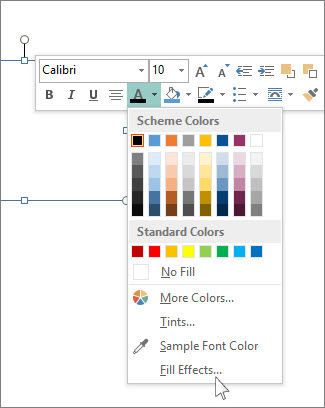
Right-click the text box, click Font Color arrow > Fill Effects.
-
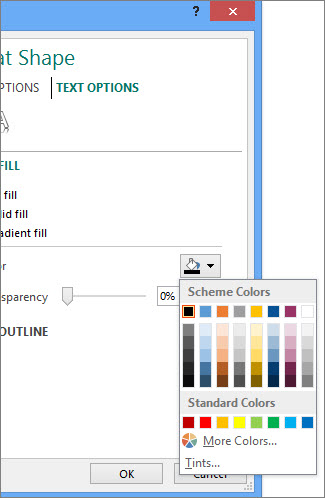
In the Format Shape box, click Text Options, and click the arrow next to Fill Color to choose a color.
-
Under Transparency, start by typing in 85%.
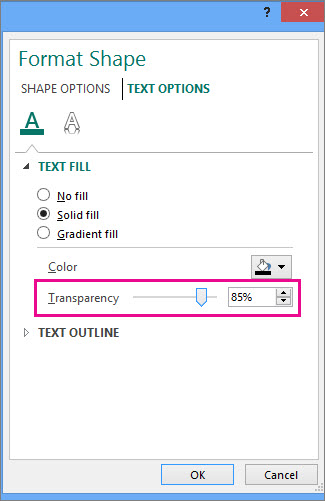
Move the percentage up or down to make the text lighter or darker.
-
Click Close Master Page on the Master Page tab to return to the publication.
Tip: If you can’t see the watermark, it might be hidden behind something else on the page such as a chart or a table. To see the watermark, make the object transparent by clicking it (if the object is a table, select the entire table) and pressing CTRL+T.
Add a text watermark to certain pages only
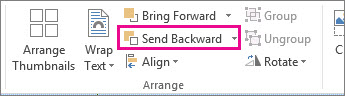
To add a watermark that appears only on some of the pages, place the text or picture on those pages instead of on the master page. Click the picture, and click Picture Tools Format > Send Backward.