You can apply sensitivity labels to your files and emails to keep them compliant with your organization's information protection policies.
Note: This feature requires a Microsoft 365 subscription. For more info, see Does my version of Office support sensitivity labels?
-
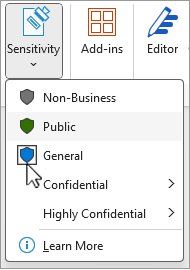
On the Home tab, select

If you're in Outlook select -
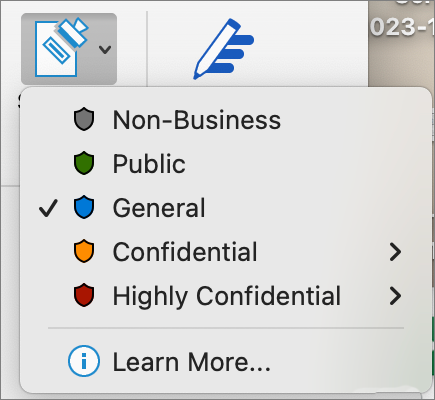
Choose the sensitivity label that applies to your file or email.
Note: You'll see

-
To remove an existing sensitivity label, unselect it from the Sensitivity menu.
You won't be able to remove a label if your organization requires labels on all files.
Important:
Sensitivity is only available if:
• Your Office account is a work account with a Office 365 Enterprise E3 or Office 365 Enterprise E5 license assigned.
• Your administrator has configured sensitivity labels and enabled the feature for you.
• The Azure Information Protection client is running in Office.
Meet the sensitivity bar
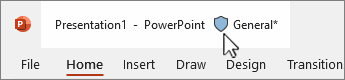
The sensitivity bar can be found on the title bar of the app next to the file name in Word, Excel, and PowerPoint. Select the icon to see the report.
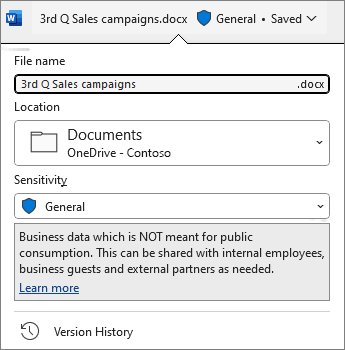
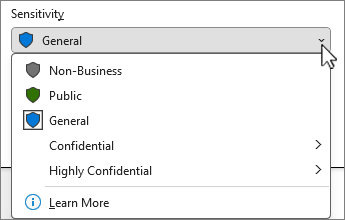
If the file has an existing label, you'll see it displayed there. Select the sensitivity bar or the filename if you need to change the label.
The sensitivity bar makes it easy for you to see what label is applied to your file, and to apply or change a label whenever you need to, including when saving the file. Just select the sensitivity bar in the save dialog to see the labeling options for this file.
If there's no label on the file yet, the sensitivity bar tells you if one is required or not. If a label is required, you'll see the prompt to Select a label. If no label is required, the prompt simply says No label.
For more information see New sensitivity bar in Office for Windows.
Tips:
-
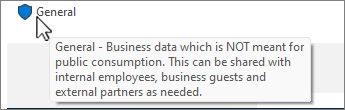
Not sure what a label is? Hover over the label to see any description your organization has added to explain it.
-
If you're an IT Pro looking for information on configuring or managing the sensitivity bar, see Manage sensitivity labels in Office apps.
Sensitivity label restrictions
The sensitivity label you select may come with pre-defined restrictions or you may be prompted to choose who can read or change the file. If permissions are required, you'll see a dialog box like this:
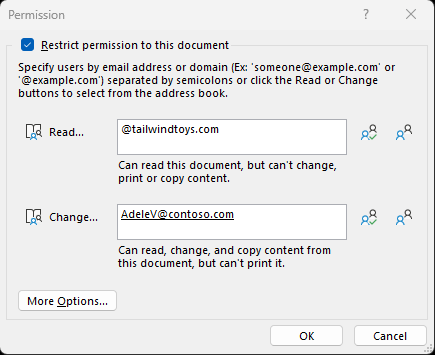
Important considerations if you're granting permissions by domain
If you specify a domain to grant permissions to, you're granting those permissions to all of the accounts in that organization.
That means if that organization has other domain names in their Azure Active Directory (AD) these permissions also extend to those users. For example, if Tailwind Toys also owns the contosogames.com domain in their Azure AD then all the users of contosogames.com would also gain the permissions granted to tailwindtoys.com users.
This is also true of subdomains. Granting permissions to sales.tailwindtoys.com also grants those permissions to all of the other accounts in tailwindtoys.com, as well as any other domains they may have in their Azure AD.
-
On the Home tab, select
-
Choose the sensitivity label that applies to your file or email.
Note: You'll see
-
To remove an existing sensitivity label, unselect it from the Sensitivity menu.
You won't be able to remove a label if your organization requires labels on all files.
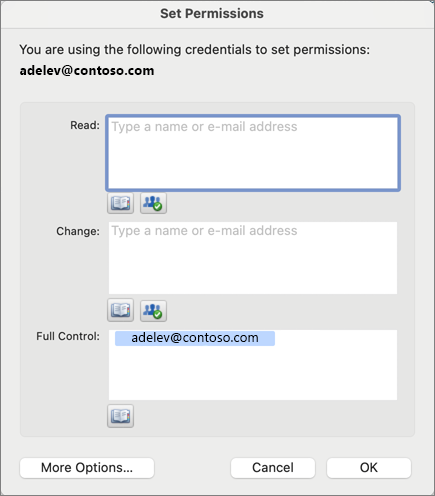
The sensitivity label you select may come with pre-defined restrictions, or you may be prompted to select who can read or change the file. If the label requires you to set your own permissions, you'll see a dialog box like this:
Important:
Sensitivity is only available if:
• Your Office account is a work account with a Office 365 Enterprise E3 or Office 365 Enterprise E5 license assigned.
• Your administrator hast configured sensitivity labels and enabled the feature for you.
Word, Excel, and PowerPoint
-
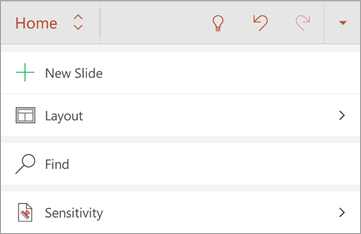
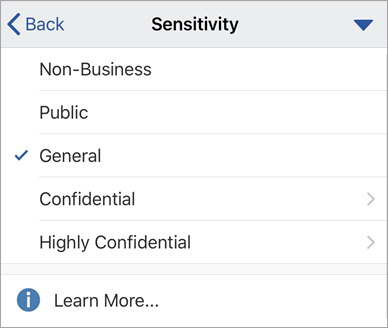
On an Android tablet, select the Home tab and choose Sensitivity.
On an Android phone, select

-
Choose the sensitivity label that applies to your file.
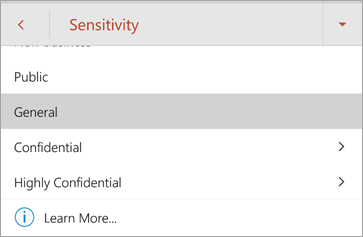
Note: You'll see
-
To remove an existing sensitivity label, unselect it from the Sensitivity menu.
You won't be able to remove a label if your organization requires labels on all files.
Important:
Sensitivity is only available if:
• Your Office account is a work account with a Office 365 Enterprise E3 or Office 365 Enterprise E5 license assigned.
• Your administrator hast configured sensitivity labels and enabled the feature for you.
Outlook
-
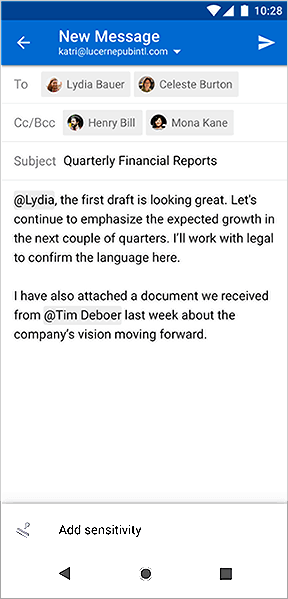
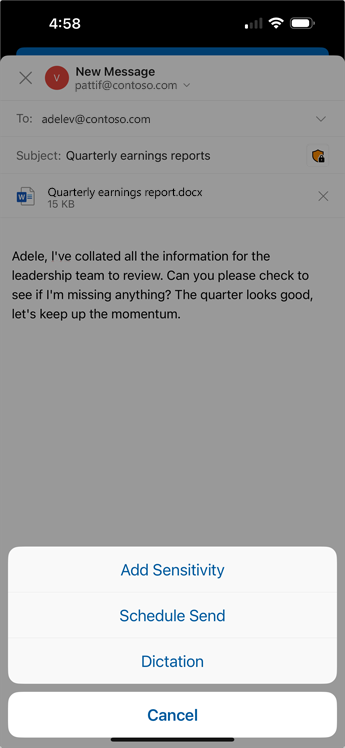
When composing an email, select

-
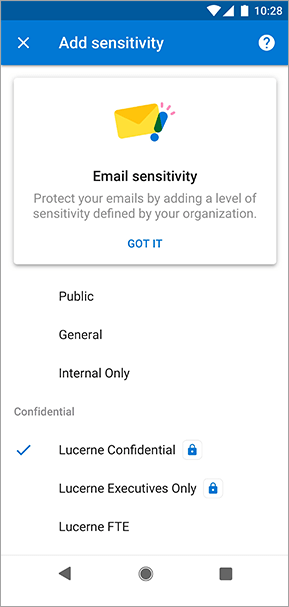
Select Add Sensitivity or Edit Sensitivity.
-
Choose the sensitivity label that applies to your email.
-
To remove an existing sensitivity label, unselect it from the Sensitivity menu.
You won't be able to remove a label if your organization requires labels on all files.
Word, Excel, and PowerPoint
-
On your iPad, select the Home tab (if it isn't already selected), then select Sensitivity.
On your iPhone, select the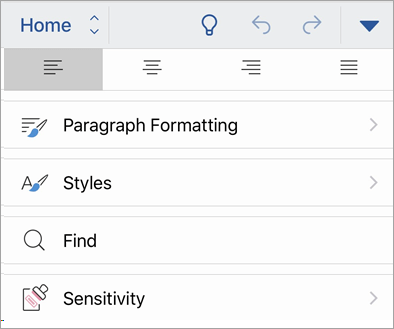
-
Choose the sensitivity label that applies to your file.
Note: You'll see
-
To remove an existing sensitivity label, unselect it from the Sensitivity menu.
You won't be able to remove a label if your organization requires labels on all files.
Important:
Sensitivity is only available if:
• Your Office account is a work account with a Office 365 Enterprise E3 or Office 365 Enterprise E5 license assigned.
• Your administrator hast configured sensitivity labels and enabled the feature for you.
Outlook
-
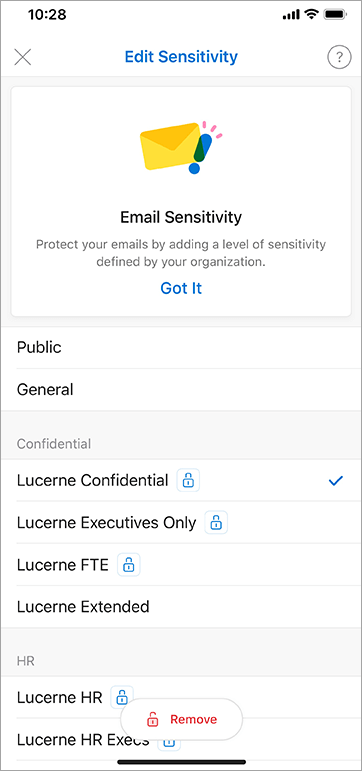
When composing an email, select

-
Select Add Sensitivity or Edit Sensitivity.
-
Choose the sensitivity label that applies to your email.
-
To remove an existing sensitivity label, select Edit Sensitivity and then choose Remove. You won't be able to remove it if your organization requires labels on all files.
Outlook
-
When composing an email, select

-
Choose the sensitivity label that applies to your email.
Note: You'll see Learn more if your organization has configured a website to explain more about their sensitivity labels.

-
To remove an existing sensitivity label, unselect it from the Sensitivity menu.
You won't be able to remove a label if your organization requires labels on all files.
Important:
Sensitivity is only available if:
• Your Office account is a work account with a Office 365 Enterprise E3 or Office 365 Enterprise E5 license assigned.
• Your administrator hast configured sensitivity labels and enabled the feature for you.
Word, Excel, PowerPoint
-
On the Home tab, select
-
Choose the sensitivity label that applies to your file.
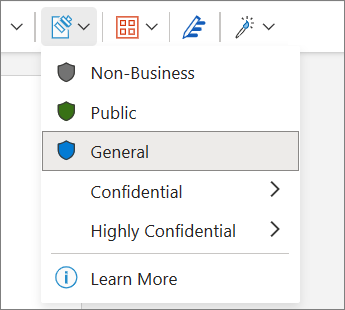
Note: You'll see
-
To remove an existing sensitivity label, unselect it from the Sensitivity menu.
You won't be able to remove a label if your organization requires labels on all files.
Important:
Sensitivity is only available if:
• Your Office account is a work account with a Office 365 Enterprise E3 or Office 365 Enterprise E5 license assigned.
• Your administrator hast configured sensitivity labels and enabled the feature for you.
Does my version of Office support sensitivity labels
This feature requires a Microsoft 365 subscription and is available for users and organizations whose administrators have set up sensitivity labels. If you're an administrator looking to get started with sensitivity labels see Get started with sensitivity labels.
Many of the features in the new Outlook for Windows work the same or similarly as Outlook on the web. If you’re interested in trying the new experience, check out Getting started with the new Outlook for Windows.
Your organization customizes the label names, tooltip descriptions, and how each label is to be used. For additional information about which label to apply, and when, contact your organization's IT department.
Automatically applied (or recommended) labels
Your administrator can set up automatic labeling. Specific labels are then either recommended for, or applied automatically om files or emails containing certain kinds of information, like social security numbers, credit card numbers, or other sensitive information.
If a label has been applied automatically you'll see a notification below the Office ribbon.

The notice for when a label has been recommended, but not automatically applied, looks similar.
For more information see Automatically apply or recommend sensitivity labels to your files and emails in Office
Note: Even if your administrator has not configured automatic labeling, they may have configured your system to require a label on all Office files and emails, and may also have selected a default label as the starting point. If labels are required you won't be able to save a Word, Excel, or PowerPoint file, or send an email in Outlook, without selecting a sensitivity label.
How do I know what label is currently applied?
The way to see the currently applied label, if any, varies slightly depending upon whether you're on the desktop, web, or mobile.
On desktop and web apps, an existing sensitivity label appears next to the file name in the upper left of the document.
On the Office mobile apps, select the 
To see more details provided by your organization, hover over or select a sensitivity label.
Outlook is a bit different
In Outlook nothing appears if no label has been selected or if you're composing an email and only the default label is applied.
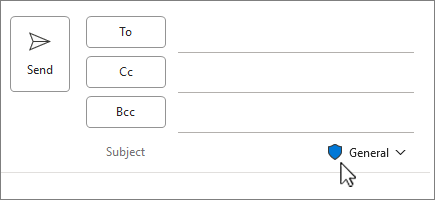
If a label has been selected, you'll see it at the end of the end of the Subject line when creating a message,.
When reading mail, the sensitivity label appears under the address block.
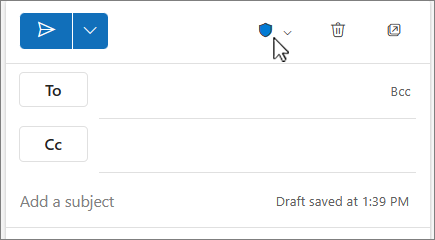
For Outlook for the web, you'll see the sensitivity icon in the upper right on the message page.
When reading messages, the sensitivity label appears on a line above above the message.
What happens when I apply a sensitivity label?
When you apply a sensitivity label, the label information will persist with your file or email, even as it is shared between devices, applications, and cloud services. Applying a sensitivity label may also result in changes to your file or email according to your organization's configuration, such as:
-
Encryption with Information Rights Management may be applied to your file or email
-
A header or footer may appear in your file or email
-
A watermark may appear in your file
Note: If you don't have permission to change or remove a sensitivity label, you'll be prevented from doing so with an error message in most apps. In some apps, like Outlook mobile, the sensitivity labels will simply be disabled.
Not all apps on all platforms support the same behavior, so the exact results of applying a sensitivity label may vary slightly. For more information about what capabilities are supported on each platform see Support for sensitivity label capabilities in apps.
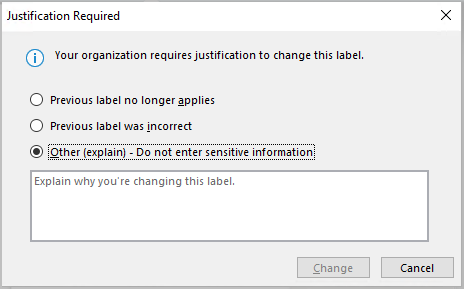
Justify changes to sensitivity label
Your administrator can have a policy that requires you to provide justification before changing a sensitivity label from a higher sensitivity to a lower sensitivity. In this configuration, you may be asked to choose a justification reason or provide your own when selecting a less sensitive label.
Note: You will only be asked to justify changes one time after opening a document or replying to forwarding an email message. After justifying once, subsequent changes will not require justification until that document or email message is closed and opened again.