
Enable and configure versioning for a list or library
You can track and manage information over time with versioning in lists and libraries, as well as view and recover previous versions from the item's history.
When enabled, new versions are added to an item's history after changes are saved. The number of versions stored and the visibility of draft or minor versions can be modified for each list and library.
Enable and configure versioning in a list or library
-
Open the list or library that you want to enable versioning.
-
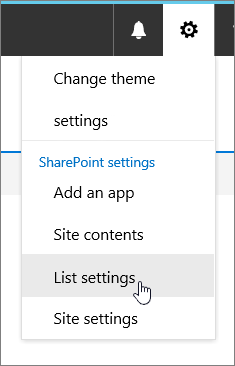
Select Settings

-
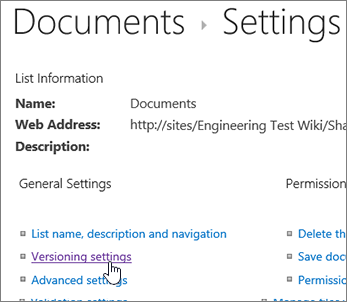
On the Settings page, select Versioning settings.
-
From the Version settings page, you have the following settings available:
-
For a Document library:
-
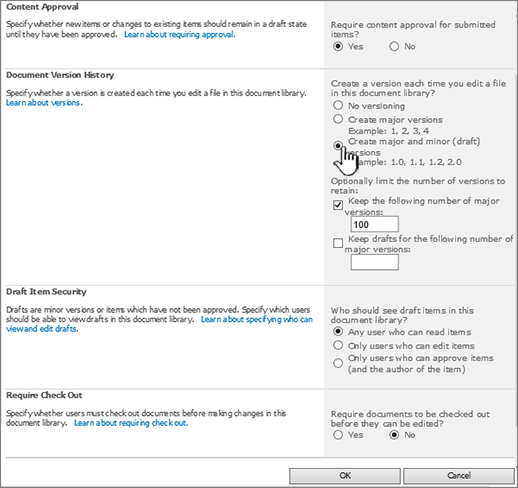
Require content approval for submitted items.
-
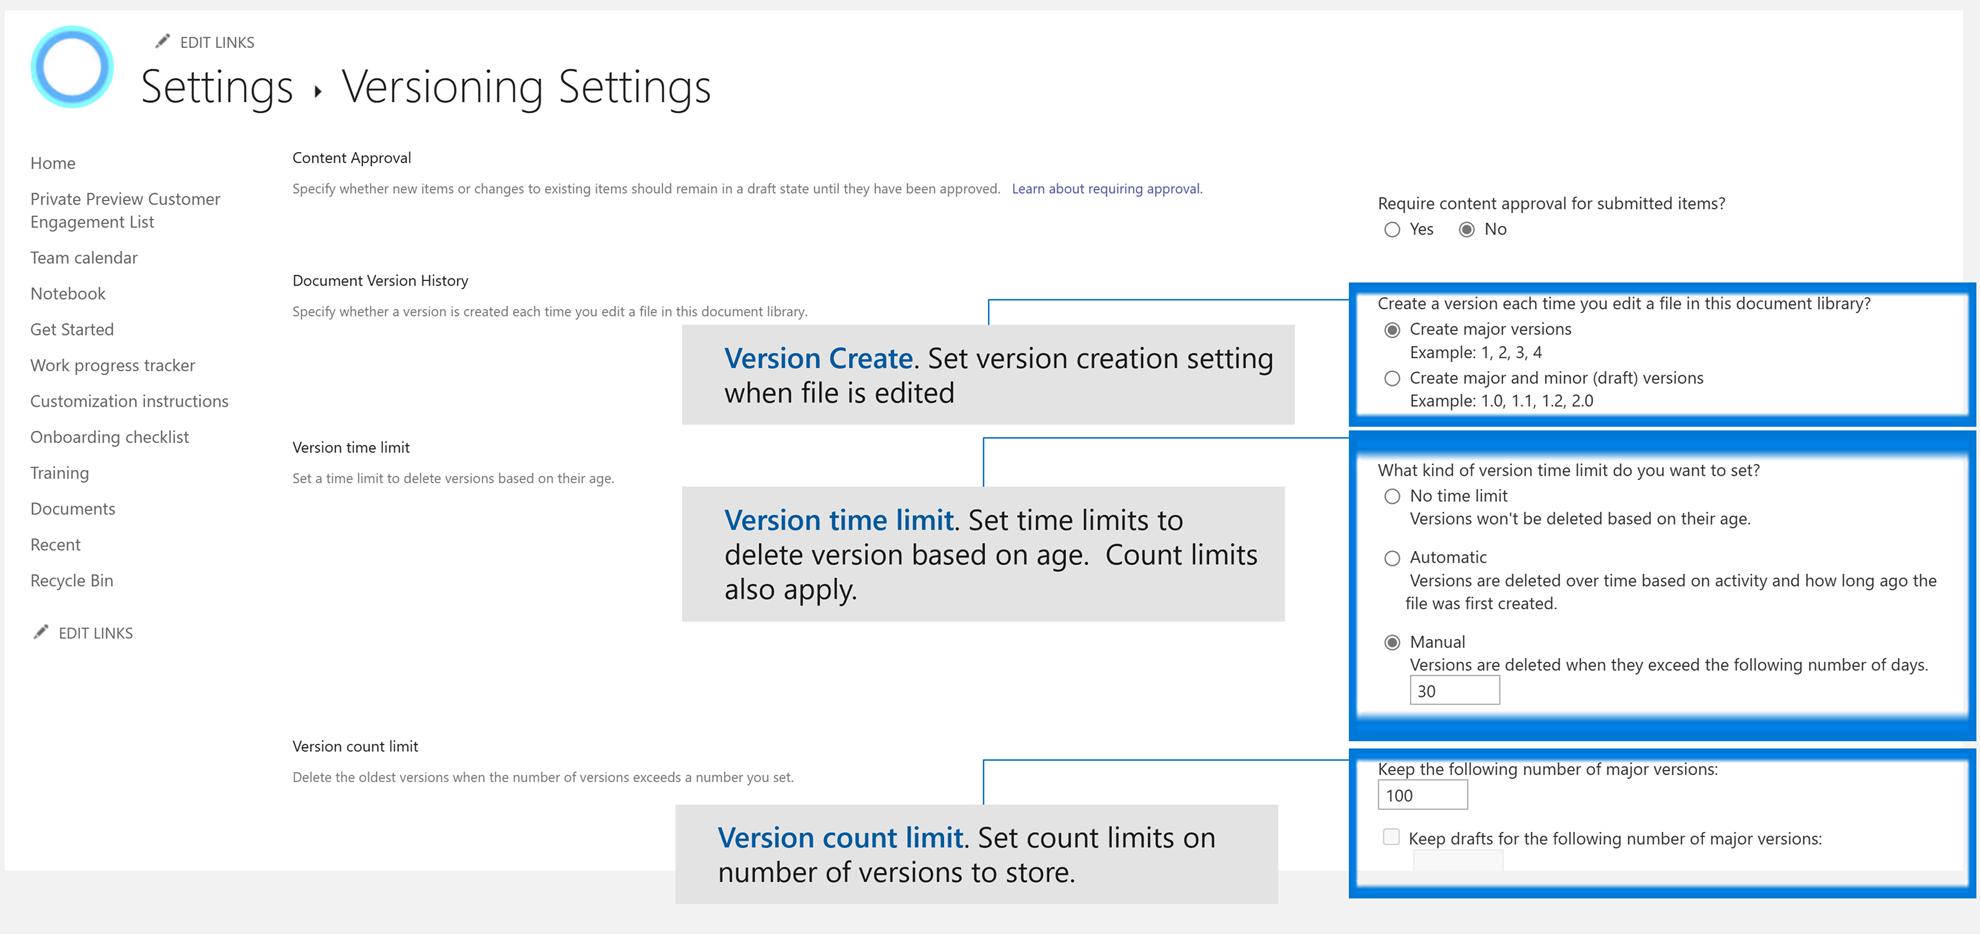
Create a version each time you edit a file in this document library using either major versions only, or major and minor versions.
-
Limit the number of versions and drafts to retain.
-
Set time limits to delete versions based on age. Note: When version time limits are set, versions are deleted after exceeding either the set number of major versions or after the set period of time. Take an example of a library configured to store 500 major versions with a 365-day expiration. No more than 500 versions will be stored and any version older than 365 days will also be deleted.
-
-
-
For a List:
-
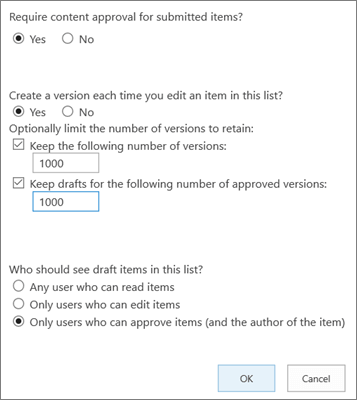
Require content approval for submitted items.
-
Create a version each time you edit an item in the list.
-
Limit the number of versions and drafts to retain.
-
Set who can see draft items in the list.
-
-
-
Select OK.
To view, restore, or delete an earlier version in a list or library
-
Open the list or library with the item or document that you want to view history.
-
Next to the item for which you want to view history, select the ... (ellipses).
-
Select Version history.
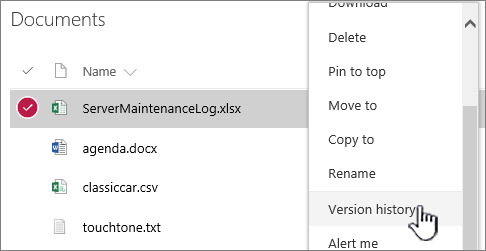
If you don't see Version history, select More, and then select Version history.
-
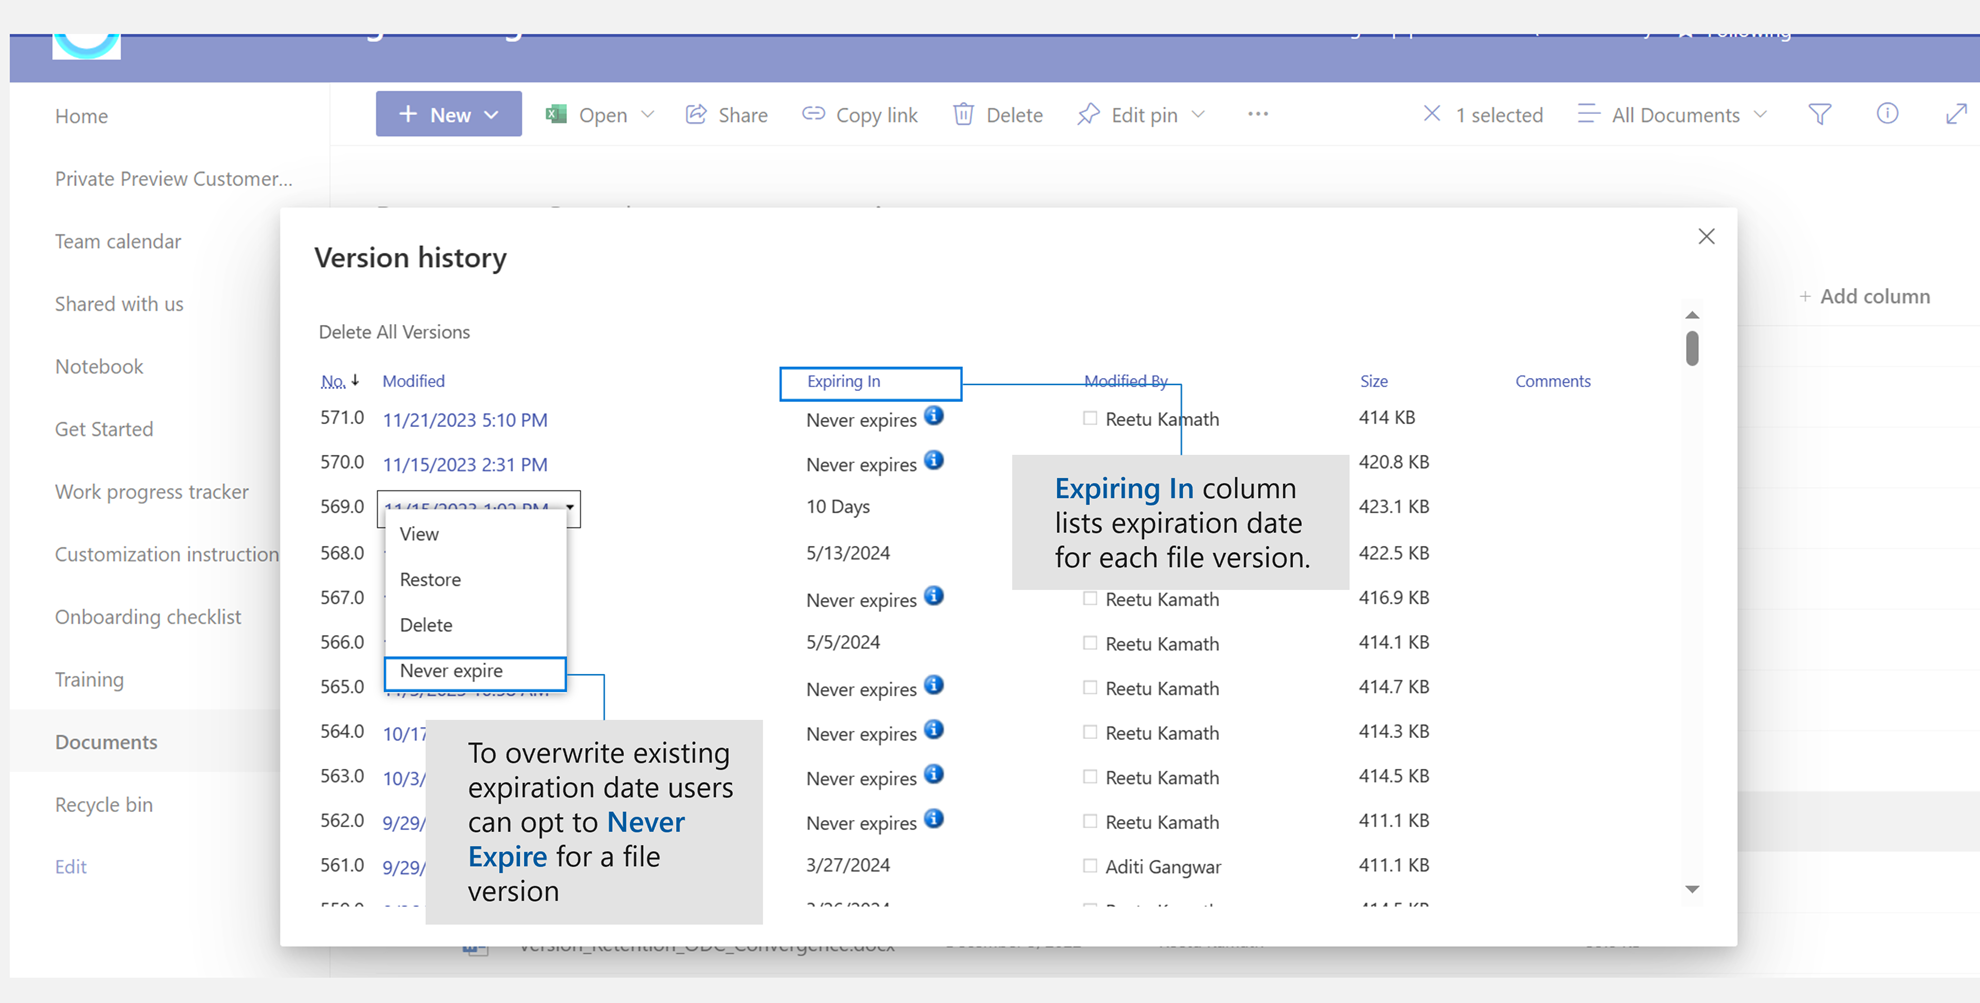
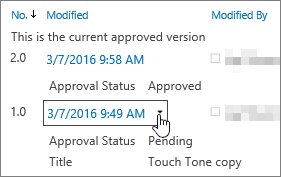
In the Version history dialog, view the date a version will expire.
Note:
-
The expiration date on versions is determined by the version time limit applied on a library and the version creation date. The Modified date is when the contents of the file were changed which can be different from the version creation date.
-
Versions set to ‘Never Expire’ can be manually deleted or automatically deleted if version limits set for the file are exceeded.
-
-
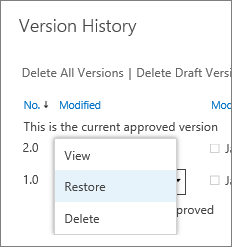
In the menu, you can do the following.
-
View the current document. A dialog box appears where you can restore or delete a previous version, as well as see the current approval status. You can also edit the current version from this dialog box.
-
Restore the document. A dialog box appears prompting if you want to make it the currently approved document. It will add it as a new version.
-
Delete the document. A dialog box appears prompting if you're sure you want to send the item to the Recycle Bin.
-
Never Expire: Overwrite expiration on expiring versions to Never Expire.
-
Reject this version. Only appears on approved documents, rather than Delete.
-
-
When you're done, in the upper right corner, select X.
Enable and configure versioning in a SharePoint 2016 or SharePoint 2013 list or library
-
Go to the library or list for which you want to enable versioning.
-
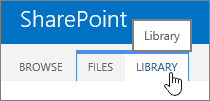
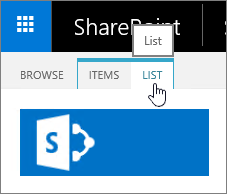
On the ribbon, select Library or List.
-
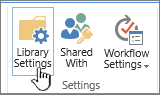
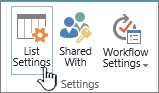
In the Settings group, select Library Settings or List Settings.
-
On the Settings page, select Versioning Settings.
-
In the Version Settings page, the following settings are available:
-
For a Document library
-
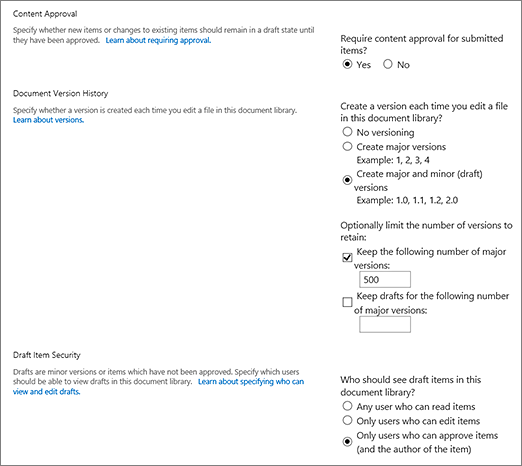
Require content approval for submitted items.
-
Create a version each time you edit a file in this document library, either major versions only, or major and minor versions.
-
Limit the number of versions and drafts to retain.
-
Set who can see draft items.
-
Require documents to be checked before they can be edited.
-
-
For a List
-
Require content approval for submitted items.
-
Create a version each time you edit an item in the list.
-
Limit the number of versions and drafts to retain.
-
Set who can see draft items in the list.
-
-
-
Select OK.
To disable versioning in a SharePoint 2016 or 2013 list or library
Do the same steps for enabling, but on the Version Settings page, select No versioning. For Require content approval, you can also select No.
To view, restore, or delete an earlier version
To restore an earlier version of a document, follow these steps.
-
Go to the list or library with the item or document for which you want to view history.
-
On the ribbon, select Files, or select Items. If there isn't a ribbon, next to the item for which you want to view history, select the ... (ellipses).
-
Select Version History.
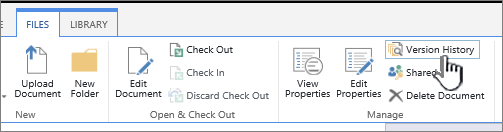
If you don't see Version History, in the dialog, select the ... (ellipses), and then select Version History.
-
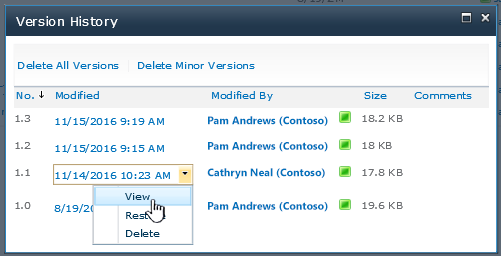
In the Version History dialog, hover your mouse over the date link on an earlier version, and to show the menu, select the down arrow.
-
In the menu, you can do the following.
-
View the current document. A dialog appears where you can edit, restore, or delete, as well as see the current approval status.
-
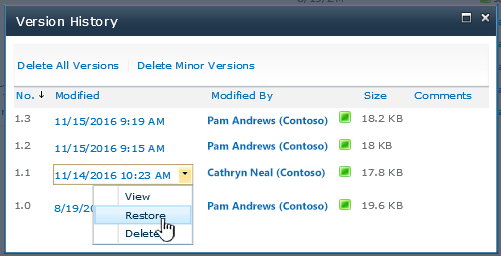
Restore the document. A dialog appears prompting if you want to make it the currently approved document. It will add it as a new version.
-
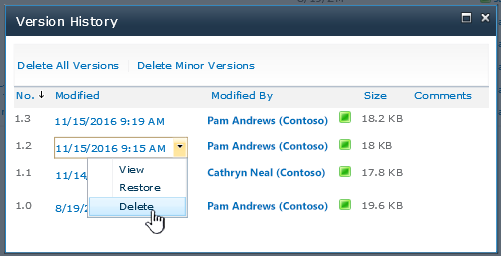
Delete the document. A dialog appears prompting if you're sure you want to send the item to the Recycle Bin.
-
Reject this version. Only appears on approved documents, rather than Delete.
-
-
When you're done, click the X in the upper right corner.
Enable and configure versioning in a SharePoint 2010 list or library
To enable and configure versioning in a list or library, follow these steps.
-
Navigate to the list or library you plan to work in. If the name does not appear in the Quick Launch pane, select All Site Content, and then select the name of your list or library.
-
On the ribbon, in the List Tools or Library Tools group, select the List or Library tab.
-
Select List Settings or Library Settings.


The List Settings or Library Settings page opens.
-
Under General Settings, select Versioning settings.

The Versioning Settings dialog opens.
-
Do one of the following:
For Document Libraries, in the Item Version History section, under Create a version each time you edit a file in this document library?, select either major versions only, or major and minor versions.
For Lists, in the Item Version History section, under Create a version each time you edit an item in this list?, select Yes.
-
(Optional) Select the number of versions you want to retain in the list.
-
(Optional) For lists, select the number of approved versions for which you want to retain drafts. This option is available in the Content Approval section when you select Yes.
For libraries, set a number under Keep drafts for the following number of major versions.
-
(Optional) Determine which users can see draft of items. In a list, this option is only available in the Content Approval section when you set the Require content approval for submitted items to Yes.
Select one of the following.
-
Any user who can read items. Allows access to anyone who has Read permissions to the site.
-
Only users who can edit items. Restricts the view of drafts to those who have permissions to edit.
-
Only users who can approve items (and the author of the item). Restricts the view to only the original author of the item, and those who have permissions to approve items in the list.
-
-
To close the dialog, and return to the Settings page, select OK.
Disable versioning in a SharePoint 2010 list or library
Follow the same steps for enabling versioning, but do one of the following:
-
For Document Libraries, in the Item Version History section, under Create a version each time you edit a file in this document library?, select No versioning.
-
For Lists, in the Item Version History section, under Create a version each time you edit an item in this list?, select No.
-
Select OK.
View, restore, or delete versions in a SharePoint 2010 list or library
-
Go to the list or library with the item or document for which you want to view history.
-
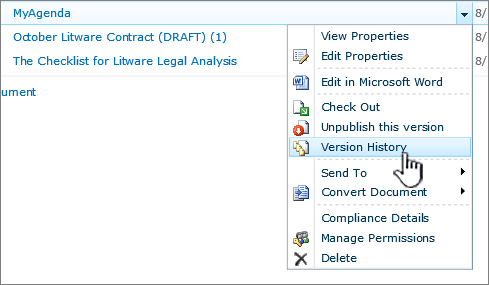
Next to the document or item you want to view version history, select the down arrow, and then select Version History.
-
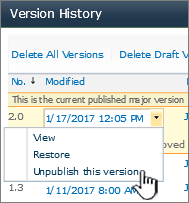
In the Version History dialog, hover your mouse over the date link on an earlier version, and to show the menu, select the down arrow.
-
In the menu, you can do the following.
-
View the current document. A dialog appears where you can edit, restore, or delete, as well as see the current approval status.
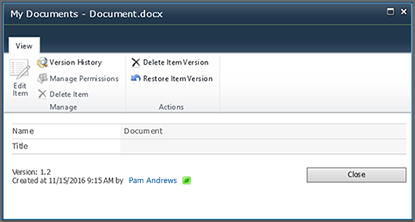
From the View dialog, you may be able to edit, though it's usually disabled. To edit, from the dropdown on the file or item, select Edit Properties.
-
Restore the document. A dialog appears prompting if you want to make it the currently approved document. It adds it as a new version.
-
Delete the document. A dialog appears prompting if you're sure you want to send the item to the Recycle Bin.
-
Unpublish this version shows when you are using approval and publishing on your documents or items.
-
-
When you're done, in the upper right corner, select X, if the version dialog hasn't closed already.
Other settings that affect versioning
You can configure other settings that affect versioning. In lists and libraries, you can require content to be approved. In libraries, you can require files to be checked out.
For info about these settings and more, see How does versioning work in a list or library?


Need more help?
Want more options?
Explore subscription benefits, browse training courses, learn how to secure your device, and more.


Communities help you ask and answer questions, give feedback, and hear from experts with rich knowledge.


