
With Excel for the web you use your web browser to create, view, and edit workbooks you store on OneDrive or Dropbox. If your organization or college has a Microsoft 365 plan or SharePoint site, start using Excel for the web by creating or storing workbooks in libraries on your site.
Create an online workbook
-
Open your OneDrive by selecting the OneDrive icon on your system tray and then selecting View online.
-
Select +New> Excel workbook.
-
To rename the workbook, select the generic name of the new file on the top ribbon (generally something like Book1). In the File Name box, type a new name.
Share workbooks online
After you’ve created your online workbook, you can share it with friends, coworkers, or the public. People can view your worksheets, sort and filter data, and drill into the details of PivotTables on the web or mobile device.
To share a workbook, click Share and type email addresses of people you want to share with or get a link you can email to your contacts.

Edit in the browser
If you try to enter data, set up a formula, add charts, or apply basic formatting and nothing happens, you’re probably in read-only view. Here's how you can switch to editing view:
Click Edit Workbook > Edit in Excel for the web.
For more advanced editing options, click Edit in Excel.
Excel for the web saves your work automatically however, if you change your mind about any changes you’ve just made, use Undo or press Ctrl+Z.
Work together on the same worksheet
When you’re working with others in Excel for the web, you can edit the worksheet as you usually would. When others edit the worksheet, Excel for the web shows their presence and the updates right away. This only works when everyone is working in Excel for the web.

Other versions of the Excel app also allow working with others at the same time. See Collaborate on Excel workbooks at the same time with co-authoring for more information.
Print in Excel for the web
-
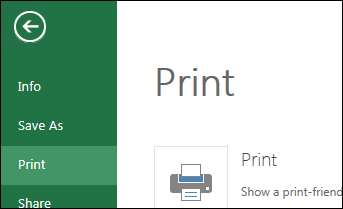
Select the cells or chart you want to print, and then go to File > Print. To print the whole worksheet, don’t select anything before going to the Print command.
-
Click Print for a preview.
-
If you change your mind about printing a selected area, choose the Entire Sheet print option and click Print.
-
If the final print preview looks right, click Print.
Learn more about printing gridlines in a worksheet.


