
You can view and edit the properties of a page in the Page details pane. For example, you might want to change the thumbnail, add a description, or assign a page to a specific category, You can also create custom properties for pages.
Notes:
-
Some functionality is introduced gradually to organizations that have opted in to the Targeted release program. This means that you may not yet see this feature or it may look different than what is described in the help articles.
-
The number of properties available to view and edit for a page can vary depending on which properties the item owner or your administrator has assigned to it. Some of these properties may be required.
View and edit page properties
To view page properties:
-
In read-only view, click

-
For information about a page (such as last modified date), click More details at the bottom of the pane.
To change page properties:
-
On the command bar to the left of the Page details pane, select Edit.
-
On the command bar, select
Note: To make changes to the page properties, you must have owner or designer permissions on the SharePoint site. To view the site owners, select Settings
-
In the Page details pane, select Properties ^ and select the value of the property under the property name that you want to change.
-
Type the new value, and then press Enter to save your changes.
-
To edit more than one property at a time, select Edit all, and edit the properties you want to change, and click Save.
-
Select Republish to update your changes.
-
Or you can undo your changes by selecting Discard changes on the command bar.
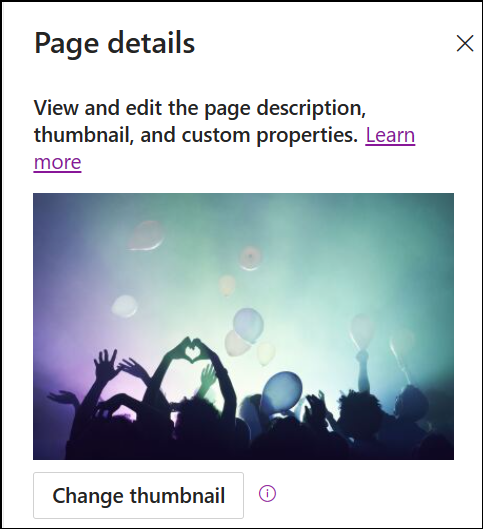
Change the thumbnail image
You can change the thumbnail for the page in the Page details pane.
-
Ensure the page is in edit mode by selecting Edit at the top right of the page.
-
On the command bar, select
-
Select Change thumbnail to open the Recent images window.
-
Select a recent image or find an image from stock images provided by Microsoft, from web search, your site, your computer, or a link. If your organization has specified a set of approved images, you'll be able to choose from that set under Your organization.
-
Select Open to choose the image you want.
-
Select Republish to save your changes.
-
Or you can undo your changes by selecting Discard changes on the command bar.
Notes:
-
Web search uses Bing images that utilize the Creative Common license. You are responsible for reviewing licensing for an image before you insert it on your page.
-
If you're a SharePoint Admin and want to learn how to create an asset library for Your organization, see Create an organization assets library.
-
You can find information on how images are sized and scaled in Image sizing and Scaling on SharePoint modern pages.
-
If you're a SharePoint admin, we recommend enabling a Content Delivery Network (CDN) to improve performance for getting images. Learn more about CDNs.
-
Change the page description
-
You can add or edit the page description by typing in the space under Description. When in edit mode, simply place your cursor in the Description box and start typing.
-
The thumbnail and description are used in places like search results and SharePoint news.
Check spelling and grammar with Editor
Enable or disable spellcheck and grammar in text web parts by turning the toggle under Use Editor to check spelling, grammar, and more on or off.
Add and remove site owners
-
At the top of the page, select the Settings button.
-
In the Settings panel, select Site permissions.
-
In the Site permissions panel, select Invite people and enter the name(s) of the individual(s) you'd like to add as an owner.
-
To give the member(s) owner permissions, expand the Site owners tab and select your site's Site owners.
-
In the new pane, under Group members, select Manage group members.
-
Change the role of the member(s) you'd like to add by selecting the current role and choosing Owner.
To remove site members or site owners, open the site owners panel and select Remove from site.
Add properties in the Pages library
To add a property to a page, create a column for that property in the pages library. The column stores the property data (also called metadata), and besides being able to see and change the column in the pages library, the property is then available in the Page details pane for each page.
-
Go to the pages library by clicking Pages on the left navigation.
If you don't see Pages on the left, click Settings
-
Select Add column

Note: Does your SharePoint screen look different than the examples here? Your administrator may have classic experience set on the list or document library, or you're using an earlier version of SharePoint Server. If so, click the tab for the SharePoint Server 2016 version above. See Which version of SharePoint am I using?
-
There are a handful of column choices for you to choose from, such as Text, Choice, Date and time, Multiple lines of text, Person, Number, Yes/No, and more. Choose the type of column you want.
-
In the new column dialog, type a title or column heading into the Name field.
-
Different types of columns will have different options available. Add additional options as needed. For example, under More options, you can choose to require that the column contains information. This is also known as a Required property. For more information and additional ways to add columns to libraries and lists, see Create a column in a SharePoint list or library.
Tip: You can also create site columns that span libraries. For more information, see Site column types and options.
Required properties
When you add a column in the Pages library, you can set it as a Required property by turning the toggle under Require that this column contains information on. When a property has been marked as required, page authors must supply this information before they can publish pages and news posts.
Note: If a property is marked as required after a page or news post is already published, they will remain published and appear in the Pages that need attention library view.
Visual queues in the pages library and on the page will let authors know their pages are missing required properties, and guide them to providing the needed information.
Visual cues on pages and news posts
-
A red icon will display next to Page details in the command bar, indicating that attention is needed.
-
In the Page details panel, required properties are indicated with a red asterisk.
-
If an author selects Publish, Republish, Post news, Update news, Schedule or Send for approval with missing required properties, a pre-publish panel with prompt them to supply the missing required properties.
Visual cues in the Pages library
-
Fields that are missing required properties are highlighted in red and show the text Required info.
-
Authors can provide the missing required properties in the Page details pane and publish directly from the Pages library.
-
A view called Pages that need attention in the Pages library will display pages or news posts that are missing required properties.
Delete page
You can delete a page in the Page details pane.
-
Ensure the page is in edit mode by selecting Edit at the top right of the page.
-
On the command bar, select
-
Select Delete page.
-
Confirm or cancel your deletion in the confirmation box that appears by selecting Delete or Cancel.


