Sign in with Microsoft
Sign in or create an account.
Hello,
Select a different account.
You have multiple accounts
Choose the account you want to sign in with.

When you insert or draw a table, Word automatically adds black borders. You can change the borders or remove them.

Remove all borders

  1. Click in any cell to show the table move handle Four-headed arrow handle in the upper left corner of the table.

  2. Click the table move handle Four-headed arrow handle to select the table and show the Table Design tab.

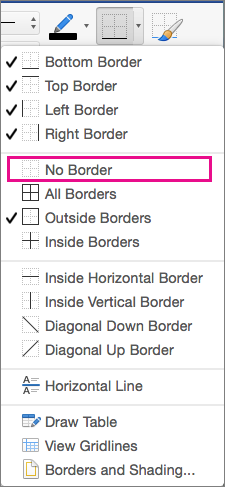
  3. On the Table Design tab, click the arrow next to Borders and then click No Border .

    Tip: Be sure to click Borders not Border Styles.

    The No Border option is highlighted

Remove only some borders

  1. Select the cells where you want to remove some borders.

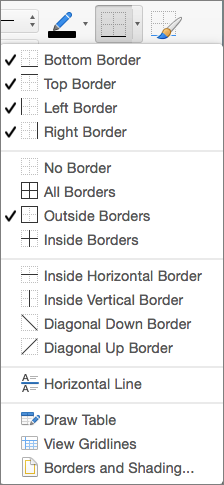
  2. On the Table Design tab, click the arrow next to Borders and select the options you want.

    Tip: Be sure to click Borders not Border Styles.

    The border options are shown for the table design

Remove individual borders

  1. Click in any cell to show the Table Design tab.

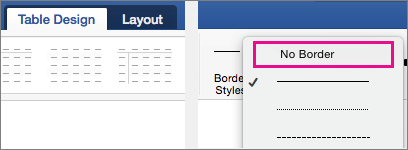
  2. On the Table Design tab, in the Line Style box, click No Border. Your cursor will become a paintbrush you can use to erase individual borders.

    No Border is highlighted in Line Styles

  3. Click the borders you want to erase.

  4. When you're done, on the Table Design tab, click Border Painter to change the paintbrush back to a cursor.

Need more help?

Want more options?

Explore subscription benefits, browse training courses, learn how to secure your device, and more.

Communities help you ask and answer questions, give feedback, and hear from experts with rich knowledge.

Was this information helpful?

What affected your experience?
By pressing submit, your feedback will be used to improve Microsoft products and services. Your IT admin will be able to collect this data. Privacy Statement.

Thank you for your feedback!

×