
Put information in your drawings and diagrams into perspective with an isometric drawing. Create an isometric drawing from scratch, incorporate basic shapes, or use three-dimensional shapes and templates.
In this article:
Create an isometric drawing from scratch
-
In Visio, on the File menu, click New, and then click Basic Drawing.
-
Choose between Metric Units or US Units, and click Create.
-
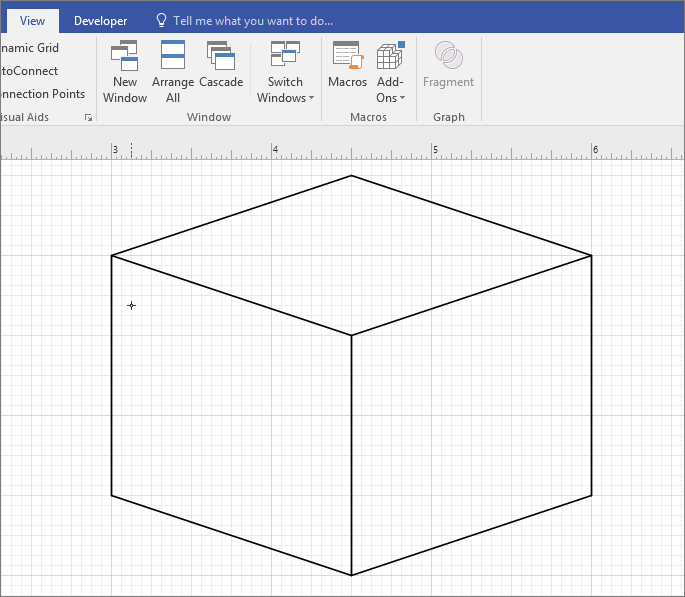
Click the View tab, and then click the check box next to Grid in the Show area.
-
Click the Home tab, and then click the arrow next to the Rectangle shape in the Tools area, and select Line.

-
Draw the shape manually using the line tool.
Use Basic Shapes in isometric drawings
-
In Visio, on the File menu, click New, and then click Basic Drawing.
-
Choose between Metric Units or US Units, and click Create.
-
Click the View tab, and then click the check box next to Grid in the Show area.
-
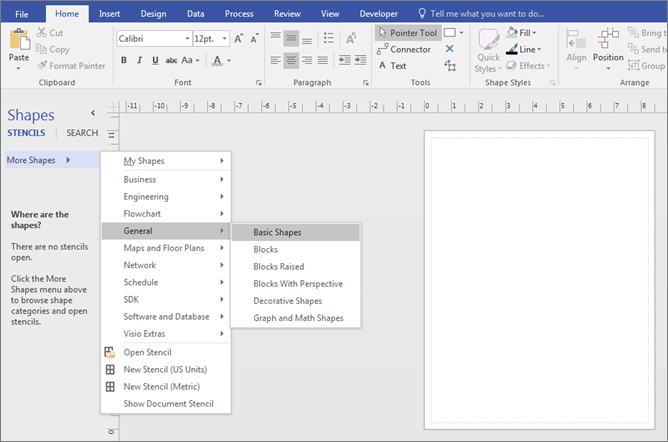
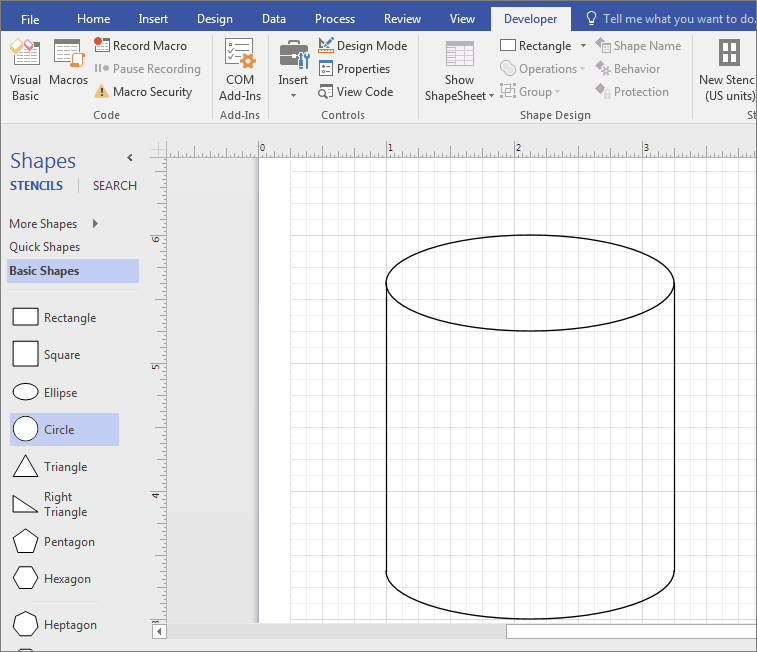
Click the Home tab, and then click More Shapes > General > Basic Shapes.
-
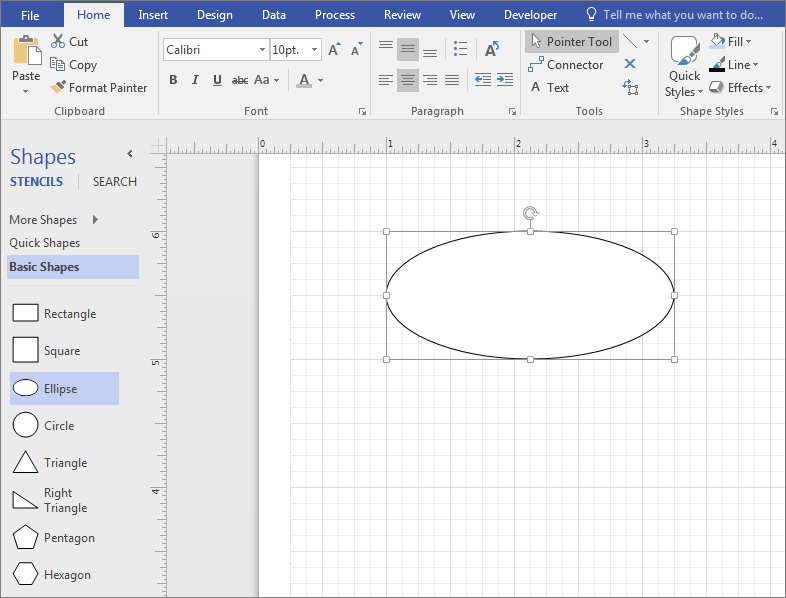
Drag a shape from the Basic Shapes stencil onto the drawing pane.
-
Select the shape, and click the connection points to reshape and resize.
Tip: You might need an exact replica of the shape to use elsewhere in the drawing. Press CTRL + C to copy the selected shape, and drag the copied shape to the side of the drawing until you are ready to use it.
-
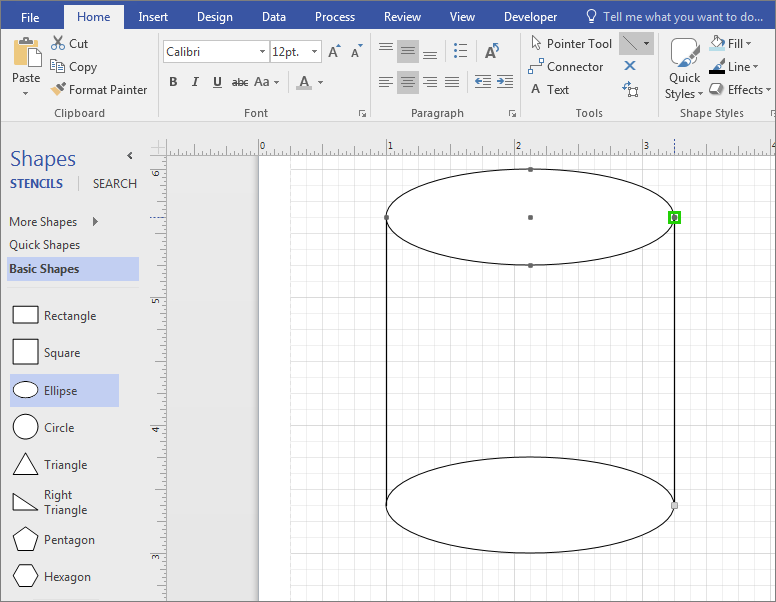
Drag any other shapes that you need to build your drawing from Basic Shapes.
-
On the Home tab, click the arrow next to the Rectangle shape in the Tools area, and select Line.
-
Draw lines manually to complete the shape.
-
Click the File tab, and then click Options.
-
Click Customize Ribbon.
-
On the Visio Options screen under Main Tabs, click the check box next to Developer.
-
Click OK.
Tip: The Developer tab appears on the Visio ribbon.
-
Click the Home tab, click Select in the Editing group, and click Select All in the list.
-
Click the Developer tab.
-
In the Shape Design group, click Operations, and then click Trim.
-
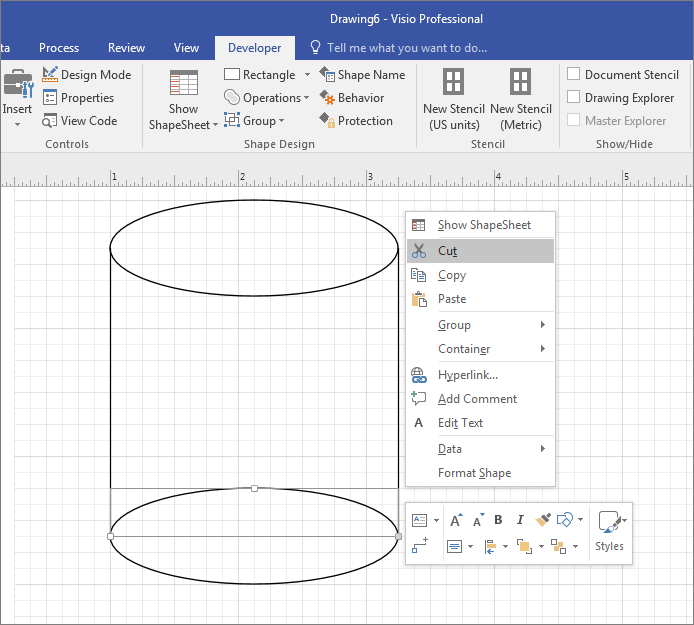
Right-click the part of the shape or the line that you want to remove, and then click Cut.
-
Repeat Step 17 until the drawing or diagram is complete.
-
If desired, remove the grid by clicking the View tab, and then click the check box next to Grid in the Show area.
Create an isometric drawing with a template
The instructions below use the Block Diagram With Perspective template. Microsoft Visio has several three-dimensional templates. To find them, on the File tab, click New, enter “3D” into the search field, and choose the template that best fits your needs:
-
Block Diagram
-
Directional Map 3D
-
Block Diagram With Perspective
-
Work Flow Diagram – 3D
-
Detailed Network Diagram – 3D
-
Basic Network Diagram – 3D
Create an isometric drawing with a Block Diagram With Perspective template
(This template is not available in Visio for the web.)
-
In Visio, on the File menu, click New > General, and then click the Block Diagram With Perspective template.
-
Choose between Metric Units or US Units, and click Create.
-
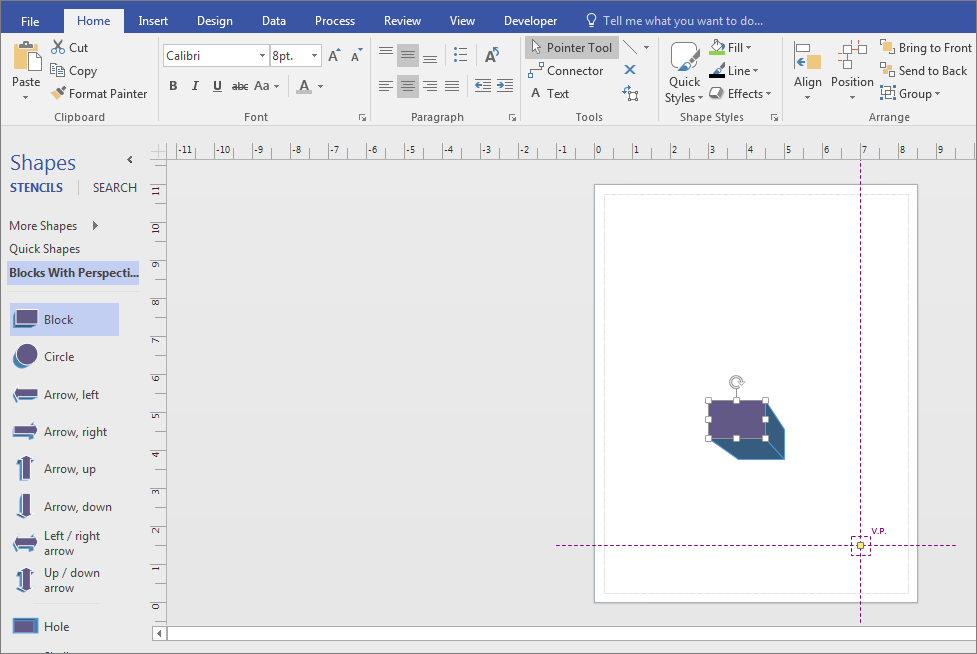
From the Blocks with Perspective stencil, drag a shape onto the drawing page.
-
Change the orientation by clicking the control handle


-
Double-click the shape and type to add text.
-
Click the shape, click Fill in the Shape Styles area, and select a color.


