
Important: The Education Resources service will end in March 2019. Search will be turned off on March 5th, downloads will be permitted until March 25th, and the service will stop on March 29th. Thank you for your participation in this preview experience!
Note: This article has done its job, and will be retiring soon. To prevent "Page not found" woes, we're removing links we know about. If you've created links to this page, please remove them, and together we'll keep the web connected.
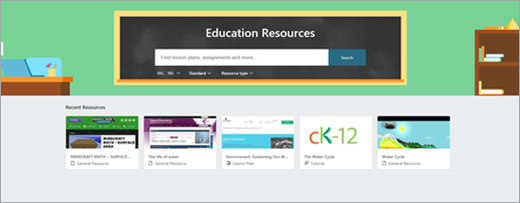
Education Resources gives educators access to approximately 300,000 standards-aligned open resources for the classroom, including lesson plans, assessments, worksheets, and more. You can easily find relevant materials using filters for grade level, your school district, subject, standards and more – then easily insert into OneNote for classroom use.
In Education Resources, you can also:
-
Organize resources in different collections.
-
Upload resources to share with the worldwide teaching community.
Note: the Upload feature is currently in preview and must be enabled by your IT Admin in the Microsoft 365 admin center.
To get started:
-
Install the OneNote Class Notebook add-in for OneNote 2013 or OneNote 2016 if you haven't already.
-
Sign into Office.com using your school log-in.
-
Select the OneNote app, then the Class Notebooks tab. Select the relevant Class Notebook.
-
Navigate to the Insert tab, then select Education Resources.
Access Education Resources from OneNote Class Notebook:
-
Filter by grade, subject and resource type, then click Search. Note: you will see only the standards that are relevant for your region. (Your filters will be saved and applied to future searches).
-
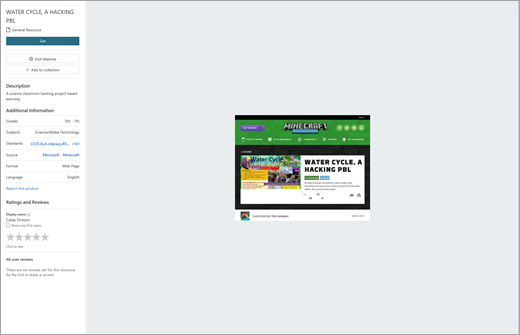
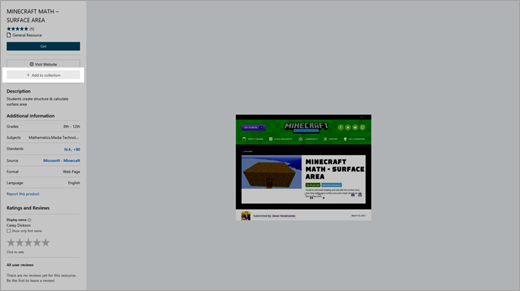
Select a resource card in the results list to preview.
-
Select Get to insert the resource in your OneNote Class Notebook.
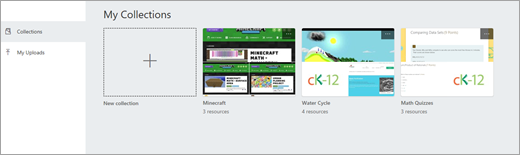
Create and add to a collection:
-
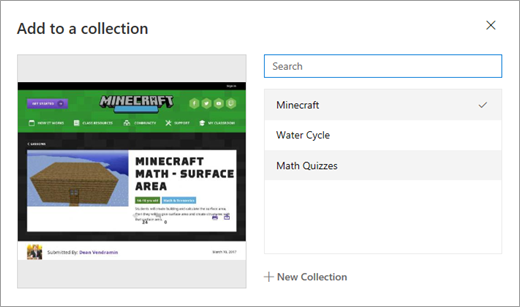
Once you've selected a resource and would like to organize it in a collection, select +Add to collection.
-
To organize your resource, you can create a new collection right then and there, or add it to an existing collection.
-
After you've created a collection or two, you can find them by navigating to My Resources from the main Education Resources page. From here, you can create a new collection, or see any of your uploads (if you have enabled that feature).
Upload a resource:
-
Once your IT Admin has enabled the resource upload feature for your account, select Upload.
-
Choose to upload your resource from either a file or web URL.
-
Complete the required fields for your resource, including title, resource type, description, grade level, subject, corresponding Creative Commons license, and language. Select Next.
-
Add concepts to your resource to make it discoverable by other educators. Select Next to proceed to the next screen, then review your resource information. When you're ready, select Publish.
-
Allow up to 48 hours for your resource to appear.


