
Note: This article has done its job, and will be retiring soon. To prevent "Page not found" woes, we're removing links we know about. If you've created links to this page, please remove them, and together we'll keep the web connected.
In PowerPoint 2016 for Mac and newer versions, once you've added a video to your presentation, you can add basic effects, trim the video, and choose how the video is played.
Choose how your video is played
-
Select the video you want to format.
-
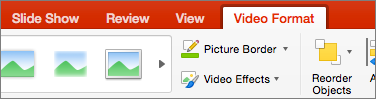
Click the Video Format tab on the ribbon.
-
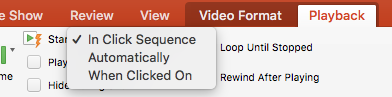
Click the Start button on the Playback tab to choose when a video plays during a slide show. (The options are described below.)
Option
When the video plays during a slide show
Automatically
The video plays automatically when the slide appears.
When Clicked On
The video only plays when you click its Play button.
In Click Sequence
The video plays in sequence with other actions you've programmed on the slide (such as animation effects). This option doesn't require a literal click. You can trigger the video to begin with a clicker or any other mechanism that activates the next action on the slide (such as pressing the right arrow key).
(This option is available in PowerPoint for Microsoft 365 for Mac and PowerPoint 2019 for Mac. It's also available in PowerPoint 2016 for Mac version 16.9.0 or later.)
Add video effects
If you want to give your video some extra style or formatting, you can do so with Video Effects.
-
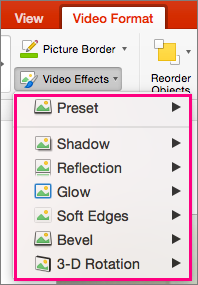
On the Video Format tab, click Video Effects.
-
You can choose any number of effects to give your video more emphasis—Shadow, Reflection, Glow, Soft Edges, Bevel, or 3-D Rotation.
Trim the video
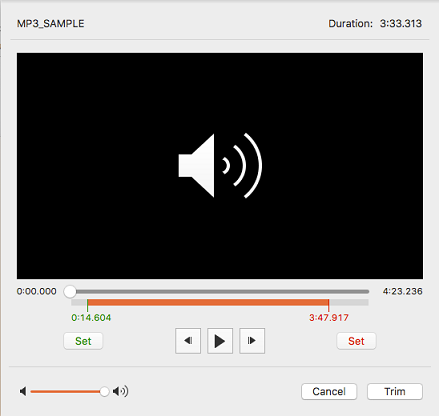
You might want to remove parts of a video that are not pertinent to the message of your presentation. Use the Trim Video feature to trim away the beginning and/or end of your video clip.
|
|

Important: You can only trim videos that you've embedded from your computer. The Trim option is not available for videos inserted from the web.
-
In Normal or Outline view, select the video frame on the slide.
-
On the Playback tab of the ribbon, click Trim Video.
-
To determine where you want to trim your sound clip, click Play.
-
When you reach the point where you want to make the cut, click Pause.
You can use Next Frame and Previous Frame (adjoining the Play button) to fine-tune the location where you set a marker.
-
Do one or both of the following:
-
To trim the beginning of the clip, click the green Set button on the left-hand side.
-
To trim the end of the clip, click the red Set button on the right-hand side.
-


