
There are several different ways you can add audio or video clips to a SharePoint page when you edit the page in the browser. You can add a Media Web Part to the page to play an individual audio or video file. You can configure dynamic displays of video or audio by configuring the Content Query Web Part to display audio or video files. Or you can embed a video from a third-party video sharing site by using embed code.
Note: This article applies to SharePoint Server 2010. If you are working in SharePoint Online, see Using web parts on SharePoint Online pages for a comprehensive list of the newest web parts, including several web parts for audio and video.
In this article
Add the Media Web Part to a page
You can use the Media Web Part to play audio or video clips on a page. For information about the specific video and audio formats supported by the Media Web Part, see Supported Media Formats and Protocols in Silverlight.
You must have permission to edit pages to follow this procedure.
-
Go to the page you want to update.
-
On the Page tab of the ribbon, click Edit.
-
Do one of the following:
-
If you are editing a wiki page or a publishing page, click an editable location on the page where you want to add the Media Web Part, click the Insert tab under Editing Tools on the ribbon, and then click Video and Audio.
-
If you are editing a Web Part page, click Add a Web Part in the column or zone you where you want to embed media. Under Categories, click Media and Content. Under Web Parts, click Media Web Part, and then click Add.
-
-
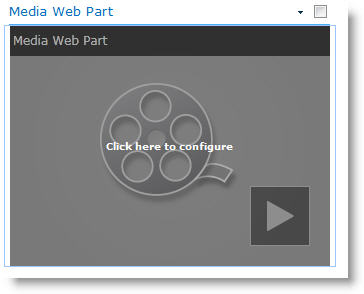
When the Media Web Part appears on the page, click the text that states Click here to configure.
-
Click the Media Options tab on the ribbon.
-
To configure the Media Web Part to display a specific audio or video file, point to Change Media, and then select one of the following:
-
To upload a file from your computer, click From Computer, browse to the location of the file you want, and then click OK.
-
To embed a video that is already saved to a SharePoint site, click From SharePoint, and then and then browse to a location on your site, such as an Assets Library, where video and audio files are saved. Select the file that you want, and then click OK.
-
To embed a video from a video-sharing website, click From Address, and then type the URL for the file you want to use, and then click OK.
The Media Web Part supports playing files from URL addresses that point directly to a video file. For example: http://contoso.com/VideoFile.wmv. If you use embed code or sharing links for pages that host video, they will not work. For information about embedding videos using embed code, see Embed a video on a page using embed code.
-
-
When you’ve selected the file you want, click OK.
-
In the Preview group, point to Change Image, and select the image file you would like to display as a preview for the audio or video file. If you do not update the preview image, the default image for the file type will be displayed.
-
In the Properties group, specify the title you want to display for the Web part. You can also specify whether you want the file to play automatically when the page is loaded, or if it should loop until stopped.
-
In the Player Styles group on the ribbon, point to Styles and select the style you prefer for the player.
-
In the Size group on the ribbon, you can optionally specify any changes you want to make to the Horizontal and Vertical size of the player.
Configure the Content Query Web Part to display video
You can use the Content Query Web Part to add a dynamic display of video or audio files to a page. This is useful if you want to add a section to your page that features “top rated” videos, or all videos with a specific metadata tag.
When you add a Content Query Web Part to a page, you can configure it to query for all content items on a site that meet specific criteria. It then displays the results of that query on the page. If new content is added to the site and it meets the criteria for the query, it will also be displayed in the Web Part. The Content Query Web Part can return content from an individual list or library, or from multiple lists and libraries across a site collection.
You must have permission to edit pages to follow this procedure.
This procedure assumes you want to display videos, but it will also work for Audio or Image files.
-
Go to the page you want to update.
-
On the page tab of the ribbon, click Edit. Do one of the following:
-
If you are editing a wiki page or a publishing page, click an editable area of the page where you want to add the Content Query Web Part. Click the Insert tab of the Editing Tools ribbon, and then click Web Part. Under Categories, click Content Rollup. Under Web Parts, click Content Query, and then click Add.
-
If you are editing a Web Part page, click Add a Web Part in the column or zone you where you want to add the Content Query Web Part. Under Categories, click Content Rollup. Under Web Parts, click Content Query, and then click Add.
-
-
In the Content Query Web Part, click the arrow, and then click Edit Web Part.
-
Click the open the tool pane link.
-
In the Content Query tool pane, click to expand Query.
-
Under Source, specify the location for the items you would like to show. If necessary, browse to the location of the specific site, subsite, or list.
-
If you scoped your query to site, under List Type, specify the type of list from which you want to show items. If you selected a specific list or library in step 6, then this field will be automatically populated for you.
-
Under Content Type, under Show items of this content type group select Digital Asset Content Types.
-
Under Show items of this content type, select Video. If your organization has created customized versions of the digital asset content types, you may also want to select the Include child content types check box.
-
Optionally, under Audience Targeting, you can opt to apply audience filtering, which will display certain items to certain audiences, depending on how Audience targeting is configured for your site.
-
Under Additional Filters, you can use item metadata to filter what is displayed. For example, if you want to show videos that have been tagged with a specific keyword, select Enterprise Keywords with the operator contains any of, and then type the values you want.
-
If you want to add more filters, click And or Or and specify additional filters.
-
Expand Presentation, make any customizations that you want under Grouping and Sorting, Styles, and Fields to display. Under Styles, it is useful to make sure the Play media links in browser check box is selected if you want site visitors to be able to play media clips directly in the browser.
When you initially configure the Content Query Web Part, you may not know how you want to configure the items under Presentation. It might be helpful to first preview your query in the Web Part and then edit it again to make customizations to the appearance of the information.
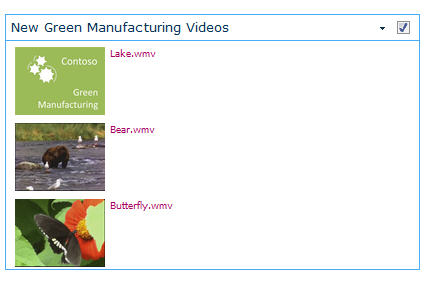
For example, if you do not customize any of the settings under Presentation, videos may display with a large preview image, which might not work with the design of the page. In that case, you might want to select Fixed image size under Styles | Item style to provide site visitors with small preview images they can click in order to play videos. The following example shows a Content Query Web Part that is displaying three videos. It has been configured with a fixed image size.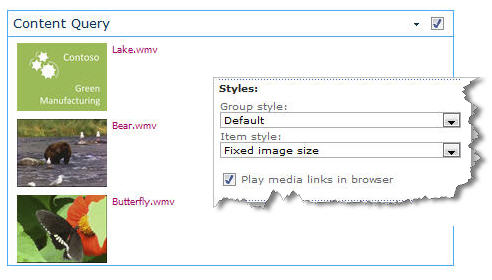
-
Click OK.
-
Save your changes to the page.
For more information about the Content Query Web Part, see Display a dynamic view of content on a page by adding the Content Query Web Part.
Embed a video on a page using embed code
If you want to use embed code from a third-party video-sharing website to add a video to a page, you can do so by adding the embed code to the Content Editor Web Part.
You must have Designer permissions to follow this procedure.
-
Locate the video that you want to embed on the page, and copy the embed code.
-
Go to the page you want to update.
-
On the Page tab of the ribbon, click Edit. Do one of the following:
-
If you are editing a wiki page, click a location on the page where you want to add the Content Editor Web Part, click the Insert tab of the Editing Tools ribbon, and then click Web Part. Under Categories, click Media and Content. Under Web Parts, click Content Editor, and then click Add.
-
If you are editing a Web Part page, click Add a Web Part in the column or zone you where you want to embed media. Under Categories, click Media and Content. Under Web Parts, click Content Editor, and then click Add.
-
-
In the Content Editor Web Part, point to the arrow, and click Edit Web Part.
-
In the Content Editor Web Part, type any text you want to display to introduce the video.
-
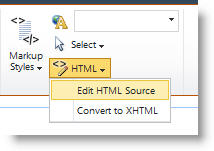
On the Format Text tab of the Editing Tools ribbon, in the Markup group, click HTML, and then click Edit HTML Source.
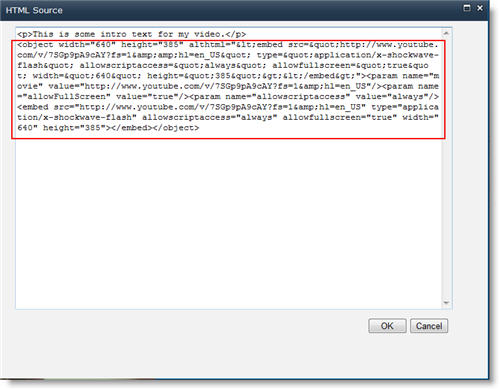
-
Paste the embed code into the HTML Source dialog box, and then click OK.
-
Save the page (or save and check in, if checkout is required for pages on the site).
-
Click the play button on the embedded video player to play the video.


