First, add people as users and resources
|

|
|
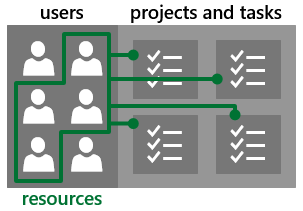
Every person who has access to Project Online is a user. Some users are also resources, meaning that they can be assigned to work on projects and tasks.
Not every user needs to be a resource. Sometimes, people like higher-level executives only need access to Project Online to keep an eye on how projects are going across the organization.
Important:
Planning to use your own domain (like contoso.cn)?
Set that up first, before adding your Project Online users. Changing domains after you've added users is not supported.
|
|
|

|
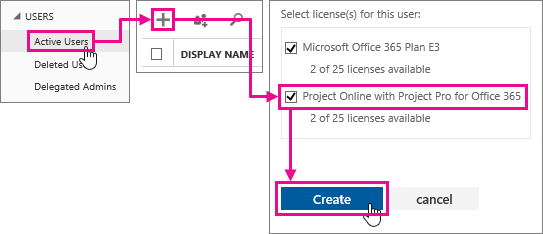
When you're ready to add someone to Project Online, start by adding a user:
-
Choose Users > Active Users from the left menu on the Microsoft 365 admin center.
-
At the top of the list of users, choose Add (+).
-
Fill out the account information, including assigning a Project Online license to this user, and then choose Create.
Tip:
If you’ve subscribed to Project Lite for your team members, be sure to select that license for those users, not the Project Online license.
Warning: Changing a User Principal Names (UPN) after you’ve added the user is not supported
|
|
|
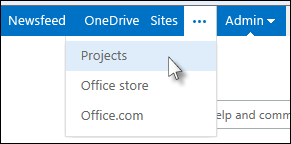
Then, if the user will work on projects and tasks, make that user a resource:
-
Choose Projects on the blue bar at the top of the Microsoft 365 admin center.
-
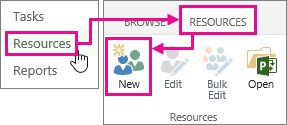
Choose Resources on the left menu, and then choose Resources > New.
-
There are a lot of things you can fill out here, but only two things are really important right now:
-
Under Identification Information, choose Associate resource with a user account.
-
Under User Authentication, in the User logon account box, type the name of the user you want working on projects and tasks.
-
Choose Save when you're done.
|
|
Next, share Project Online with the people you added
|

|
Now that you've added people to Project Online, the next step is to share the site with them so they can actually get in!
Not everyone needs access to everything available in Project Online. For example, team members turning in timesheets may not need access to everything that a project manager or a resource manager does.
When you share the Project Online site with a user, you also decide what they can do in Project Online:
-
In Project Online, choose Share, just below your name in the top-right portion of the page.
-
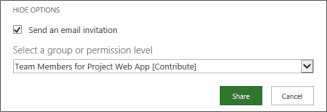
Type the name of the new user in the top box, and then choose Show Options.

-
Under Select a group or permission level, choose the group that matches what the person's role is in your organization (like Project Managers for Project Web App). This gives the person a set of permissions that determine what the person you’re adding will and will not be able to do in Project Online.
-
Choose Share.
|


