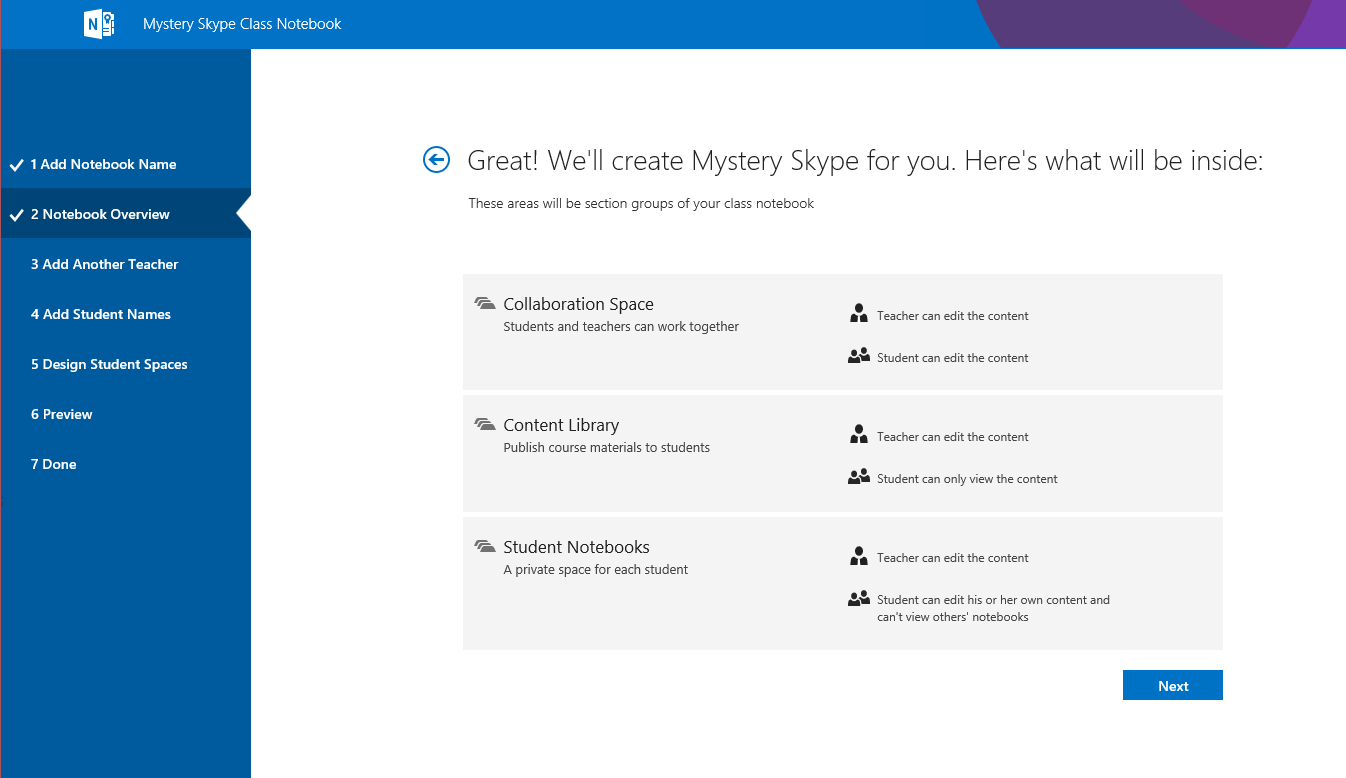
The Mystery Skype Class Notebook is an app for Office 365 that helps you set up OneNote so your class can play the Mystery Skype Game. This app will create a Class Notebook, which includes three types of sub-notebooks:
-
Collaboration Space – a notebook for the students and educator of a class to share, organize, and collaborate in during Mystery Skype.
-
Content Library – a notebook for educators to share Mystery Skype course materials with students. Educators can add and edit its materials, but for students, the notebook is read-only.
-
Student Notebooks – private notebooks that are shared between each educator and their individual students. Educators can access these notebooks at any time, but students cannot see other students’ notebooks.
What you'll need
-
A Microsoft 365 subscription for Education that includes SharePoint Online. If you're not sure you have this, contact your IT administrator to verify.
-
An organizational account for yourself (the educator) with permissions to use the OneNote Class Notebook app to create the Class Notebooks.
-
Your students must have a Microsoft 365 organizational account.
You'll need Internet Explorer 10 or Internet Explorer 11 to use the OneNote Class Notebook app. Other modern browsers should also work.
GETTING STARTED
Install the Mystery Skype Class Notebook app
-
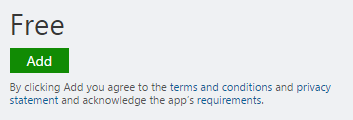
Go online to https://store.office.com/.
-
Search "Mystery Skype Class Notebook" in the Store.
-
When the app shows up, select Add.
-
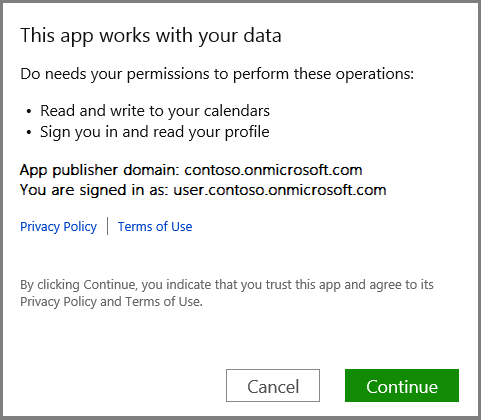
Select Continue.
-
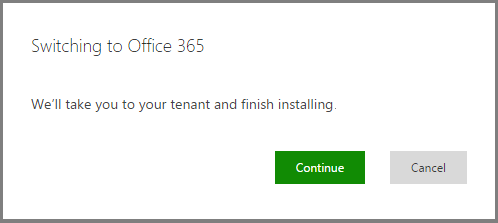
You should be prompted to sign-in to Microsoft 365 with your account information at https://portal.office.com/
-
When the dialog below appears, choose Continue.
-
The app should now be installed in your My Apps page.
Launch the Mystery Skype Class Notebook
-
Click the App launcher

-
In the App Launcher, choose My Apps.
-
You'll see the Mystery Skype Class Notebook app in the list of apps available to you.
-
Select the app to open its Welcome page.
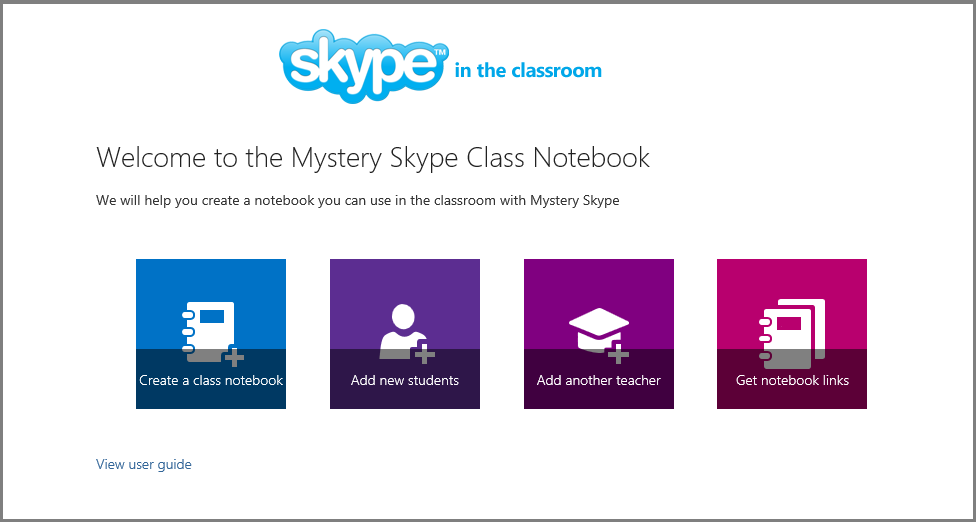
Create a Class Notebook
-
Click Create a class notebook from the available options.
-
Name your new notebook, and then click Next.
Note: Each notebook you create must have a unique name, and it cannot contain these characters # / * ? " | < > : . % ' \.
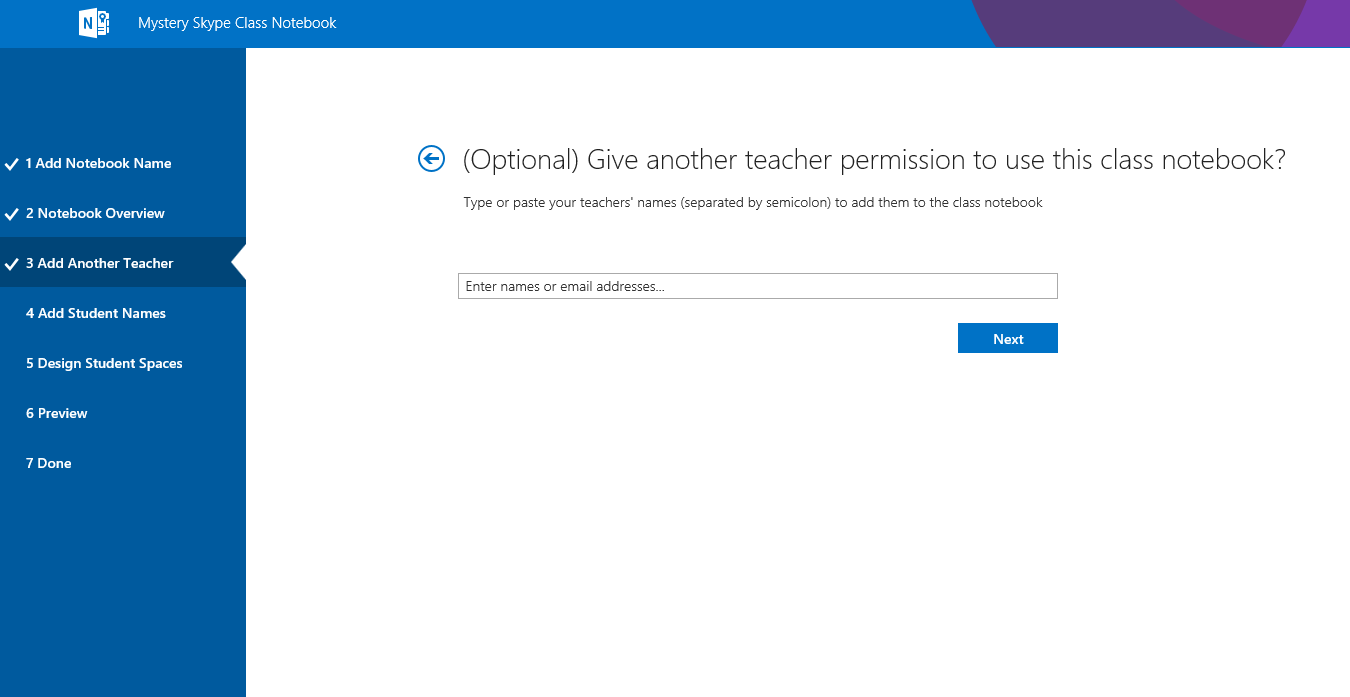
Add an educator to your class notebook
On this screen, you have the option to add another educator to your Class Notebook. Any educator added will have the same permissions as you do. You can add as many as you'd like.
-
Enter any educator(s) you'd like to add and select Next.
Add your students to your Class Notebook
You can add your students individually or collectively.
Note: Your students must have a Microsoft 365 organization account to continue with this step. If you aren't sure whether or not they do, ask your IT Administrator.
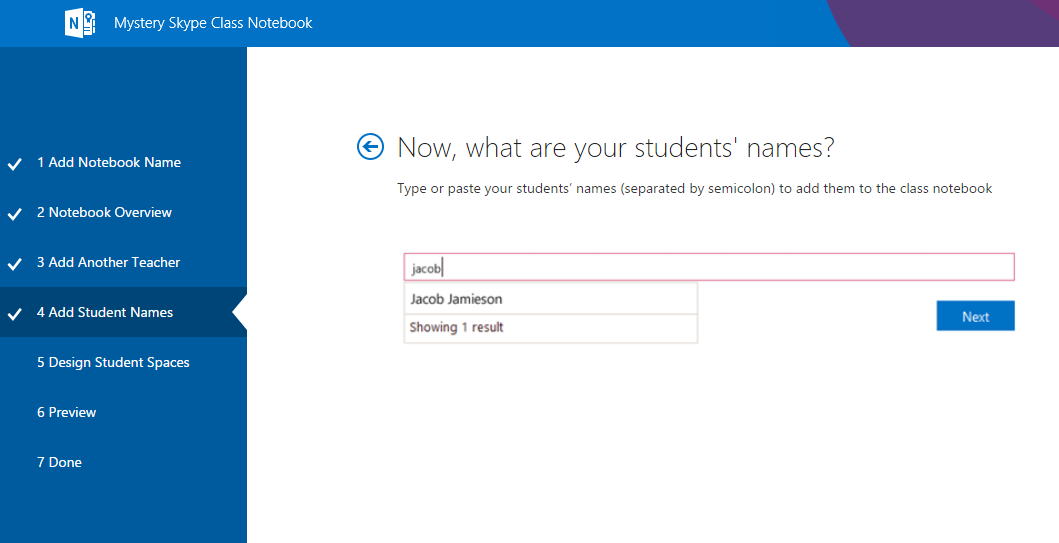
Add students individually
-
Type a student's name in the text box and select their match in the dropdown.
Tip: As you type, the app will look up possible matches. For example, you can type “Jacob” and it will find any students matching that name.
-
Repeat until you've added all of your students, then select Next.
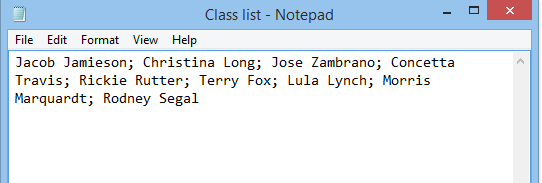
Add students collectively
-
To add many students at once, copy and paste a list of the students' names, separated by semicolons, into the text box.
Tip: After you paste the students' names into the text box, the app will look up each name. The app may take a few moments to automatically resolve each name. For each match that isn't found, you can retype the name or remove the name from the text box.
-
Once you've added all of your students for the class and the names have fully resolved, select Next.
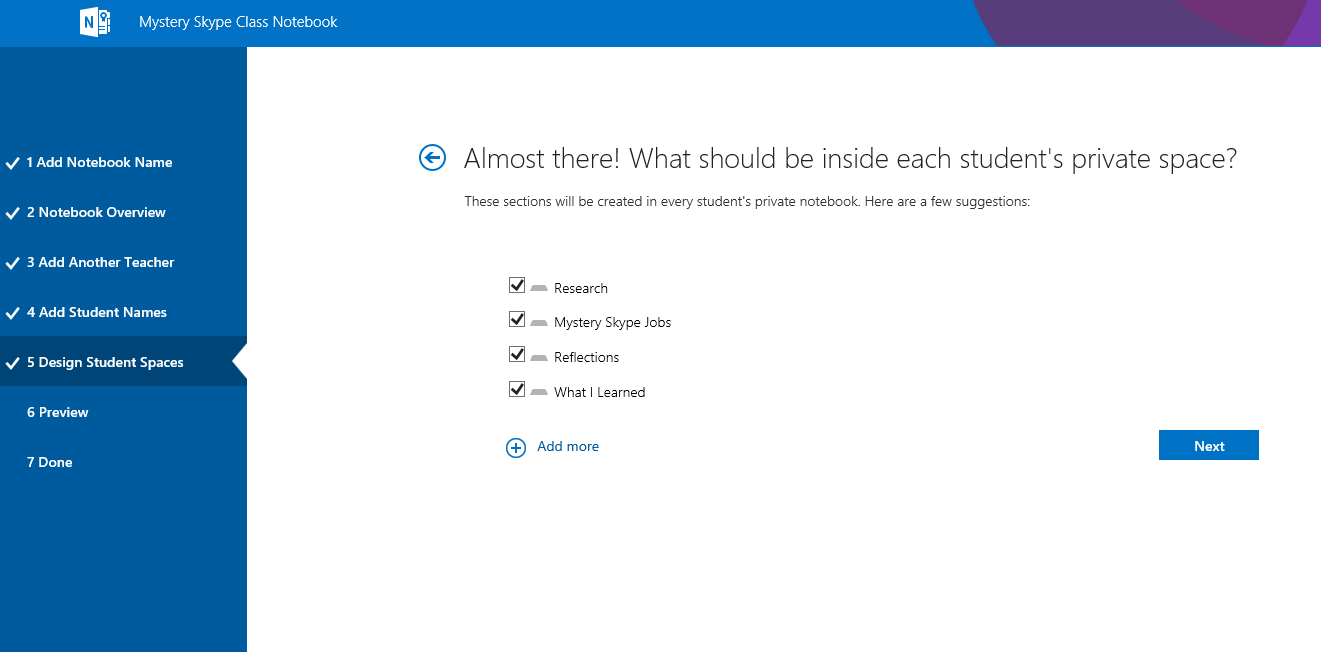
Start each student notebook with sections
-
Keep the boxes checked next to the default Mystery Skype sections that you'd like each student’s notebook to have.
-
Select Add more to add additional sections in each student’s notebook.
-
Select Next when finished.
Tip: We recommend that you create section names that correspond to Mystery Skype activities, not units. For example, use activities such as Research, Mystery Skype Jobs, What I Learned, and Reflections.
Note: You can also add, remove, and delete sections directly in your students’ notebooks after the Class Notebook is created.
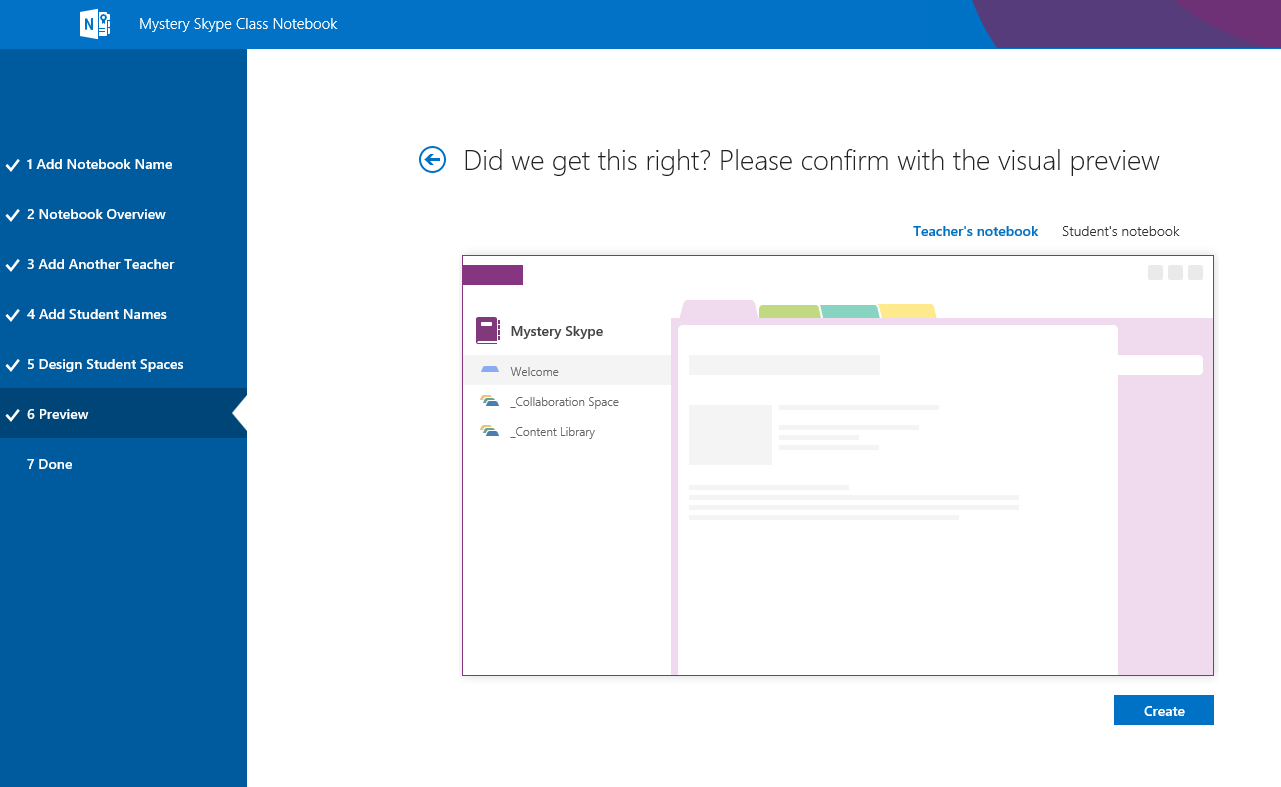
Finalize your Class Notebook
-
Click Teacher's notebook, and Student's notebook to verify how the sub-notebooks and sections will be created for the class. Select

-
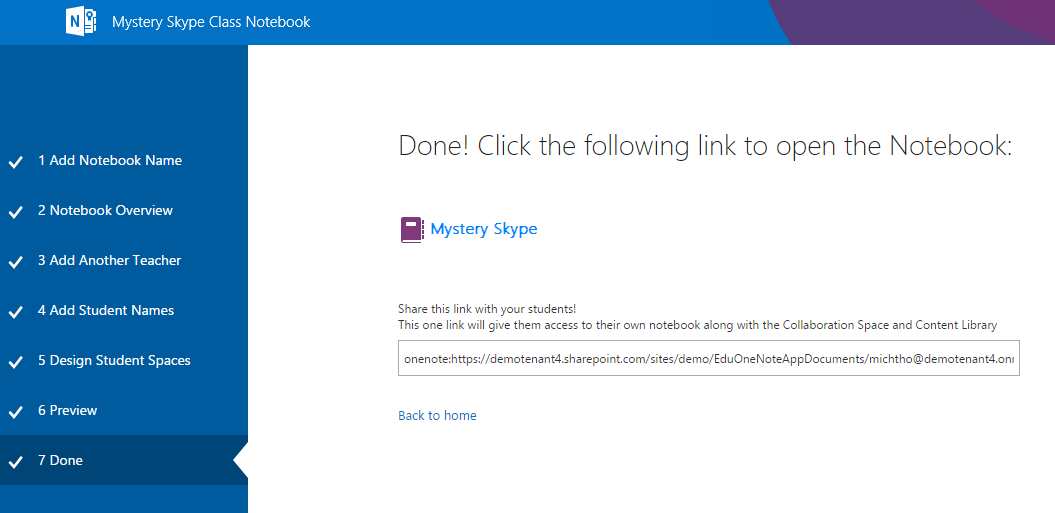
Click the notebook name link to open your Class Notebook in OneNote. As soon as the notebook is ready for your students, email the hyperlink shown in the text box to your class for your students to open.
Keep a copy of this link for your records or retrieve this link later in OneNote 2013 by right-clicking the class notebook in the notebook list, and then clicking Copy Link to Notebook.
-
Tip: The same link is used by everyone in one class to access the class notebook. If you make notebooks for several classes, each link will be different.
Tip: You may wish to add content by placing it in the Content Library before inviting your students to open the Class Notebook. Save a copy of the link in your records while you prepare the notebook and share it with students when you're ready.
-
Get links to any Class Notebooks you have
To find any link to a Class Notebook that you have, simply launch the app and select Get notebook links.

This will bring up a page that shows all the Class Notebooks you created and a link to each one. Select the link, press CTRL+C to copy it, then paste the link into an email to send to your students.
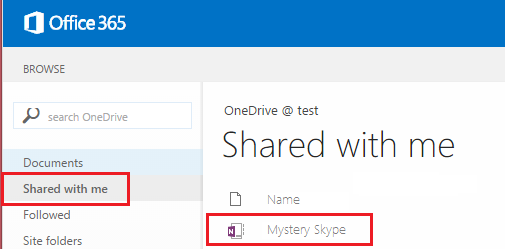
Help your students find their Class Notebook
Students can find all new Class Notebooks on OneDrive inside the Shared with me folder.