
You have lots of options for adding gradients, from simple built-in gradients to ones you create yourself. You can add gradients to basic shapes and text boxes, as well as shapes that are part of charts, SmartArt, and WordArt. You can quickly apply preset gradients, or you can create your own gradient fill with custom colors and specified brightness, transparency, gradient directions, and positioning.
The simplest way is to click the shape to select it, and then click the Format tab that appears:
-
For shapes, text boxes, and WordArt, the Format tab appears under Drawing Tools.

-
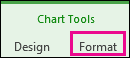
For chart shapes, the Format tab appears under Chart Tools.
-
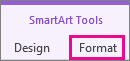
For SmartArt shapes, the Format tab appears under SmartArt Tools.
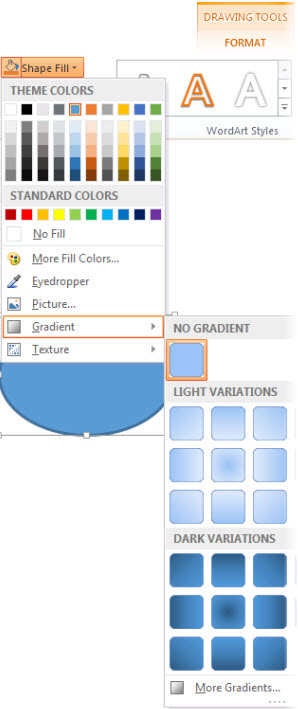
On the Format tab, click Shape Fill, click Gradient, and select the one you want.
Tip: To quickly apply this same gradient fill to other shapes, use the Format Painter.
Not good enough? You can take a couple more steps and apply a built-in gradient.
-
Click the shape, and when the Format tab appears, click Shape Fill.

-
Click Gradient > More Gradients.
-
Under Fill, click Gradient fill > Preset gradient and pick the one you want.

Tip: Use these Preset gradients as a starting point for building your own gradient fill.
If the preset gradient is still not what you want, you can make a custom gradient, which involves a few more steps.
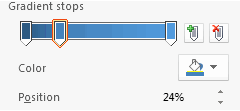
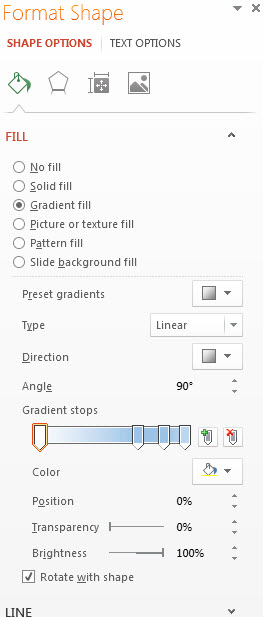
The key to making gradient fills are gradient stops—specific points where the blending of two adjacent colors in a gradient end. You can add or remove stops from the slider bar, and you can change the stop locations by sliding the stop or using the Position percentage for a precise position. Once you select a stop, you can use the other options to fine tune your gradient. The maximum number of stops is 10, and the minimum is 2.
To add a gradient, you click Add gradient stops 

-
Click the shape, and when the Format tab appears, click Shape Fill.
-
Click Gradient > More Gradients > Gradient fill.
-
Pick a Type from the list.
-
To set the direction for the gradient, click Direction.
For each of the fill colors that you want in your gradient:
-
To apply a color a gradient stop, click a stop on the Gradient Stops bar, and then click Color to choose the color you want.
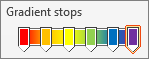
Here's an example of a linear rainbow gradient fill that was created by using six gradient stops, each with a different color.
-
If you want to move a particular gradient stop into a precise position, click a percentage in the Position box.
-
If you want, adjust the Brightness or Transparency sliders for each gradient stop. This must be done independently for each stop.
Notes:
-
To keep the direction of the gradient fill the same as the shape when you rotate it, check the Rotate with shape check box.
-
To create a fill effect of one color going from 100% opaque to 100% transparent, set the color for all the gradient stops to the same color value.
-
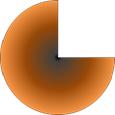
A gradient fill is a shape fill that gradually changes from one color to another across the surface of the shape.

A shape fill that gradually changes between three colors
It can be a variation of one color as shown above, or a blending of two or more different colors to create stunning effects like the examples below.

Preset Horizon gradient fill
Custom gradient fill


