

Try it!
Even though your report contains all the information you want, it might not express your personal brand. Before you print and share your report, change the look and add a logo.
Tip: When making design or format changes to reports, start in Layout view. To get there from the Home tab, select View > Layout View.
-
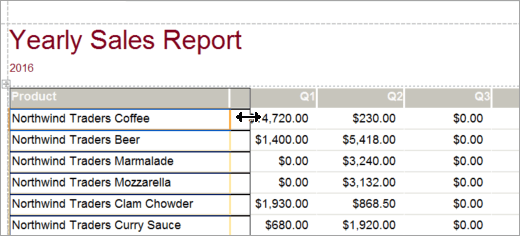
To resize a field, select it and then drag the edges.
-
To move a field, select that field and then drag it to the new location. To move multiple fields, hold down Ctrl while selecting the fields you want to move and then drag to the new location.
-
To add a visual theme to all reports and forms in your database, on the Design tab, select Themes. Pause over a theme to see how it will look. To change all the colors and fonts, select a theme.
-
To change the font style for a field, select the field you want to change. Then, on the Format tab, select a font, font size, font color, and alignment.
-
To add a background image to a report, on the Format tab, select Background Image > Browse. Then, go to the folder that contains the image, select the image, and select Open.
Note: Access doesn’t save design changes automatically, so be sure to save your work. On the Quick Access Toolbar, select Save.
Highlight data with a conditional formatting rule
-
Select the fields that contain data you want to highlight.
To select multiple items, hold down Ctrl and select the fields or controls. -
Select Format > Conditional Formatting.
-
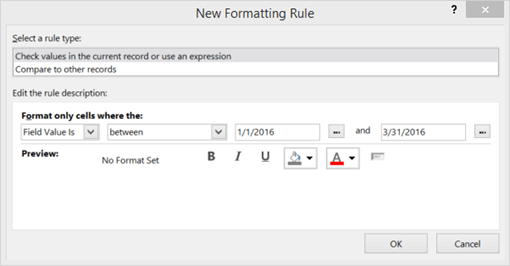
Select New Rule, and select a rule type.
-
For Edit the rule description, type the range of the field values you want to highlight.
-
On the formatting toolbar, select the font style and background color you want to use for the highlighted data.
-
To apply the rule to your report, select OK.
Add a logo
-
On the Design tab, select Logo.
-
To add the image to the top of the report, go to the folder that contains the image, select the image, and select Open.
-
To resize the logo, select an image handle and drag until the logo is the size you want.
-
To move the logo, select the logo and drag until the logo is in the place you want.
-
Preview and print the report
-
Select File > Print > Print Preview.
-
To page through the report, select the Page arrows.
-
To see a larger or smaller preview, select the Zoom buttons.
-
-
To change the margins, select Margins and select a margin size.
-
When you’re satisfied with the look of the report, select Print and then specify printing options. If necessary, change the printer and select the number of copies to print.
-
To print the report, select OK.
Want more?


Need more help?
Want more options?
Explore subscription benefits, browse training courses, learn how to secure your device, and more.


Communities help you ask and answer questions, give feedback, and hear from experts with rich knowledge.


