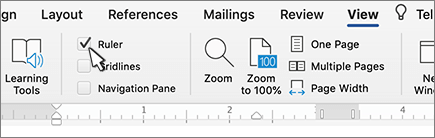
Turn on the ruler
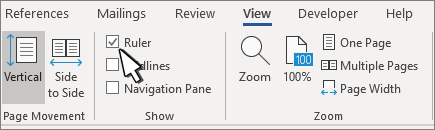
If you don't see the ruler at the top of your document, go to View > Ruler to display it.
Set a tab stop using the ruler
-
Select Left Tab

-
Choose one of the following types:
-
-
-

-

-
-
-
Click or tap the bottom of the horizontal ruler where you want to set the tab stop.


Drag the tab stop down off the ruler to remove it.
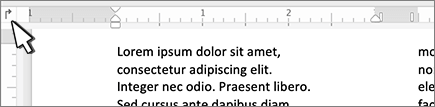
The left indent sets the position of the left side of a paragraph. When you move the left indent, your first line indent or hanging indent are moved in sync.
-
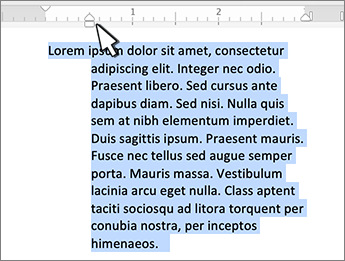
Select the text where you want set the left indent.
-
On the ruler, drag the square marker on the lower left side of the ruler to the place you want the left edge of the paragraph.
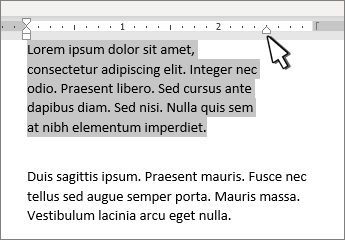
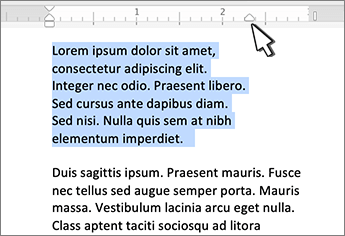
The right indent marker controls the position of the right side of a paragraph.
-
Select the text where you want set the right indent.
-
On the ruler, drag the triangular marker on the lower right side of the ruler to the place you want the right edge of the paragraph.
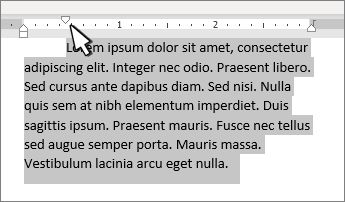
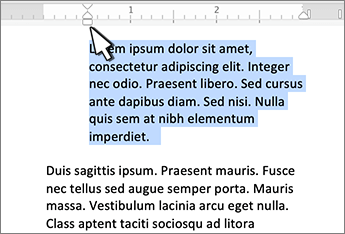
With a first line indent, the first line of a paragraph is indented and the following lines of a paragraph are not.
-
Select the text where you want to add a first line indent.
-
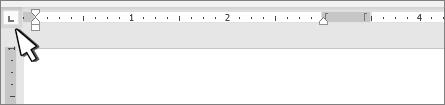
On the ruler, drag the triangular marker on the top left of the ruler to the place you want the indentation to start, for example to the 1" mark.
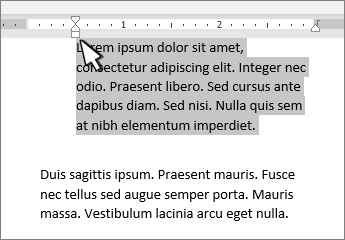
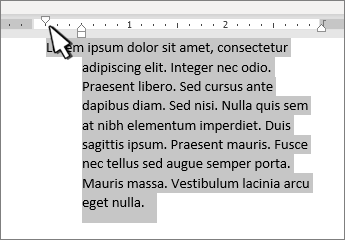
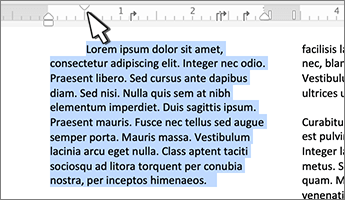
With a hanging indent, the second and all the following lines of a paragraph are indented more than the first.
-
Select the text where you want to add a hanging indent.
-
On the ruler, drag the upper triangular part of the lower marker to the place you want the indentation to start, for example to the 1" mark.
Turn on the ruler
If you don't see the ruler at the top of your document, go to View > Ruler to display it.
Set a tab stop using the ruler
-
Select Left Tab

-
Choose one of the following types:
-
-

-

-

-

-
-
Click or tap the bottom of the horizontal ruler where you want to set the tab stop.
Drag the tab stop down off the ruler to remove it.
The left indent sets the position of the left side of a paragraph. When you move the left indent, your first line indent or hanging indent are moved in sync.
-
Select the text where you want set the left indent.
-
On the ruler, drag the square marker on the lower left side of the ruler to the place you want the left edge of the paragraph.
The right indent marker controls the position of the right side of a paragraph.
-
Select the text where you want set the right indent.
-
On the ruler, drag the triangular marker on the lower right side of the ruler to the place you want the right edge of the paragraph.
With a first line indent, the first line of a paragraph is indented and the following lines of a paragraph are not.
-
Select the text where you want to add a first line indent.
-
On the ruler, drag the triangular marker on the top left of the ruler to the place you want the indentation to start, for example to the 1" mark.
With a hanging indent, the second and all the following lines of a paragraph are indented more than the first.
-
Select the text where you want to add a hanging indent.
-
On the ruler, drag the upper triangular part of the lower marker to the place you want the indentation to start, for example to the 1" mark.