
Filter recipient list
-
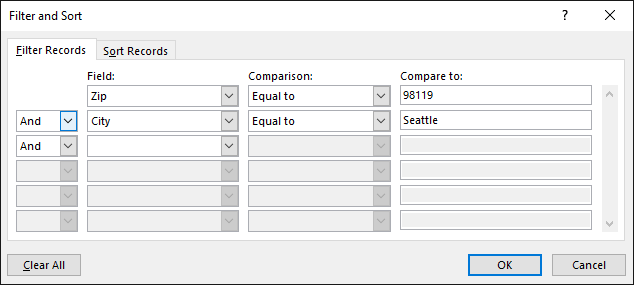
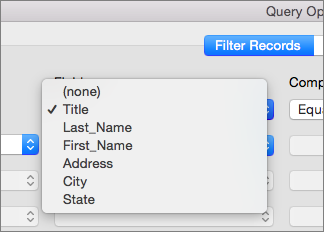
Select the Field box down arrow, and then choose the column name in your Excel mailing list that you want to use as the first-level filter.
-
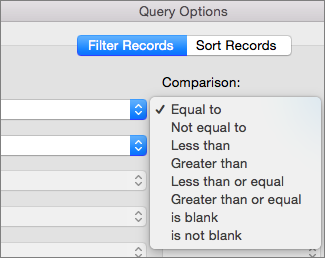
Choose the Comparison box down arrow, and then select a comparison option.
-
Equal to or Not equal to
-
Less than or Greater than
-
Less than or equal or Greater than or equal
-
Is blank or Is not blank
-
Contains or Does not contain
-
-
In the Compare to box, type data you want the selection in the Field box to match.
Comparisons are not case sensitive, so MEGAN matches with megan, Megan, or mEGAN.
-
(Optional) To add a second-level filter, in the far-left column, choose one of the following:
-
And to make sure both the filter conditions are met.
-
Or to make sure either filter condition is met.
-
-
Repeat steps 1 through 3 as needed.
-
Choose OK when done, and then view the results of the filtered records.
Filter the list to view only the rows you want to include
-
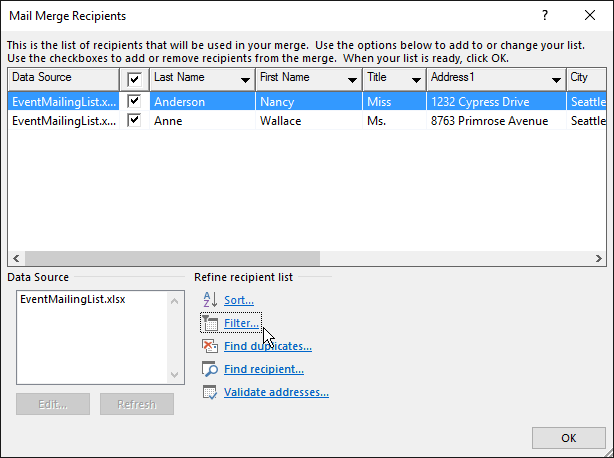
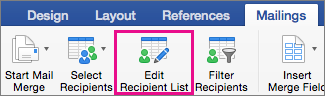
Go to Mailings > Edit Recipients.
If Edit Recipients is grayed out, select Select Recipients and connect the document to the mailing list you want to use.
-
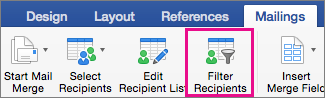
Select Mailings >Filter Recipients.
-
In Filter Records, select the arrow next to the Field box, and then choose the column you want to filter by.
-
Select Comparison, and then choose the type of comparison you want to make.
-
In the Compare to box, type the value for the filter.
-
(Optional) To add a second-level filter, choose one of the following:
-
And to have both the filter conditions met.
-
Or to have either filter condition met.
-
-
Repeat steps 3 through 5 as needed.
-
Select OK.
Now you’re ready to insert mail merge fields in the document you’re using for email merge or Mail merge in Word for Mac. For more information, see Insert mail merge fields.


