
Code.org and Microsoft 365 Education have partnered to provide a free and innovative solution for delivering standards-aligned content in the classroom.
Prepopulated with the Code.org CS Discoveries curriculum, your OneNote Class Notebook’s structure will help you stay organized, save your work to the cloud, and easily distribute content to students.
Note: Sign in to your Microsoft 365 Education account at Microsoft365.com in order to create a Code.org Class Notebook.
Create a Code.org Class Notebook
-
Open the Code.org Class Notebook page here.
-
Select Create a class notebook.

-
Name your notebook, then select Next.
-
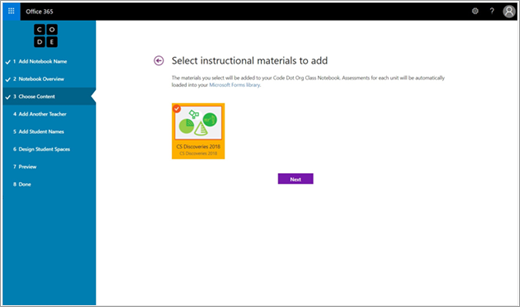
Choose the CS Discoveries 2018 material you’ll be using in this class and then select Next. The materials you choose will be automatically loaded in your Class Notebook Teacher-Only section.
-
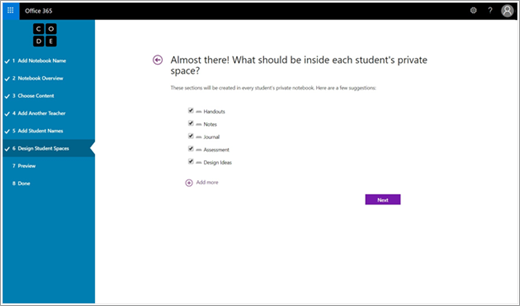
Choose the sections you’d like to include in every students’ notebook, then select Next. (You can edit these sections later from OneNote by selecting the Class Notebook tab, then Manage Notebooks.)
-
Preview how your teacher and student notebooks will look, then select Create.
Explore the structure of your Code.org notebook
Each notebook includes:
-
A Content Library: read-only for students. This is where educators can share course materials for the class to reference.
-
A Collaboration Space: where educators and students can work together.
-
A private workspace for each student; you can create sections for students to take notes, work on tasks you assign, and more.
You also have the option of creating a Teacher-Only section group in your notebook, where you can keep notes and work on curriculum away from the eyes of your students.
Copy content from your Teacher-Only section group into the Content Library:
-
Right-click a page or section.
-
Select Move or Copy.
-
Select a destination in the notebook’s Content Library.
-
Select Copy. This will copy the content from your Teacher-Only section into the Content Library, where students will be able to access, but not edit, the material.
Distribute pages to private student workspaces:
Homework, quizzes, and other content you want students to work on privately can be distributed to designated sections in their workspaces.
-
Navigate to the page in the Content Library that you'd like to distribute to your students.
-
Select the Class Notebook tab, then Distribute Page.
-
Choose the section of your students’ notebook you’d like the page copied to.
Learn more:
Distribute Class Notebook pages and sections


