
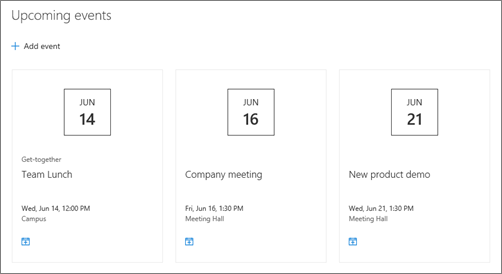
When you add a modern page to a site, you add and customize web parts, which are the building blocks of your page. This article describes the Events web part, which allows you to easily display upcoming events on your page.
Note: Some functionality is introduced gradually to organizations that have opted in to the Targeted Release program. This means that you may not yet see this feature or it may look different than what is described in the help articles.
Add the Events web part
Note: Recurring events are not supported, even if you manually set up a recurrence in the events list that you are using. You'll need to create a new event for each occurrence or, if you are setting up events for an Office 365 group on a team site, use the Group calendar web part.
-
If you're not in edit mode already, click Edit at the top right of the page.
-
Hover your mouse above or below an existing web part or under the title region, click

-
Click the Edit web part

-
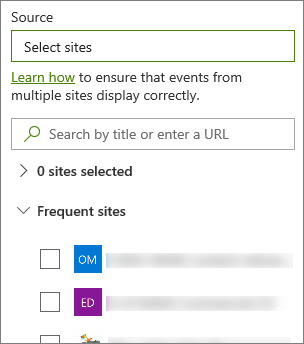
Select a Source for your events: Events list on this site, This site, This site collection, Select sites, or All sites. If your site is connected to a hub site, you will also have an option to select All sites in the hub or Select sites from the hub.
Notes:
-
When you chose Select sites, you can search for the site you want to add, or select one or more sites from Frequent sites, or Recent sites. You can select up to 30 sites.
-
The Select sites option is not available in SharePoint Server, U.S. Government GCC High and DoD, and Office 365 operated by 21Vianet.
-
-
Events list: If there is more than one events list on the site, you can select the one you want. If you don't have an existing list, the Events web part creates an empty Events list for you, with the default settings of a Calendar list.
-
If you choose to show events from multiple sites, and don't see all of your events displayed on the page, see How events from multiple sites are found and displayed.
-
-
If your list has categories, you can select one by which to filter the events you show.
-
Select a date range by which to filter your events in the Date range drop-down list . You can choose All upcoming events (the default), This week, Next two weeks, This month, or This quarter.
-
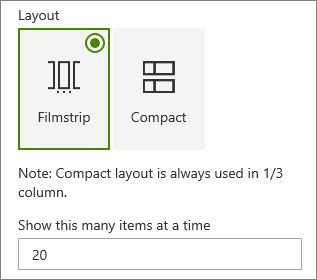
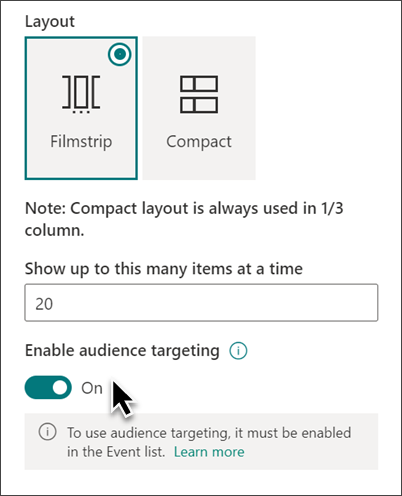
Select a layout: Filmstrip or Compact.
Add an event
On a published page, you can start adding events.
Note: You can add events on a saved or published page, but not on a page that is in edit mode.
-
Click Add event.
-
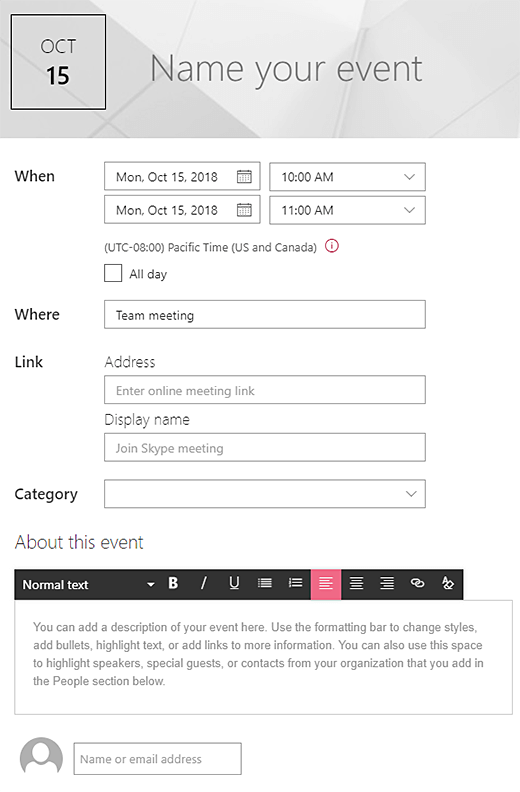
Give your event a name at the top of the page. Optionally, you can add an image to the title area by clicking the Add image button in the upper left.
-
Choose date and times in the When section.
-
In the Where section, enter a location or address. If your location is recognized, you have the option to add a map.
-
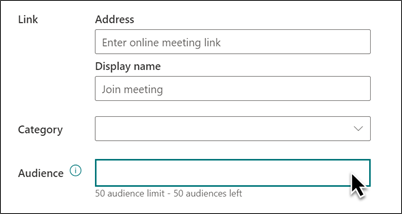
In the Link section, you can enter an online meeting link if you have one. Put the link in the Address box, and then add a Display name. If you don't have an online meeting and enter nothing, this section will not appear in the event.
-
Choose a Category (such as Meeting, Work hours, Business, Holiday, and so on) if you want the event to show when filtered by that category. To add your own category, just enter it in the space.
-
Provide a description in the About this event area.
-
If you have people you'd like to highlight for this event (such as contacts, special guests, or speakers) you can add their names below the event description. Only users within your organization can be added.
-
When you're done, click Save.
Edit an event
Once you've saved the event, you can edit it on the event page.
-
Select See all in the right-hand corner of the Events web part to navigate to the event page.
-
Or, access the event page by selecting Settings, then Site contents, and then select your event in the Event list.
-
Select the event you want to edit and select Edit at the top right of the event page.
-
Select Save when you are done.
Audience targeting
By using audience targeting, you can highlight content to specific groups of people. This is useful when you want to present information that is most relevant to a particular group of people. For example, you can target events to team members and stakeholders that would be most interested.
To use audience targeting, first enable audience targeting for the event list in the site's document library, then select your audience, and then enable audience targeting in the Events web part.
Note: If you've selected an audience group that you recently created or changed, it may take some time to see targeting applied for that group.
-
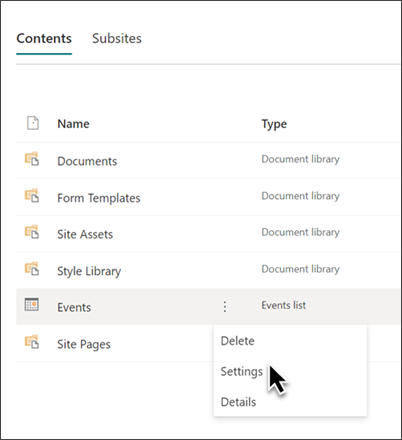
From your site's home page, select Settings and then Site content.
-
Hover over Events, select the ellipses (...) and then Settings.
-
Select Audience targeting settings from the settings list.
-
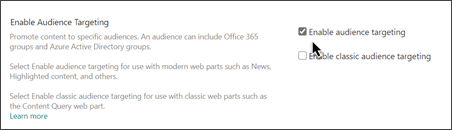
Select the checkbox to Enable audience targeting then select OK.
-
Edit the event page. Add up to 50 groups in the Audience section. Then select Save.
-
Go back to the page where you placed the web part.
-
Click the Edit web part
-
In the property pane slide the Enable audience targeting toggle to ON.
-
Republish the page for changes to audience targeting to take effect. If you've applied an audience group that you recently created or changed, it may take some time to see targeting applied for that group.
-
Confirm audience targeting has been applied to select events by viewing the Events web part in Edit mode and you will see the shared content symbol in the bottom right corner of the event card

Caching of search results
It is recommended to enable group-level caching of search requests on Events or Highlighted Content web parts, especially for popular home pages or on category pages that are starting points for navigating to more detailed pages. After being enabled, the web part will first look in the cache for existing search results that match the query and the security group(s). If it doesn't find any search results in the cache, it will look in the search index.
-
Go to the site page that contains an Events web part.
-
Select Edit to edit the site page.
-
Select the Events web part and then select Edit web part
-
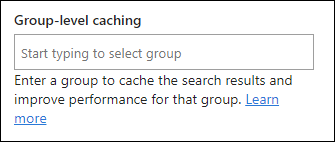
In the web part settings pane, scroll to the Group-level caching setting.
-
Specify the security group(s) by entering a group name or email. The search results will be cached for all users who belong to the same security group(s) and will improve performance.
-
Republish your SharePoint site page.


