
You can use Outlook or Outlook Web App to schedule a Skype meeting--the same way you schedule meetings normally but with one or two extra clicks.
Schedule a Skype Meeting using Outlook 2013
To schedule a Skype meeting, you need a sign-in address and password from an organization that uses Skype for Business Server.
-
Open Outlook, and go to your calendar.
-
On the Home tab ribbon, in the Skype Meeting section, click New Skype Meeting.

-
Set up the meeting as you typically would:
-
In the To box, type the email address of each person you’re inviting, separated by semicolons.
-
In the Subject box, type a name for the meeting.
-
If you’ll have in-person attendees, either click Room Finder, in the Options section of the Meeting tab, and then find a room or, in the Location box, type a meeting location, such as a conference room.

-
Select a start time and end time.
Notes:
-
To look for a time that works for everyone, click Scheduling Assistant, in the Show section of the Meeting tab ribbon.
-

-
-
-
In the meeting area, type an agenda. Be careful not to change any of the Skype meeting information.
Important:
-
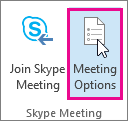
Scheduling a meeting with the default options is suitable for small, internal meetings, such as casual meetings with a few coworkers. If you have a meeting with people outside your company, or you’re scheduling a large event, change the meeting options before sending the invites to better fit your meeting requirements. In the meeting request, on the Skype Meeting section of the Meeting ribbon, click Meeting Options, and then select the appropriate options.
-
-
-
(Optional) In the Show section of the Meeting ribbon, click Scheduling Assistant to make sure you have the best time for the meeting.
-
You're almost done. Just double-check the information and click Send.
Set up an online meeting using Outlook Web App
-
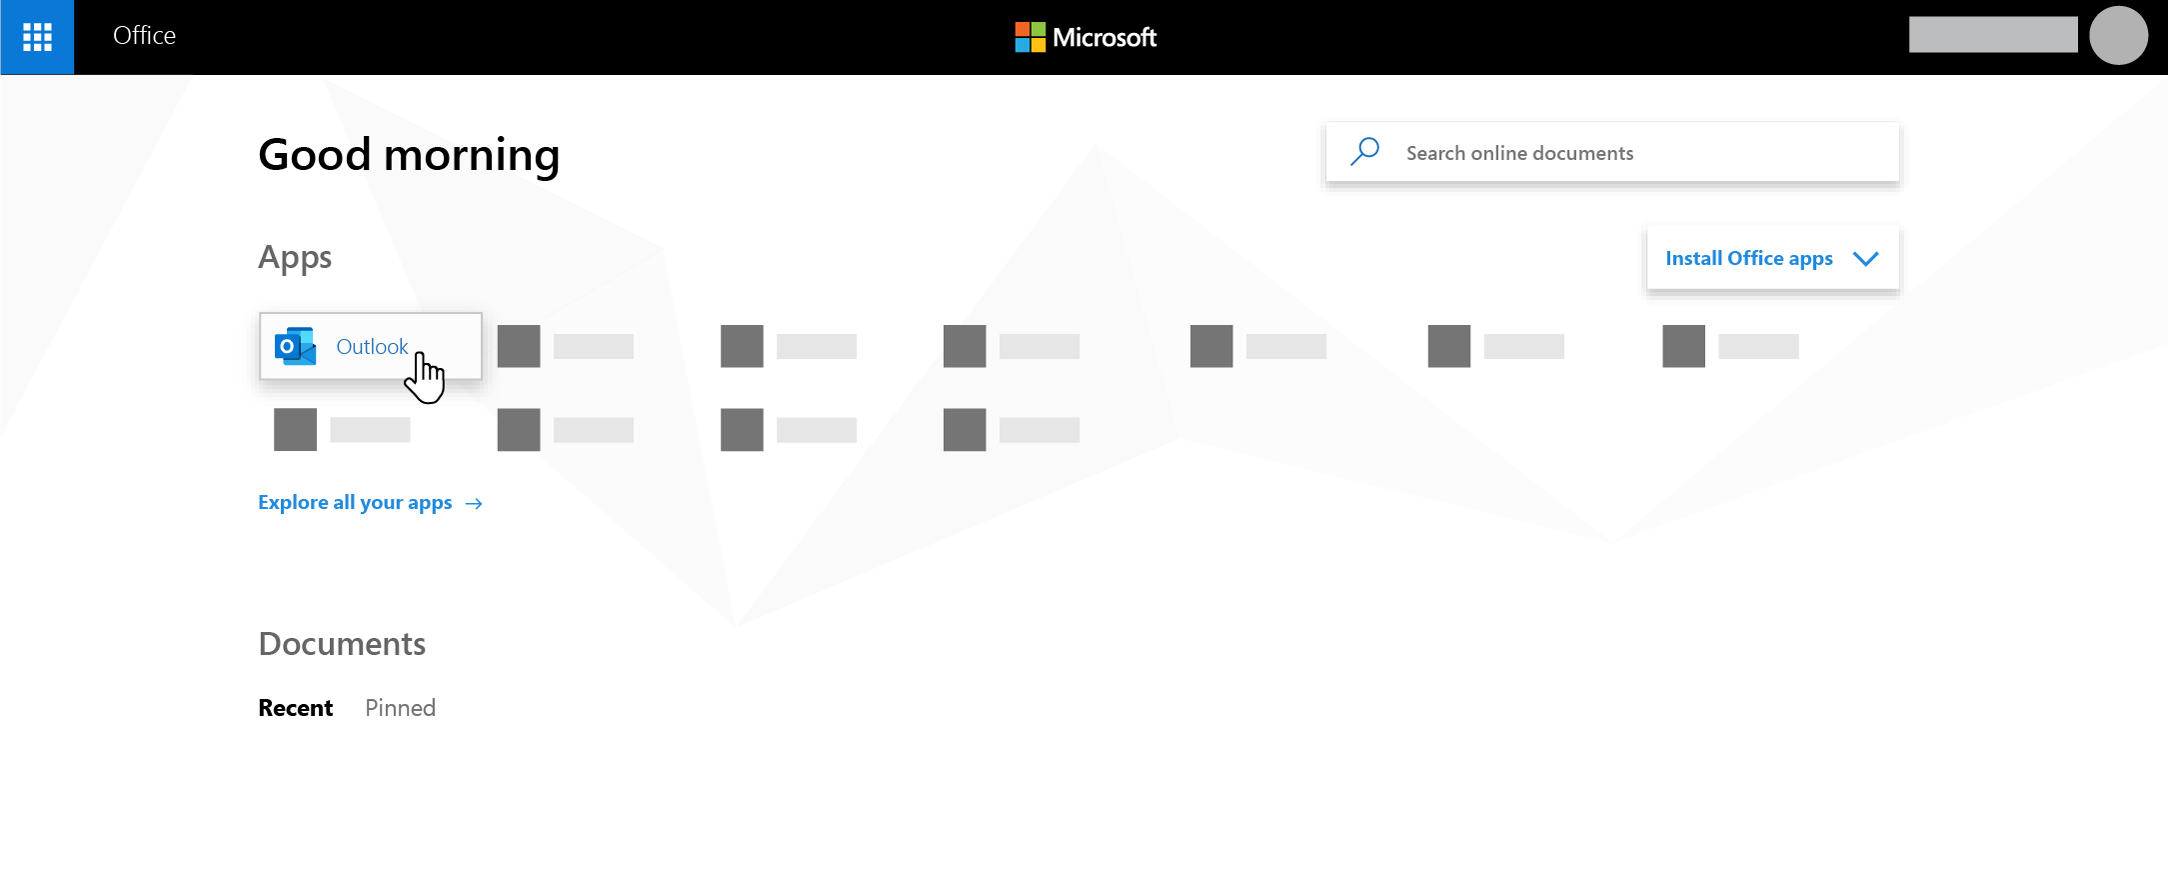
In the Office 365 portal, click Outlook, and then click Calendar to open the Calendar app.
-
Click the plus sign

Can't find the app you're looking for? From the app launcher, select All apps to see an alphabetical list of the Microsoft 365 apps available to you. From there, you can search for a specific app.
-
In the middle of the meeting window, above the message area, click Online meeting.
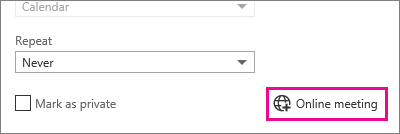
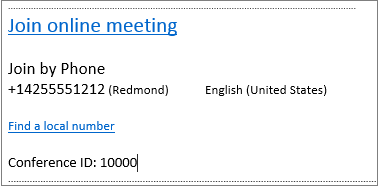
Call-in details, like a Join online meeting link appear in the message area.
-
If you’ll have in-person attendees, in Location, type a location for the meeting, such as a conference room, or click Add Room for help finding a conference room.
Tip: To look for a time that works for everyone, click Scheduling Assistant, at the top of the meeting window.
Tips:
-
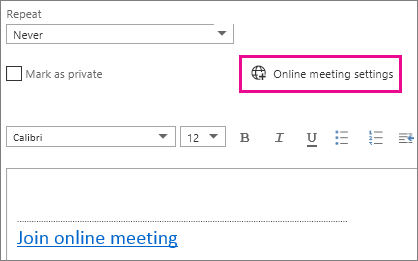
To view settings for who has access to the online meeting, who has to wait for you to admit them into the meeting, and who can present during the meeting, click Online meeting settings (just above the message area).
-
-
-
(Optional) In the meeting area, you can type an agenda or other information about the meeting. Be careful not to change any of the online meeting information.
-
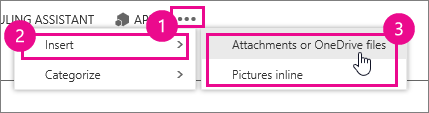
(Optional) To add a picture or attachment with the agenda, at the top of the meeting window, click the More actions icon (…), click Insert, and then click Attachments or OneDrive files or Pictures inline.
-
At the top of the meeting window, click Send.


