
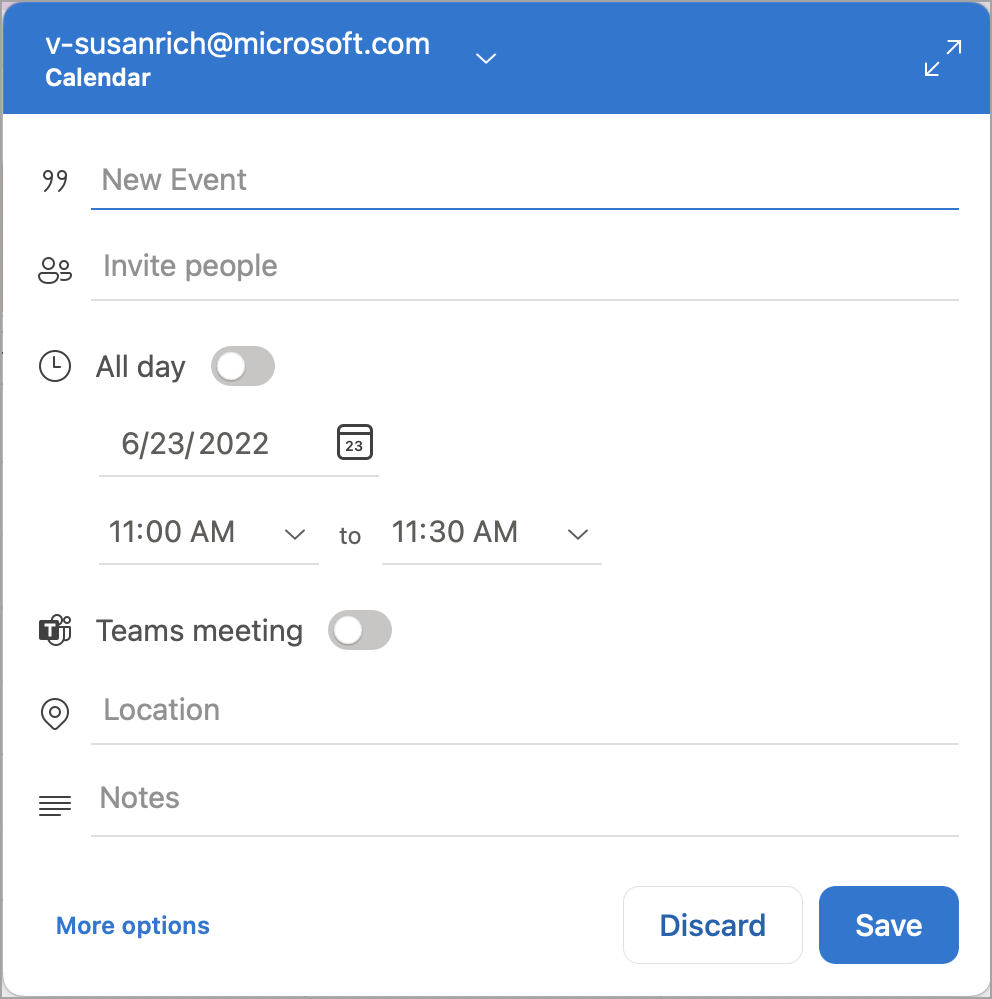
Create an event
-
On the navigation pane, select Calendar

-
Select New Event > New Event.

Note: If you select a date and time in the calendar, the date and time of your selection are automatically entered in a new appointment window.
-
Add the event name in New Event.
-
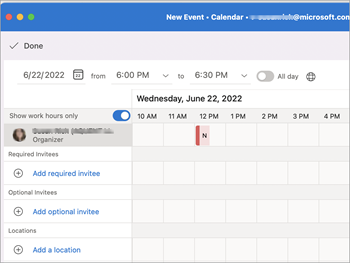
Select Scheduling Assistant.
-
In Add required invitee type the invitee's name and select the invitee from the list of contacts. Repeat for all invitees.
-
Find a time and date that everyone is available and select it.
-
Select Done.
-
For a Teams meeting, select the Teams meeting button.
-
Select Does not repeat or the repeat pattern.
-
Select Add a location or the Teams meeting button.
Note: When you add a location, select Browse with Room Finder and select a location.
-
Select the notification timing.
-
Select Send.
Create a meeting
-
At the bottom of the navigation pane, click Calendar.

-
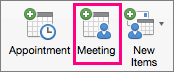
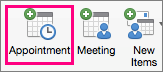
On the Home tab, click Meeting.
-
To send the invitation from an account that isn't your default account, select an account from the From list.
-
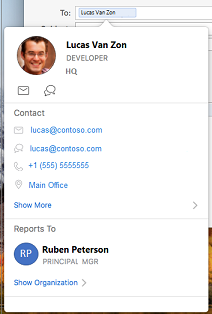
In the To box, enter the names of people or resources to include for the meeting. Select any of the names to see details about that person, including phone number, email address, office location, and more.
-
In the Subject box, enter a description of the meeting.
-
If you know the meeting room information, type it in the Location box; otherwise, click the Room Finder button in the ribbon. (See Find a conference room for more information about Room Finder.)

-
Enter details about the event, and then do any of the following:
To
Do this
Display the Time zone menu for the event
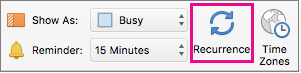
On the Organizer Meeting tab, click Time Zones.

Add attachments to the meeting
On the Meeting menu, click Attachments> Add.
Make the meeting a recurring event
On the Organizer Meeting tab, click Recurrence, and then select a recurrence pattern.
See whether your invitees are available (Exchange accounts only)
On the Organizer Meeting tab, click Scheduling.

Clicking the Scheduling button displays the Scheduling Assistant pane. If you don't see free/busy information in the Scheduling Assistant pane, make sure your Exchange account is selected in the From field at the top of the invitation.
-
Click Send.
Create an appointment
-
At the bottom of the navigation pane, click Calendar.
-
On the Home tab, click Appointment.
Tip: You can also create an appointment in the calendar by double-clicking a time period in the day, week, or month view. The date and time of your selection are automatically entered in a new event window.
-
Enter the Subject and Location, and do any of the following:
To
Do this
Display the Time zone menu for the event
On the Appointment tab, click Time Zones.
Make the appointment recurring
On the Appointment tab, click Recurrence, and then select a recurrence pattern.
Change the appointment into a meeting by inviting other people
On the Appointment tab, click Invite.

-
On the Appointment tab, click Save & Close.
Related
Schedule a meeting or event in Outlook for Windows or on the web


