Remove a page border
You remove a border by changing the page border setting to None.
-
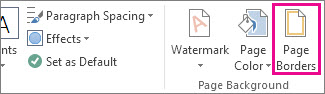
On the Design tab, choose Page Borders.
-
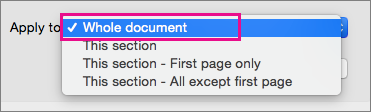
In the Borders and Shading dialog box, in the Apply to list, choose the page (or pages) you want to remove the border from.
-
Under Setting, choose None.
-
Select OK.
Remove a page border
-
On the Page Layout tab, in the Page Background group, select Page Borders.

-
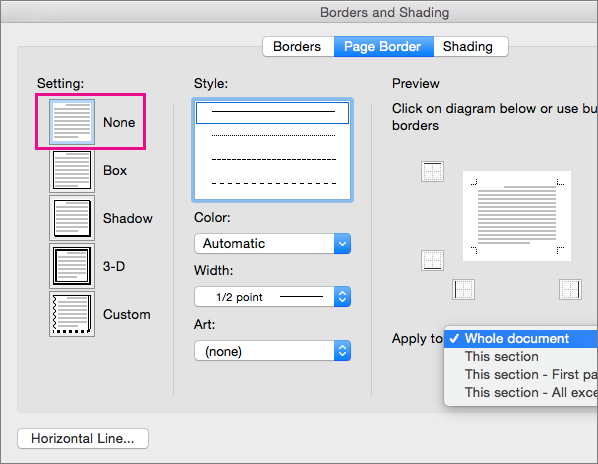
In the Borders and Shading dialog box, on the Page Border tab, under Setting, choose None.
-
Select OK.
Note: To remove the border from only one edge of the document—for example, to remove all but the top border—select the borders that you want to remove in the diagram under Preview.
If you’ve added a border to a page in your document, you can remove it by changing the page border setting to None.
-
Go to Design > Page Borders.

-
In the Borders and Shading box, on the Page Border tab, select the arrow next to Apply to and choose the page (or pages) you want to remove the border from.
-
Under Setting, select None, and then select OK.