
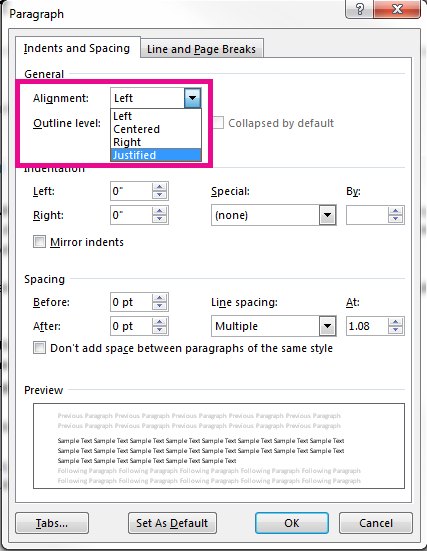
The term "alignment" generally specifies the appearance and orientation of the edges of a paragraph -- left-aligned text, right-aligned text, centered text, or "justified" text (aligned evenly from left to right margins). In left-aligned -- the most common alignment -- the left edge of the paragraph is flush with the left margin.
Additionally, "vertical alignment" determines the up/down position of text within a defined space in the document -- such as placement of a title on a section-break page.
-
Select the text that you want to align.
-
On the Home tab, in the Paragraph group, click Align Left


-
Select the text that you want to center.
-
On the Home tab, in the Paragraph group, click Center

-
Select the text that you want to center.
-
On the Layout or Page Layout tab, click the Dialog Box Launcher

-
In the Vertical alignment box, click Center.
-
In the Apply to box, click Selected text, and then click OK.
When you "justify" text in a Word document, you give your text straight edges on both sides of the paragraph. Justifying extends each line of your text from the left margin to the right margin. Justifying text might make the last line of text in a paragraph considerably shorter than the other lines.
-
Select the text you want to justify.
-
On the Home tab, in the Paragraph group, click Justify

Tips:
-
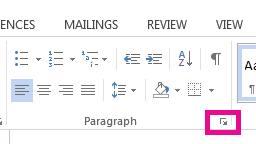
In the Paragraph group, click the Dialog Box Launcher
-
You can also use the keyboard shortcut, Ctrl + J to justify your text.
-
On the Insert tab, in the Pages group, click Cover Page.

-
Click the cover page that you want.
A cover page is always added to the beginning of the open document.


