
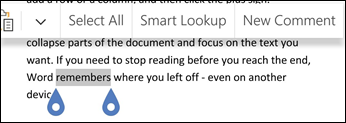
The enhanced @mention feature makes it much easier for you to connect with specific colleagues and needed resources as you collaborate on creating documents, presentations and spreadsheets. Use of the @-sign can open up immediate access to context-relevant media – even anticipating your potential resource needs.
Notes:
-
Search, pick and tag people by name, alias or email-id
-
Rapid, near-instant suggestion results
-
Photos presented in tiles for easy identification
-
Items suggested before you type (Zero Query)

-
Sign in to Microsoft 365 with your work or school account, and go to a document that's saved in a SharePoint library or OneDrive for work or school.
Note: For this feature to work, you'll need to be signed in to Outlook on your PC.
-
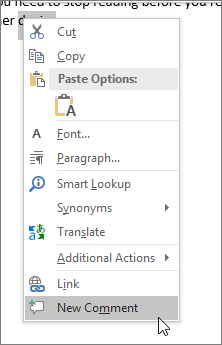
Add a comment from the context menu or from Review > New Comment.
-
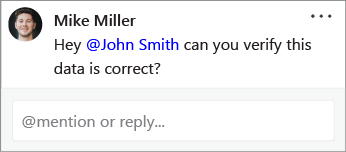
Type @ and the first few letters of the person's first or last name, and then pick the name you want (If they don't already have permission to open the document, you'll be asked to provide that).
Tip: To be more casual, feel free to delete everything except the person's first name in the @mention. To include more people, type @ again and mention someone else.
-
Sign in to Microsoft 365 with your work or school account, and go to a document that's saved in a SharePoint library or OneDrive for work or school.
Note: For this feature to work, you'll need to be signed in to Outlook for Mac.
-
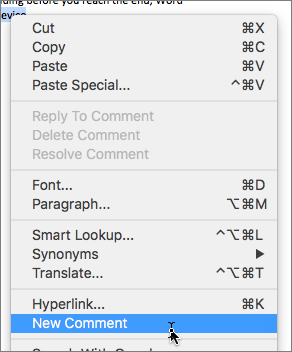
Add a comment from the context menu or from Review > New Comment.
-
Type @ and the first few letters of the person's first or last name, and then pick the name you want (If they don't already have permission to open the document, you'll be asked to provide that).
Tip: To be more casual, feel free to delete everything except the person's first name in the @mention. To include more people, type @ again and mention someone else.
-
Sign in to Office.com with your work or school Microsoft 365 account, and go to a document that's saved in a SharePoint library or OneDrive for work or school.
-
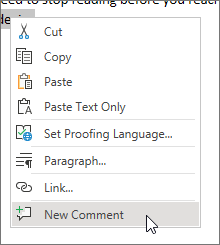
Add a comment from the context menu or from Review > New Comment.
-
Type @ and the first few letters of the person's first or last name, and then pick the name you want (If they don't already have permission to open the document, you'll be asked to provide that).
Tip: To be more casual, feel free to delete everything except the person's first name in the @mention. To include more people, type @ again and mention someone else.
Assign tasks using @mentions
In Word or Excel for web, you can use @mentions to assign a task to another user when you post a comment or a reply. When you create the task, it's tracked through all interactions and reassignments, so you can see its history. However, since tasks are only available at this time for enterprise users in Word and Excel for the web, you can’t reassign tasks in other apps. However, you can still reply to the comment, resolve the task by resolving the comment, and reopen the task by reopening the comment thread. You can also see the comment history in those apps, but you won't see the task history. For example, if you assign a task in Word for the web and later open the document in Word for the desktop, you'll see the comment, but not the task. If you reopen the document in Word for the web, the task is visible again and you can interact with it.
To create a task:
-
Add a new comment or reply to an existing comment.
-
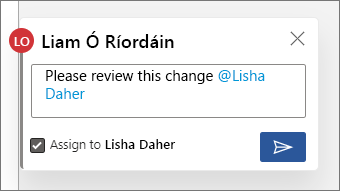
Use an @mention in the comment. The option appears to assign the comment as a task to the person mentioned.
-
Select the Assign to checkbox.
-
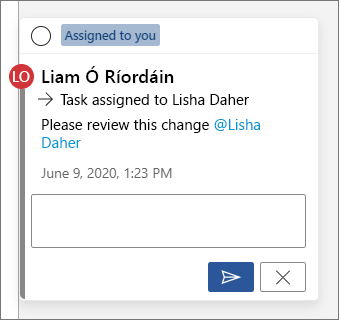
Post the comment or reply. The person the task is assigned to will receive an email notifying them that they've been assigned a task. In the comment, they'll see the task assigned to them.
To reassign a task:
-
Use an @mention in the response field.
-
Select the Reassign to check box.

-
Post the reply. The person the task has been reassigned to will receive an email notifying them that they've been assigned the task.
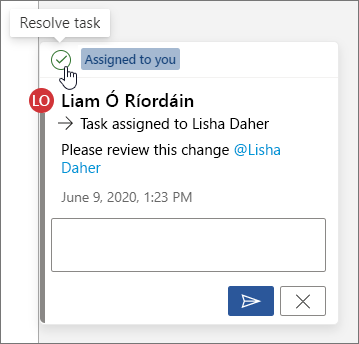
To resolve a task assigned to you:
-
In the top of the comment, hover over the circle next to Assigned to you. A check mark appears in the circle.
-
Click the circle with the checkmark to resolve the task.
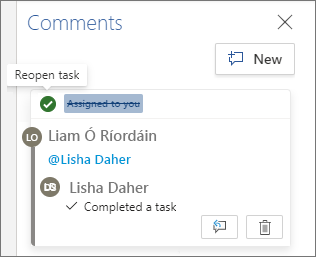
To reopen a resolved task:
-
Open the comments pane.
-
In the top of the resolved comment, click the green circle with the checkmark.
Note: Tenants with conditional access will not be able to create @mentions. Please contact your IT Administrator for more information.
-
On your device, go to a document that's saved in a SharePoint library or OneDrive for work or school.
-
Select words in the document, and then tap New Comment.

-
Type @ and the first few letters of the person's first or last name, and then pick the name you want (If they don't already have permission to open the document, you'll be asked to provide that).
Tip: To be more casual, feel free to delete everything except the person's first name in the @mention. To include more people, type @ again and mention someone else.
Note: Tenants with conditional access will not be able to create @mentions. Please contact your IT Administrator for more information.
-
On your device, go to a document that's saved in a SharePoint library or OneDrive for work or school.
-
Select words in the document, and then tap New Comment.
-
Type @ and the first few letters of the person's first or last name, and then pick the name you want (If they don't already have permission to open the document, you'll be asked to provide that).
Tip: To be more casual, feel free to delete everything except the person's first name in the @mention. To include more people, type @ again and mention someone else.
Quickly find and respond to @mentions
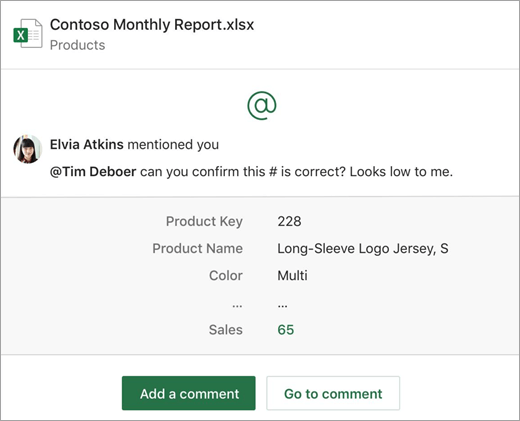
In Word, Excel, and PowerPoint, when someone mentions you in a comment, you'll receive an email notification that includes a link that takes you to the comment in the file.
In addition, in certain versions of Word, Excel, and PowerPoint, the email notification also shows you a preview of the text and comment thread associated with the comment (also known as context preview), and you can respond to the comment directly from the email notification (also known as inline replies).
If you're mentioned more than once, you'll receive the links in a single email.
Note: This feature isn't available for customers using Microsoft 365 operated by 21Vianet.
Requirements
Email notifications will include context preview and inline replies if the comment is added by someone using the following versions of Word, Excel, and PowerPoint:
|
Windows |
Mac |
Web |
Mobile (Android/iOS) |
|
|---|---|---|---|---|
|
Word |
Not yet |
Not yet |
Yes |
Yes |
|
Excel |
Yes (version 1911 or later) |
Yes (version 16.31 or later) |
Yes |
Yes |
|
PowerPoint* |
Not yet |
Not yet |
Yes |
Not yet |
*PowerPoint does not yet support inline replies
To reply to a comment from the notification email, you must be using Outlook for Windows, Outlook on the web, or Outlook Mobile. Support for Outlook for Mac and dark mode in Outlook on the web is coming soon.
How to turn off context previews
Admins can use a SharePoint PowerShell cmdlet to turn off context previews:
-
Install the latest version of the SharePoint Online Services Module for Windows PowerShell.
-
Connect to your tenant using Connect-SPOService.
-
Run the following cmdlet: Set-SPOTenant -AllowCommentsTextOnEmailEnabled:$false
Note: Email notifications for comments made in file that are Rights Protected or marked as sensitive via DLP rules won't include a context preview or inline replies, regardless of whether the feature is turned on or off.
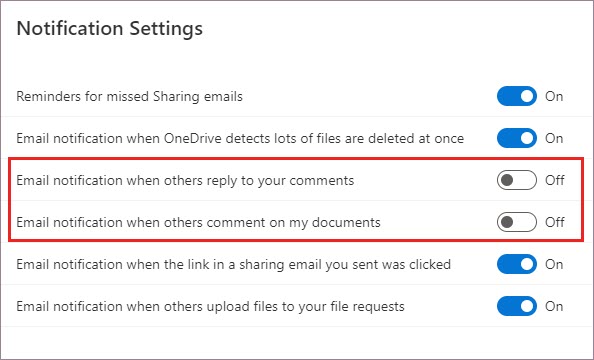
How to turn off notifications for comments in OneDrive
By default, the original document creator and any participants in a comment thread are notified whenever someone creates or updates a comment thread. If the thread is long and involves multiple users, you may want to stop notifications and keep your inbox from being overwhelmed.
There is no global setting for turning off comment notifications. Participants in a thread must do that for themselves in OneDrive. To turn off notifications for comments, do the following:
-
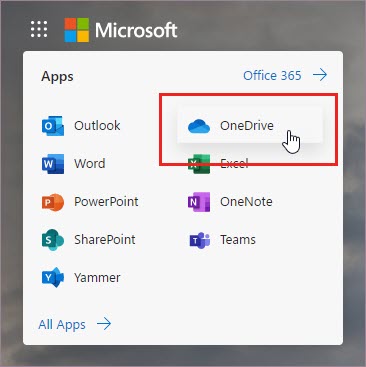
In a new tab in your Microsoft Edge browser, select App launcher, and then select OneDrive.
-
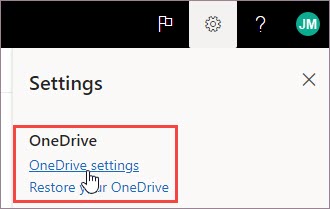
Go to Settings > OneDrive Settings.
-
Under Notification Settings, turn off Email notification when others reply to your comments and Email notification when others comment on my documents.
How to turn off notifications in Outlook
At the bottom of a notification email you receive in Outlook is a setting that allows you to turn off notifications for any further comments or updates to a comment thread made in the file by the original document creator or any participants.
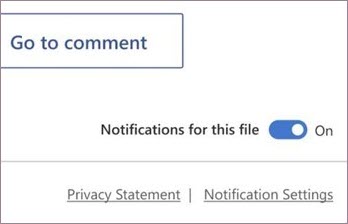
This setting works for just one file. If you're receiving notifications for comments in multiple files, you'll need to turn off Notifications for this file for each file.
Security of comment data
Microsoft does not store any comment data internally. All comments among participants in a thread are stored only on your end. Microsoft has no access to see any of your comments.


