
Tip: Learn more about Microsoft Forms or get started right away and create a survey, quiz, or poll. Want more advanced branding, question types, and data analysis? Try Dynamics 365 Customer Voice.
When you add a modern page to a site, you add and customize web parts, such as Microsoft Forms, which are the building blocks of your page. With the Microsoft Forms web part, you can add a form or form results to your SharePoint in Microsoft 365 page.
Note: The Microsoft Forms web part is not available in SharePoint Server 2019, SharePoint mobile app, GCC, GCC High, or DoD environments.
-
Hover your mouse above or below an existing web part and you'll see a line with a circled +, like this:

-
Click + to see a list of web parts to choose from. Click the Microsoft Forms web part.

Add and publish a page
If you don't already have a page with web parts, follow these steps to prepare one.
-
Go to the site where you want to add a page.
-
Go to the home page of the site.
-
Select + New, and then select Page.
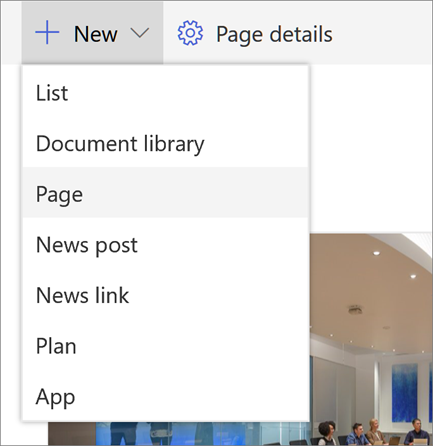
Alternately, you can go to an existing page, select + New, and select Start from a blank page. Or, you can choose Copy of this page to create a new page that has the same web parts and content as the existing page.
-
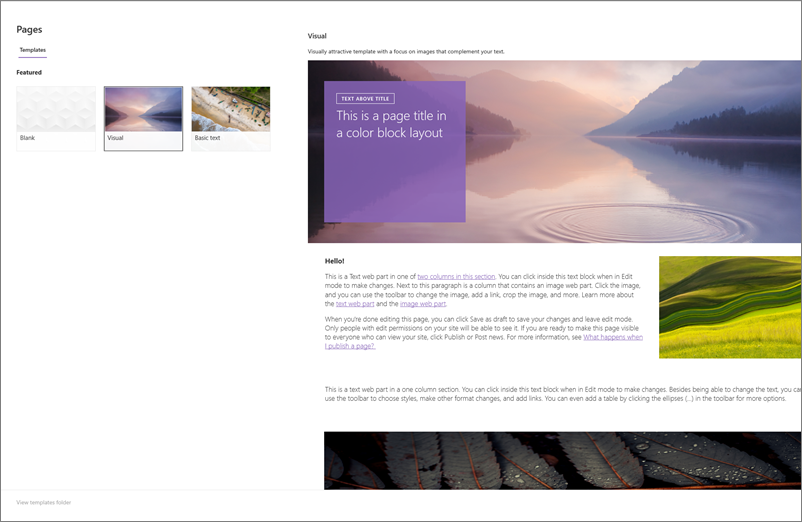
Choose a page template to start with.
-
Add a page name in the title area. A page name is required to save the page. See the Customize the title area.
-
Add web parts
Hover your mouse below the title area and you'll see a line with a circled +, like this:
-

Click + to add content like text, documents, video and more. To learn more about how to find and use web parts, see Using web parts.

You can also add sections and columns to a page. To learn more, see Add sections or columns on a page.
-
When you're done editing, you can click Save as draft to save your changes and close edit mode. Your audience won't see the page until you publish it. Only people with edit permissions on your site will be able to see it.
-
When you are ready for your audience to see the page, click Publish.
For more information on publishing and the lifecycle of a page, see Management and lifecycle of a SharePoint modern page.
Do you want to add a new or existing form to collect responses?
-
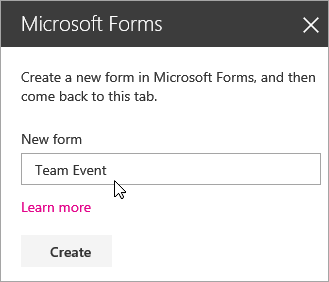
Click Add new form.
-
In the panel on the right, provide a name for your new form.
-
Click Create.
-
Microsoft Forms will open in a new tab. See below for steps to create a new form.
-
When you're done creating your form, go back to your SharePoint in Microsoft 365 page. Make sure Collect responses is selected, then click OK to refresh so you're seeing the most updated content.

Note: The web address of the form you just created will already be populated in the Form web address field.
-
Click Add existing form.
-
If you want to share one of your own forms, go to https://forms.office.com and open the form you want to share on your SharePoint in Microsoft 365 page.
-
Copy the web address from the browser's address bar.
Note: In Microsoft Forms, you can also go to the Share tab. Under Send and collect responses, click the Copy button to copy the web address of the form.
-
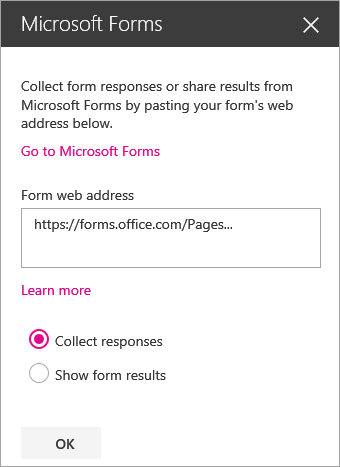
Go back to your SharePoint in Microsoft 365 page. In the Form web address field, paste the web address of your form.
Tip: Click CTRL+V to paste the web address.
Note: You can also paste a web address someone has shared with you into the Form web address field.
-
Make sure Collect responses is selected, then click OK to refresh the page and see your form.
Edit your form
-
On your SharePoint in Microsoft 365 page, select your Forms web part, and then click the Edit web part icon.

-
In the panel on the right, click Edit current form to make changes to your form.

Show form results
Once you have collected responses, you can now view results.
-
In the panel on the right, select Show form results.

Note: Under Form web address, the following message is checked by default: A web address will be created. Anyone with it can view a summary of responses. Microsoft Forms will generate a web address for this survey’s result sharing. You can share the web address with anyone to view this survey’s summary of responses.
Note: Only form owners and/or co-owners can generate the web address to share.
-
Click OK. You can now view a summary of responses right in SharePoint in Microsoft 365.
Feedback for Microsoft Forms
We want to hear from you! To send feedback about Microsoft Forms, go to the upper right corner of your form and select More form settings 
See Also
Add a page to a Sharepoint Online site


