
Important: Beginning January 1, 2022, we are ending support for selected OneDrive desktop apps running on Windows 7, 8, and 8.1. Learn more.
If you've been using Windows 7 and you get a new PC, you probably have a lot of files that you want to move to the new PC--more than you can easily transfer on a USB thumb drive. By using OneDrive, you can quickly set up your new PC, so your files are organized like they were on your old PC and you can get right back to work.
Storing your files in OneDrive has other benefits, too:
-
You can get to your files from other devices. You can view and edit your files from the OneDrive mobile app for Android or OneDrive for iOS. You can also use any computer to go the OneDrive website and sign in to access your files.
-
If your new PC is ever lost or damaged, your files will still be backed up and protected in the cloud.

Install and set up OneDrive on your Windows 7 PC
A Microsoft account comes with 5 GB of OneDrive storage. You can subscribe to Microsoft 365 and get 1 TB of storage per person. Compare plans

-
Install the Windows version of the OneDrive sync app.
Notes:
-
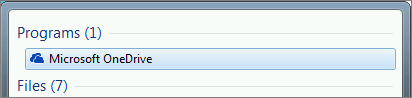
If you have Microsoft 365, or Office 2016, you already have the OneDrive sync app. To check if it's installed, click the Start button and search for OneDrive.
-
-
-
Start OneDrive Setup.
-
If you don't have a Microsoft account, sign up for one. It's free, and gives you access to OneDrive, Skype, Microsoft 365 for the web, and more. You can use your current email address or phone number, or create a new Outlook.com email address. More info about Microsoft accounts
-
Follow the steps that appear on the screen until OneDrive Setup is finished.
-
Note: If you have a lot of large files on your Windows 7 PC, we recommend that you follow the next steps when you have the fastest possible internet connection. For example, connect to a wired connection instead of wireless if possible, and pick a time of day when other people in your household aren't transferring a lot of data over your Internet connection.
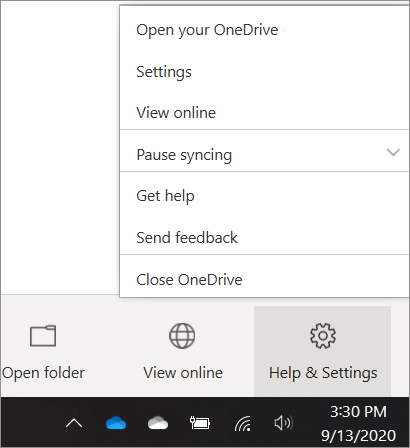
In the notification area, at the far right of the taskbar, right-click the OneDrive white cloud icon, and then click Settings.

(You might need to select the Show hidden icons arrow (

-
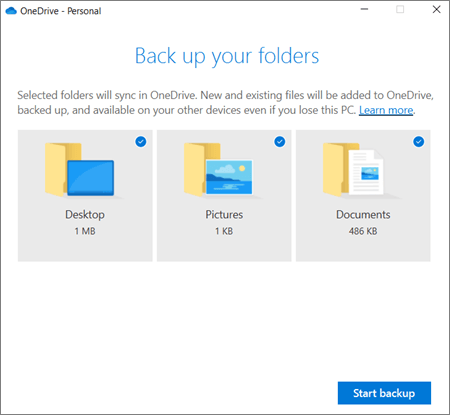
In the Back up your folders dialog box, select all the folders that have files you want to move to your new PC.
-
Select Start backup (or in older versions of OneDrive, select Start protection).
-
If you have files outside of your Documents, Pictures, and Desktop folders that you want to move to your new PC, use Windows Explorer. Press Windows key +E to open Windows Explorer and browse to the folders you want to move. Drag them to OneDrive in the left pane.
-
In the notification area, at the far right of the taskbar, hover over the OneDrive white cloud icon to check the status of the files uploading to OneDrive.
Important:
-
Make sure that you keep your PC connected to the Internet until all your files are finished uploading and the cloud icon says "Up to date." If an error appears, click the cloud icon for more info about what went wrong and how to fix it.
-
If you plan to delete your files from your Windows 7 PC before you recycle it, make sure you unlink OneDrive first . Otherwise, you'll be deleting your files from the cloud and all your devices as well, including your new Windows 10 PC.
-
Set up your new PC
If you haven't yet set up your new PC, follow the steps that appear on the screens to complete Windows setup, making sure you connect the PC to the Internet during the process. When prompted, sign in with the same Microsoft account you used to set up OneDrive on your Windows 7 PC.
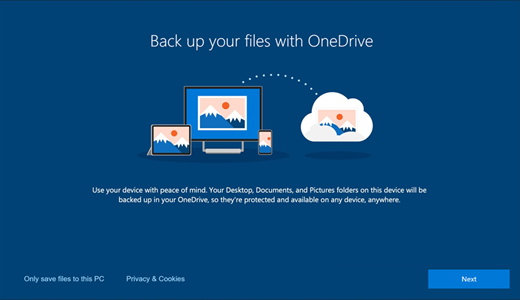
If you click Next all the way through Windows setup, including on the "Back up your files with OneDrive" screen, you'll be able to browse your files in File Explorer after setup finishes. The files from your Desktop, Documents, and Pictures folders on your Windows 7 computer will appear automatically in those locations on your Windows 10 computer.
For more information about OneDrive in Windows Setup, see Files save to OneDrive by default in Windows 10.
Important: Before you recycle your old PC, use the new PC for a while to make sure you haven't forgotten any files that you wanted to move.
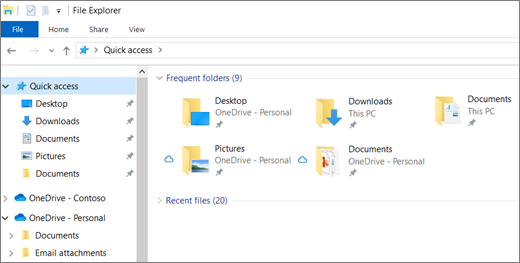
If you don't see your files in File Explorer on your Windows 10 computer, you might need to turn on PC folder backup.
Turn on PC folder backup
Follow these steps to make sure OneDrive is running and syncing your files.
-
Select the white OneDrive cloud icon in the notification area, at the far right of the taskbar.
Notes:
-
If you see a gray OneDrive cloud icon (instead of a white one), click the gray cloud and sign in to OneDrive with the same email address you used for OneDrive on your Windows 7 PC.
-
You might need to click the Show hidden icons arrow
-
-
Select

-
In OneDrive Settings, select Backup > Manage backup.
-
In the Back up your folders dialog box, make sure the folders that you want to back up are selected.
-
Select Start backup.
-
You can close the dialog box while your files sync to OneDrive. Or, to watch your files sync, select View upload progress. If you already closed the dialog box, select the cloud in the notification area to open the OneDrive activity center.
OneDrive has a feature called Files On-Demand that lets you browse your OneDrive files in File Explorer without actually downloading them to your PC. If you want to make sure that a file or folder is available on your device even when you're working offline, right-click it and select Always keep on this device. Learn about Files On-Demand.
Learn more
For other options to transfer files, see how to transfer files from PC to PC (scroll down past the OneDrive info at the top to the "Compare options..." section).
Need more help?
|
|
Contact Support
For technical support, go to Contact Microsoft Support, enter your problem and select Get Help. If you still need help, select Contact Support to be routed to the best support option. |
|
|
|
Admins
|


