
You can create alternative text (Alt text) for shapes, pictures, charts, SmartArt graphics, or other objects in your Microsoft 365 documents. Alt text helps people with visual disabilities understand pictures and other graphical content. When someone using a screen reader comes across a picture in a document, they will hear the alt text describing the picture; without alt text, they will only know they've reached a picture without knowing what the picture shows.
Use the procedures in this article to learn how to add alt text to a shape, picture, chart, SmartArt graphic, or other graphical objects.
To learn how to write alt text, go to Everything you need to know to write effective alt text.
Add alt text
-
Do one of the following:
-
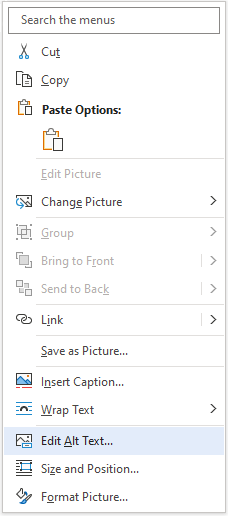
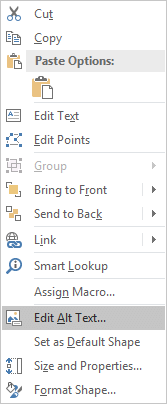
Right-click the object and select Edit Alt Text.
-
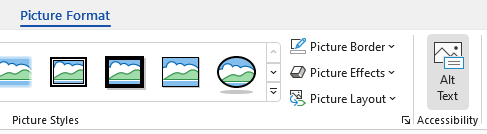
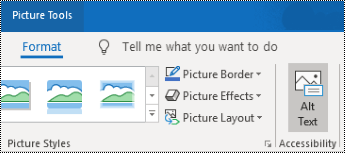
Select the object and then select the format menu for the object, for example, Picture Format. Select Alt Text.
Note: To add alt text to the entire SmartArt graphic or chart, click the border of the SmartArt graphic or chart, and not an individual shape or piece.
-
-
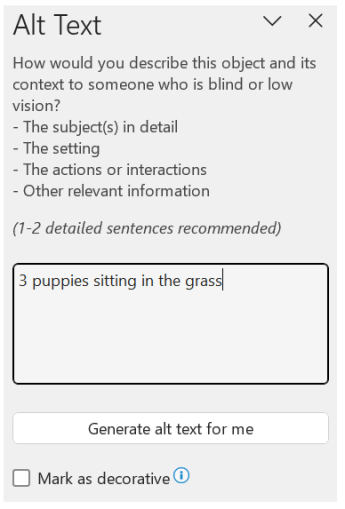
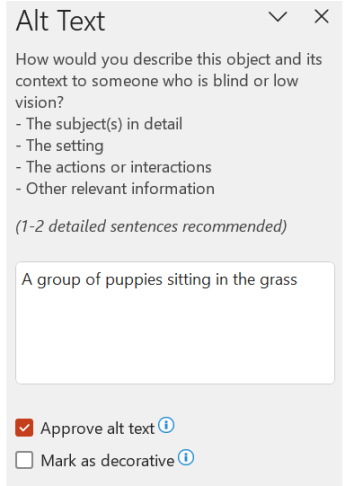
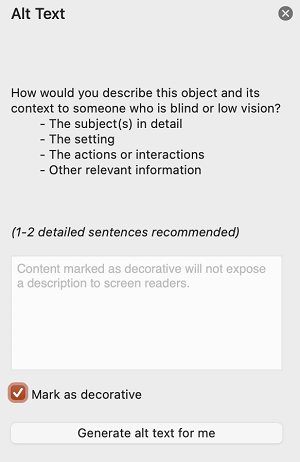
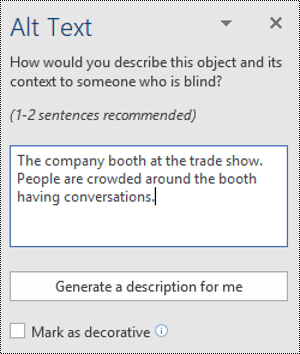
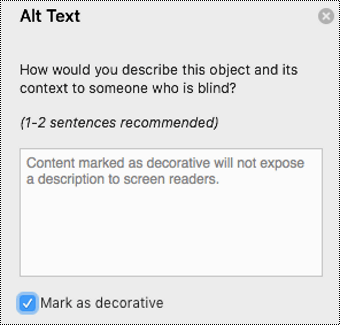
In the Alt Text pane, type 1-2 sentences in the text box to describe the object and its context to someone who cannot see it.
Mark visuals as decorative
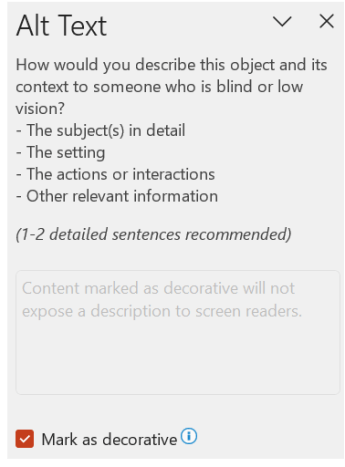
If your visuals are purely decorative and add visual interest but aren't informative, you can mark them as such without needing to write any alt text. Examples of objects that should be marked as decorative are stylistic borders. People who use screen readers will hear that these objects are decorative so they know they aren’t missing any important information. You can mark your visuals as decorative in Excel, PowerPoint, and Word.
-
To open the Alt Text pane, do one of the following:
-
Right-click an image, and then select Edit Alt Text.
-
Select an image, select Format > Alt Text.
-
-
Select the Mark as decorative checkbox. The text entry field becomes grayed out.
Toggle Automatic Alt Text on and off
If you don't want automatically generated alt text to be added to inserted pictures, you can turn off the automatic alt text option. If you change your mind later, you can just as easily turn it back on.
-
Select File > Options > Accessibility.
-
In the Automatic Alt Text section, select or unselect the Automatically generate alt text for me option, and then select OK.
Approve the automatic alt text
You can approve the auto-generated alt text in Microsoft 365.
-
If the alt text is satisfactory, select the Approve alt text checkbox.
See also
Add alt text in Excel for Microsoft 365, PowerPoint for Microsoft 365, and Word for Microsoft 365 for Mac
Tips:
-
For audio and video content, in addition to alt text, include closed captioning for people who are deaf or have limited hearing.
-
To enable right-click on your Mac, make sure that the Secondary click option is selected in System Settings.
-
To spell check and correct a word you typed, control-click or right-click the word, and then select an option from the suggested alternatives.
-
Do one of the following:
-
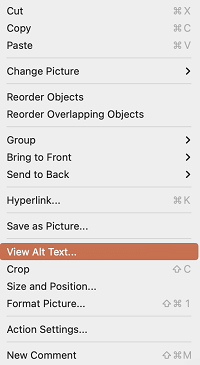
Control-click or right-click the object, and then select View Alt Text.... The Alt Text pane opens.
-
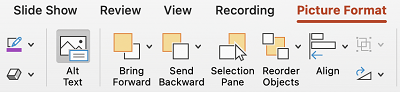
Select an object. In the ribbon, select the object's Format tab, and then select Alt Text.
Note: To add alt text to the entire SmartArt graphic or chart, click the border of the SmartArt graphic or chart, and not an individual shape or piece.
-
-
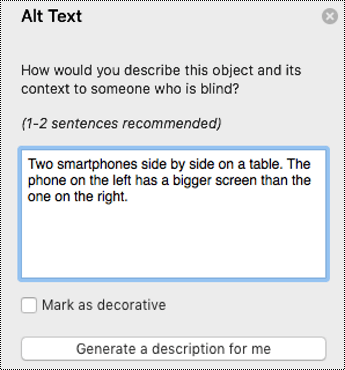
In the Alt Text pane, type 1-2 sentences in the text box to describe the object and its context to someone who cannot see it.
Add alt text in Outlook for Microsoft 365 for Mac
-
Control-click or right-click the object and select Edit Alt Text.... The Alt Text pane opens.
Note: To add alt text to the entire SmartArt graphic or chart, click the border of the SmartArt graphic or chart, and not an individual shape or piece.
-
In the Alt Text pane, type 1-2 sentences in the text box to describe the object and its context to someone who cannot see it.

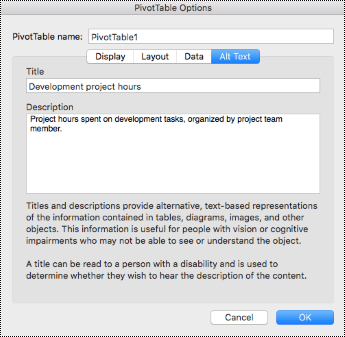
Add alt text to an Excel PivotTable
-
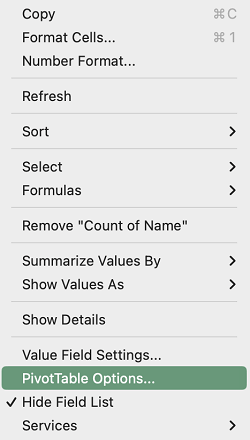
Control-click or right-click a PivotTable, and then select PivotTable Options....
-
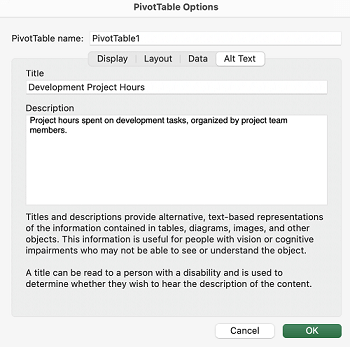
In the PivotTable Options... dialog box, select Alt Text.
-
In the Alt Text tab, type a title for the PivotTable in the Title text box.
-
In the Description text box, type 1-2 sentences to describe the table and its context to someone who cannot see it. When you're done, select OK.
Mark visuals as decorative
If your visuals are purely decorative and add visual interest but aren't informative, you can mark them as such without needing to write any alt text. Examples of objects that should be marked as decorative are stylistic borders. People using screen readers will hear that these objects are decorative so they know they aren’t missing any important information. You can mark your visuals as decorative in Excel, PowerPoint, and Word.
-
To open the Alt Text pane, do one of the following:
-
Control-click or right-click an image, and then select View Alt Text.
-
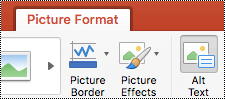
Select an image, and then select Picture Format > Alt Text.
-
-
Select the Mark as decorative checkbox. The text entry field becomes grayed out.
Toggle automatic alt text on and off
If you don't want automatically generated alt text to be added to inserted pictures, you can turn off the automatic alt text option in PowerPoint and Word. If you change your mind later, you can as easily turn it back on.
-
Press Command+Comma (,). The app preferences dialog box opens.
-
Select Accessibility, and then select or unselect the Automatically generate alt text for me checkbox.
See also
Add alt text
-
Do one of the following:
-
Right-click the object and select Edit Alt Text.
-
Select the object. Select Format > Alt Text.
Note: To add alt text to the entire SmartArt graphic or chart, click the border of the SmartArt graphic or chart, and not an individual shape or piece.
-
-
In the Alt Text pane, type 1-2 sentences in the text box to describe the object and its context to someone who cannot see it.
Tip: Save time and add an alt text generated by the system to the object. In the Alt Text pane, select Generate a description for me. In the Make Office work smarter for you dialog box, select Turn on. Then edit the automatic alt text to better suit the content.
Mark visuals as decorative
If your visuals are purely decorative and add visual interest but aren't informative, you can mark them as such without needing to write any alt text. Examples of objects that should be marked as decorative are stylistic borders. People who use screen readers will hear that these objects are decorative so they know they aren’t missing any important information.
-
To open the Alt Text pane, do one of the following:
-
Right-click an image, and then select Edit Alt Text.
-
Select an image, select Format > Alt Text.
-
-
Select the Decorative checkbox. The text entry field becomes grayed out.

Add alt text
-
Do one of the following:
-
Control-click the object and select Edit Alt Text.... The Alt Text pane opens.

-
Select an object. In the ribbon, select the object's Format tab, and then select Alt Text.
Note: To add alt text to the entire SmartArt graphic or chart, click the border of the SmartArt graphic or chart, and not an individual shape or piece.
-
-
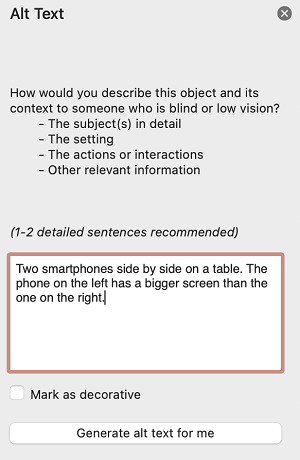
In the Alt Text pane, type 1-2 sentences in the text box to describe the object and its context to someone who cannot see it.
Tip: Save time and add an alt text generated by the system to the object. In the Alt Text pane, select Generate a description for me. In the Use Intelligent Services? dialog box, select Turn on.
Add alt text to an Excel PivotTable
-
Control-click a PivotTable, and select PivotTable Options....
-
In the PivotTable Options... dialog box, select Alt Text.
-
In the Alt Text tab, type a title for the PivotTable in the Title text box.
-
In the Description text box, type 1-2 sentences to describe the table and its context to someone who cannot see it. When you're done, select OK.
Mark visuals as decorative
If your visuals are purely decorative and add visual interest but aren't informative, you can mark them as such without needing to write any alt text. Examples of objects that should be marked as decorative are stylistic borders. People using screen readers will hear that these objects are decorative so they know they aren’t missing any important information. You can mark your visuals as decorative in Excel, PowerPoint, and Word.
-
To open the Alt Text pane, do one of the following:
-
Right-click an image, and then select Edit Alt Text.
-
Select an image, select Format > Alt Text.
-
-
Select the Decorative checkbox. The text entry field becomes grayed out.
-
Do one of the following:
-
For a shape, picture, chart, SmartArt graphic, or other object, right-click the object, click Format Object, Format Picture, Format Chart Area, or other, and then click Alt Text.
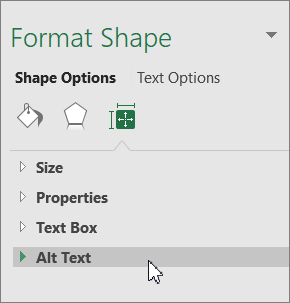
Note: The pane where you click Alt Text is dynamic and the title and lists change depending on the object you click.
To add alt text to the entire SmartArt graphic or chart, click the border of the SmartArt graphic or chart, and not an individual shape or piece.
-
For an Excel PivotTable, right-click it, point to PivotTable Options, and then click Alt Text.
-
-
In the Description box, enter an explanation of the shape, picture, chart, PivotTable, SmartArt graphic, or other object. This box should always be filled in.
Tip: If you don't want Alt text, either remove the words from the alt text Title and Description boxes, or don't fill them in.
-
If you want, in the Title box, enter a brief summary. This box should only be filled in if you are entering a detailed or long explanation in the Description box.
Note: Unless you have a complex chart, you will usually want to enter text in just the Description box. When you have complex content to describe, then filling in the Title field is useful so reading the full description is not necessary unless desired.
Notes:
-
If you frequently add alternative text to shapes, pictures, charts, SmartArt graphics, or other objects, you can add the Alt Text command to the Quick Access Toolbar to create a shortcut to it.
-
To use the Alt Text command on the Quick Access Toolbar, select the shape, picture, chart, SmartArt graphic, or other object, click the toolbar button, and then add your alternative text.
-
In the upper-left corner above the ribbon, click Customize Quick Access Toolbar

-
Click More Commands > Choose commands from > Commands Not in the Ribbon.
-
Click Alt Text > Add.


